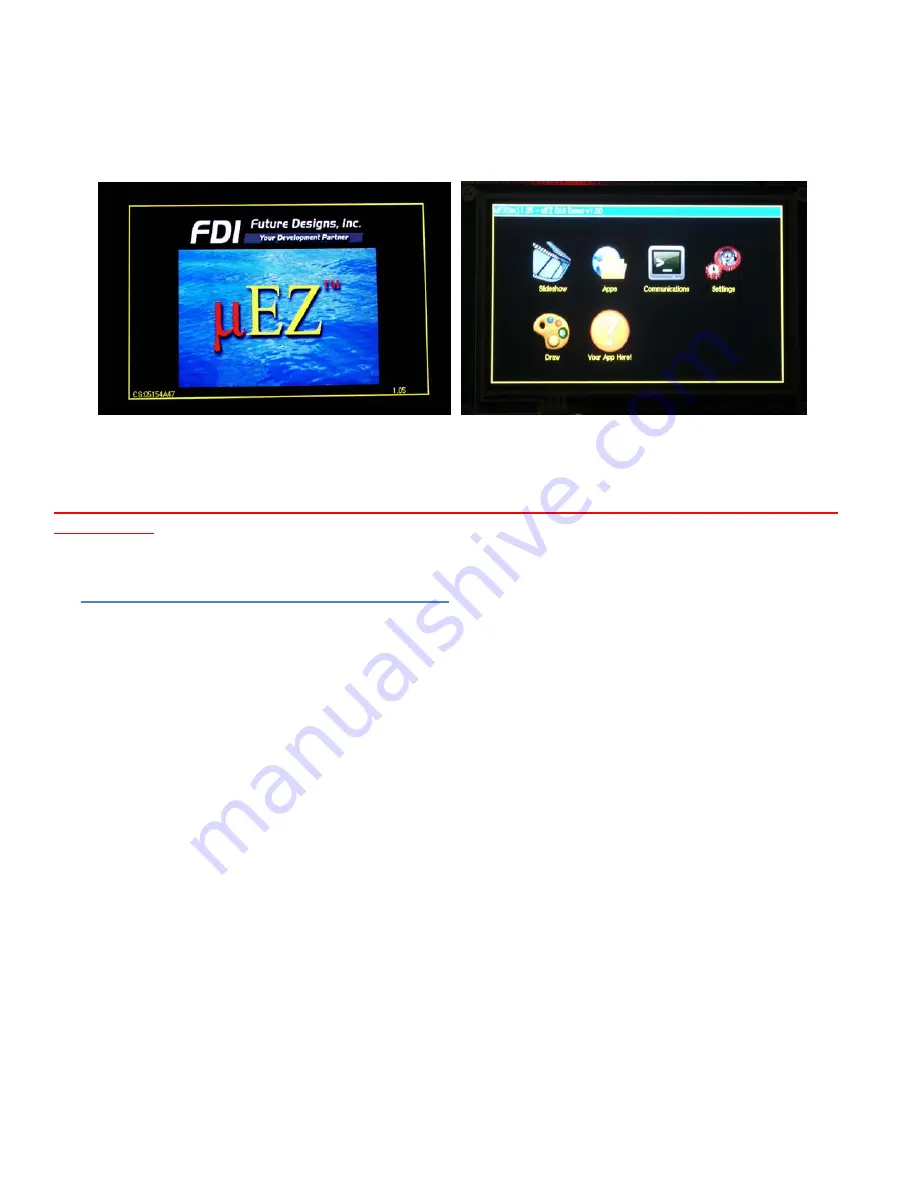
manualshive.com logo in svg
background image

2


The


following


screens


should


appear


once


power


has


been


applied


to


the


kit:


At


this


point


the


unit


is


ready


for


software


demonstrations


and


user


operation.


The


uEZGUI


will


appear


as


a


USB


Flash


Drive


to


the


PC,


thus


allowing


the


user


to


read


and


write


files


directly


to


the


Micro


SD


card.


4.


Demonstration


Software


Main


Menu


The


Demonstration


Software


has


the


following


options:


Slideshow


Selecting


the


slideshow


icon


will


cause


the


Micro


SD


card


to


be


read.


This


demonstration


allows


the


user


to


select


between


several


example


slideshow


options


such


as


“Introduction


to


uEZ


GUI”,


“Demonstration


Pictures”,


“FDI


Overview”,


“Strategic


Partners”,


etc.


Select


the


play


button


to


begin


the


automated


slide


show


or


manually


“drag”


a


stylus


or


finger


at


least


half


way


across


the


screen.


After


approximately


30


seconds


of


inactivity


the


slideshow


will


begin


to


auto


scroll.


The


user


can


regain


manual


control


at


any


time


by


“dragging”


forward


or


backwards


to


the


next


slide.


Click


on


the


“X


“to


return


to


the


main


menu.


Setting


up


a


slideshow:


The


Slideshow


demonstration


loads


and


scrolls


between


images


provided


on


a


micro


SD


card.


Images


must


be


in


24


bit


uncompressed


Targa


(.TGA)


format.


Adobe


Photoshop


and


many


other


graphics


programs


can


save


images


in


this


format.


The


images


must


be


480x272


and


13.23”x7.5”


in


size


and


use


the


file


names


WQSLIDExx.TGA


where


xx


is


00


thru


99.


(i.e.


WQSLID01.tga,


WQSLID02.tga,


etc)


Under


the


“Apps”


Icon


are


the


following


programs:


Accelerometer


Selecting


this


icon


demonstrates


the


accelerometer


feature


by


moving


a


simulated


ball


across


the


screen


as


the


CARRIER


board


is


tilted


along


the


X


and


Y


axis.


To


return


to


the


main


menu


touch


the


exit


icon.


Содержание uEZGUI-1788-43WQS

Страница 1: ...Start Guide Covers the following products uEZGUI 1788 43WQS uEZGUI 2478 43WQS Not recommended for new designs Use uEZGUI 1788 43WQS as alternative Copyright 2011 Future Designs Inc All Rights Reserved Rev 1 0 ...

Страница 2: ...e the newer uEZGUI 1788 43WQS as an alternative 2 Kit Contents uEZGUI 1788 43WQS or uEZGUI 2478 43WQS Touch Screen Kit with LCD Segger Mini JTAG Debugger and JTAG cable 2GB Micro SD card USB Cable Stylus for Touch Screen Quick Start Guide FreeRTOS documentation on eBook Download Link for Rowley Crossworks IDE 3 Startup Procedure The uEZGUI kit comes with a pre installed 2 GB micro SD card that con...

Страница 3: ...nger at least half way across the screen After approximately 30 seconds of inactivity the slideshow will begin to auto scroll The user can regain manual control at any time by dragging forward or backwards to the next slide Click on the X to return to the main menu Setting up a slideshow The Slideshow demonstration loads and scrolls between images provided on a micro SD card Images must be in 24 b...

Страница 4: ... 1788 43WQS with the optional Expansion Board added for Ethernet communications Settings ICON Calibrate use this feature to calibrate the LCD for the first time or if the calibration settings need to be updated Functional Test a step by step test of the following parameters Speaker test LCD color test SDRAM size test Temperature EEPROM test NOR Flash Memory test Draw A very simple art program is p...

Страница 5: ...4 Rowley Crossworks IDE download for 30 day evaluation http www rowley co uk ...

Отзывы: