Version 1.1
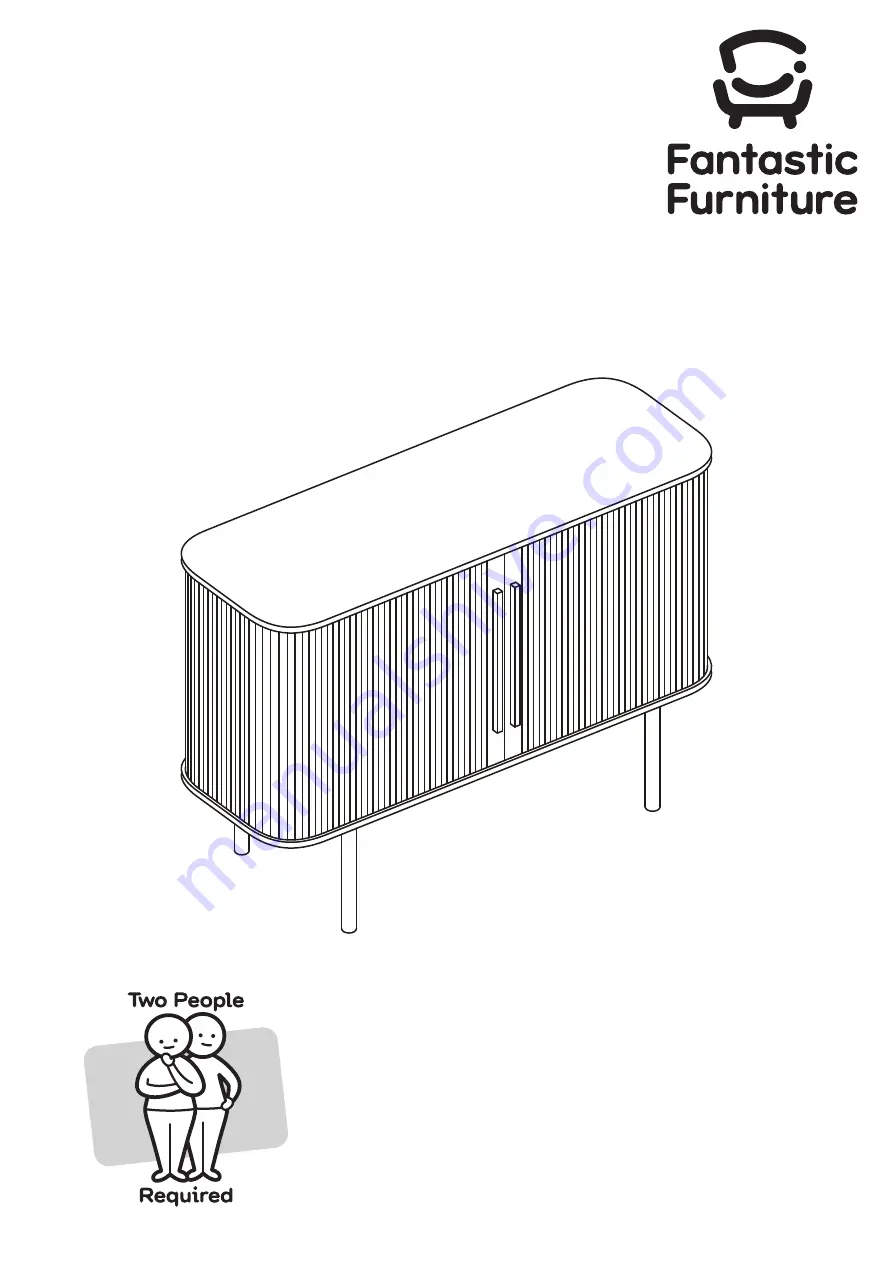
Sedona
Cabinet 2 Door Light Oak
fantasticfurniture.com.au
Страница 1: ...Version 1 1 Sedona Cabinet 2 Door Light Oak fantasticfurniture com au...
Страница 2: ...y into stud Please seek professional advice if you are in doubt of what xing device to use Do not Reduce the risk of furniture tip over accidents with available wood stud S S crew fantasticfurniture c...
Страница 3: ...elp create a home you ll love Love it Share it Fantastic buy Share how it looks at home on Instagram for your chance to win a 250 Fantastic Furniture Gift Card fantasticfurniture Maintenance Rub paraf...
Страница 4: ...r website for product care instructions Never use any glue until you are certain that the parts belong together Always use a soft surface such as carpet or cardboard when assembling your product to av...
Страница 5: ...What you need to assemble the product Page 5 fantasticfurniture com au Hardware pack...
Страница 6: ...Page 6 Step 1 Fix 8 x Cam Bolts H4 into Top Panel P3 by tightening with a Phillips Head Screwdriver Insert 4 x Dowels H9 into Top Panel P3 as shown fantasticfurniture com au...
Страница 7: ...e Top Panel P3 by tightening the Cam Nuts H5 with a Phillips Head Screwdriver Attach Bracket H10 to the Top Panel P3 with Bracket Screw H11 tightening with a Phillips Head Screwdriver fantasticfurnitu...
Страница 8: ...Page 8 Step 3 Slot in the Back Panel P11 into the grooves of Panels P6 P7 P3 as shown Ensure the panel is slotted in fully fantasticfurniture com au...
Страница 9: ...Page 9 Step 4 Fix 4 x Cam Bolts H4 into Centre Shelf P4 by tightening with a Phillips Head Screwdriver fantasticfurniture com au...
Страница 10: ...ds the incoming bolts Attach 2 x Centre Panels P8 to the Centre Shelf P4 by tightening the Cam Nuts H5 with a Phillips Head Screwdriver fantasticfurniture com au This is how a cam nut works The head o...
Страница 11: ...Page 11 Step 6 Carefully lift the assembled unit and attach 2 x Centre Panels P8 to the Top Panel P3 by aligning holes as shown fantasticfurniture com au...
Страница 12: ...s P8 to Top Panel P3 by tightening the Cam Nuts with a Phillips Head Screwdriver Secure the Side Panels P6 P7 to Centre Shelf P4 with 4 x Bolts H1 tightening with the Allen Key H12 fantasticfurniture...
Страница 13: ...Page 13 Step 8 Insert 4 x Cam Bolts H4 into Centre Shelf P4 by tightening with Phillips Head Screwdriver fantasticfurniture com au...
Страница 14: ...Attach 2 x Centre Panels P9 to the Centre Shelf P4 by tightening the Cam Nuts H5 with a Phillips Head Screwdriver fantasticfurniture com au Note the holes must be towards back as shown This is how a...
Страница 15: ...Insert 4 x Dowels H9 into Side Panels P6 P7 Slot in the Back Panel P10 into the grooves of Side Panels P6 P7 and the Centre Shelf P4 as the arrow shown Ensure the panel is slotted in fully fantasticf...
Страница 16: ...Step 11 Align the Bottom Panel P5 to the Dowels as shown Attach the Bottom Panel P5 to Side Panels P6 P7 and 2 x Centre Panels P9 with 8 x Bolts H1 tightening with the Allen Key H12 fantasticfurniture...
Страница 17: ...Attach the Leg Frame P2 to the Leg Frame P1 with 1 x Long Bolt H2 by tightening with Allen Key H12 Do not fully tighten the bolts yet Repeat process with other set of remaining Leg Frames fantasticfu...
Страница 18: ...Page 18 Step 13 Attached the assembled 2 x Leg Frames P1 P2 to the Bottom Panel P5 with 8 x Short Bolts H3 by tightening with the Allen Key H12 fantasticfurniture com au...
Страница 19: ...P10 to the 2 x Centre Panels P9 with 4 x Short Screws H7 in the pre drilled holes by tightening with a Phillips Head Screwdriver Secure Back Panels P10 in place with 4 x Wedges H8 and 4 x Short Screws...
Страница 20: ...Page 20 Step 15 2 x Door Handles P14 to the Sliding Doors P12 P13 with 4 x Long Screws H6 by tightening with a Phillips Head Screwdriver fantasticfurniture com au...
Страница 21: ...P13 to the groove on the back of the Top Panel P3 and Bottom Panel P5 then drag to the front of the cabinet according to the arrow direction fantasticfurniture com au Front of Cabinet Back of Cabinet...
Страница 22: ...rt the Sliding Door P12 to the groove on the back of the Top Panel P3 and Bottom Panel P5 then drag to the front of the cabinet according to the arrow direction fantasticfurniture com au Front of Cabi...
Страница 23: ...ion Attach Bracket H10 to the wall Ensure it is rmly attached and secure fantasticfurniture com au Screw and wall plugs are not provided please use appropriate xtures for your wall Seek advice from a...
Страница 24: ...Page 24 Job complete In the interest of our environment please dispose of all packaging thoughtfully fantasticfurniture com au Step 19...