www.fantasticfurniture.com.au
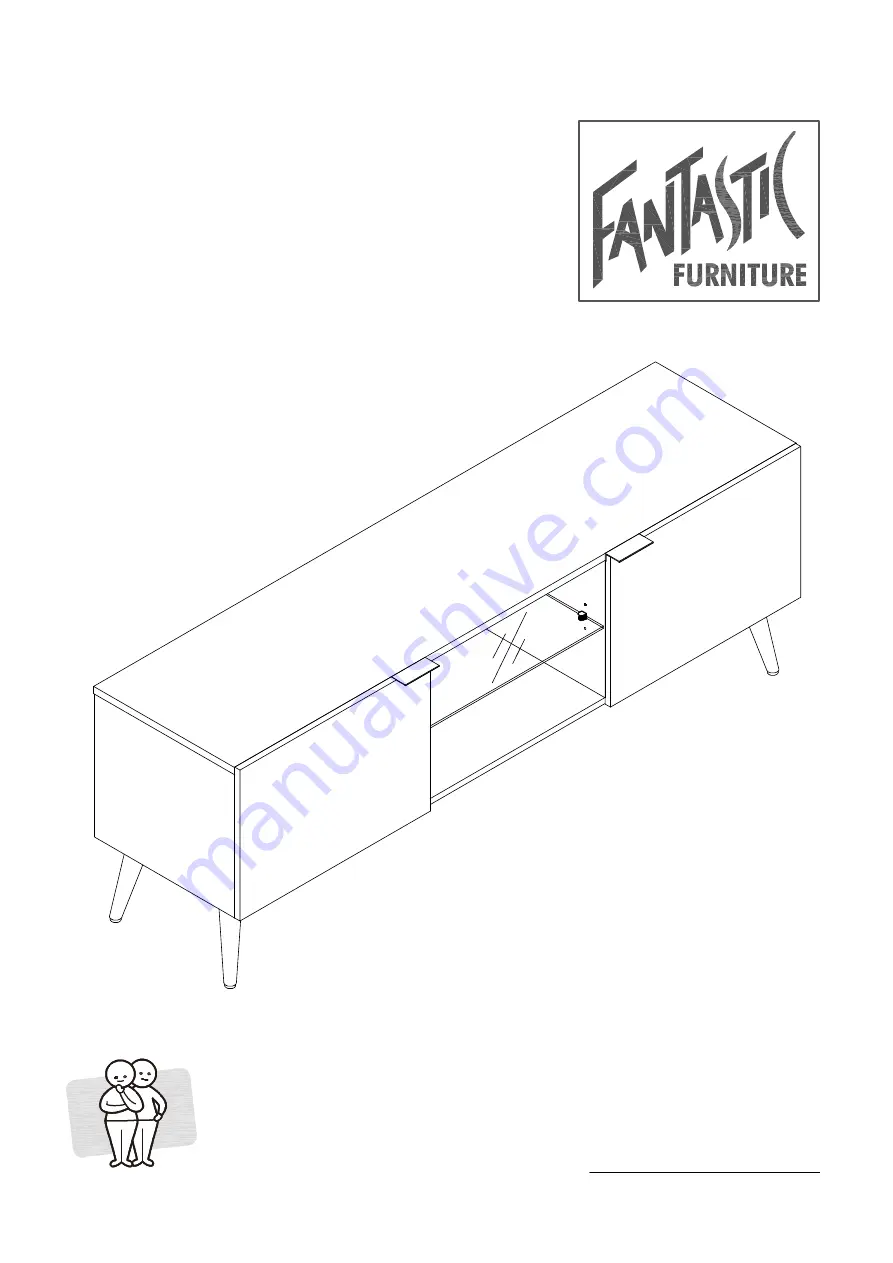
MONACO
Lowline Large
Version 1.0
TWO PEOPLE
REQUIRED
Страница 1: ...www fantasticfurniture com au MONACO Lowline Large Version 1 0 TWO PEOPLE REQUIRED...
Страница 2: ...rd or pointed objects to come into contact with the glass Never use the top area as a chopping surface Do not sit or stand on the glass surface Enjoy Your purchase from Australia s Best Value Furnitur...
Страница 3: ...h a door once assembled Never use any glue until you are certain that the parts belong together Periodically check and re tighten all fasteners Check the product care label or website for product care...
Страница 4: ...t Other tools you need Flat head screwdriver Phillips head screwdriver Mallet Part list Box 1 Left Side Panel P3 Right Side Panel P4 Left Divider Panel P5 Right Divider Panel P6 Shelf P7 Left Door P8...
Страница 5: ...ed Phillips head screwdriver Mallet Screw 8 x Cam Bolts H1 into Top Panel P1 as shown Fasten Wall Bracket H12 on Top Panel P1 with screw H6 Do not fully tighten the Screw H6 Insert 2 x Wood Dowels H4...
Страница 6: ...p 4 You will need 8 x Wood Dowels H4 You will need 4 x Wood Dowels H4 Mallet Mallet P2 P5 P6 Insert 4 x Wood Dowels H4 into Left Divider Panel P5 Insert 4 x Wood Dowels H4 into Right Divider Panel P6...
Страница 7: ...s Groove Edge and cam nut holes are furthest away from Bottom Panel as shown Fit the Panels together Screw in 4 x Screws H8 into Bottom Panel P2 using Allen Key H17 This is how a cam nut works The hea...
Страница 8: ...will need Allen Key H17 6 x Bolt H14 You will need P2 P2 P3 P13 P13 P13 Attach Metal Bar P12 onto Bottom Panel P2 with 6 x Bolts H14 using Allen Key H17 With help turn the assembled unit over carefull...
Страница 9: ...nut so it tightens over the bolt Slide the Back Panel P10 into the grooves of Side Panels P3 P4 and Bottom Panel P2 Paste 18 x Black Cover H3 on the holes of Bottom Panel P2 Make sure the cut slot of...
Страница 10: ...l Move the TV Stand to the final position Mark fixing hole on wall and remove TV stand Follow the instructions provided for the wall fittings to mount the fittings to the wall Reposition TV stand and...
Страница 11: ...ou will need Phillips head screwdriver P3 P4 P8 P8 P9 P9 Attach 2 x Hinges H5 to Left Door P8 with 4 x Screws H6 Attach 2 x Hinges H5 to Right Door P9 with 4 x Screws H6 Attach 2 hinges on Left Door P...
Страница 12: ...s head screwdriver You will need 4 x Shelf Pin H9 P8 P9 Attach Metal Handles H11 to Doors P8 P9 with Screws H7 Do not over tighten the screws H7 4 x Plastic Bumper H18 Screw 4x Shelf Pins H9 into Side...
Страница 13: ...nto Divider Panels P5 P6 Insert Glass Shelf P11 into Glass Shelf Pins H10 gently tighten the Plastic bolt underneath of Glass Shelf Pins H11 with Phillips Head Screwdriver as shown If the TV Stand is...
Страница 14: ...E DOOR OUTWARD by turning this screw counter clockwise MOVE DOOR OUTWARD by turning this screw clockwise STEP 19 2 Adjust the door panels upward or downward MOVE DOOR UPWARD OR DOWNWARD Unscrew 2 scre...
Страница 15: ...Step 20 www fantasticfurniture com au PAGE 15 Job Complete In the interest of our environment Please dispose of all packaging thoughtfully 4 KG MAX...
Страница 16: ...tion or other damage to the surface of the product Use a soft cloth that has been dampened in water to clean the surface of this product Do not use abrasive cleaners furniture wax or polish on the sur...