Version 1.0
Java
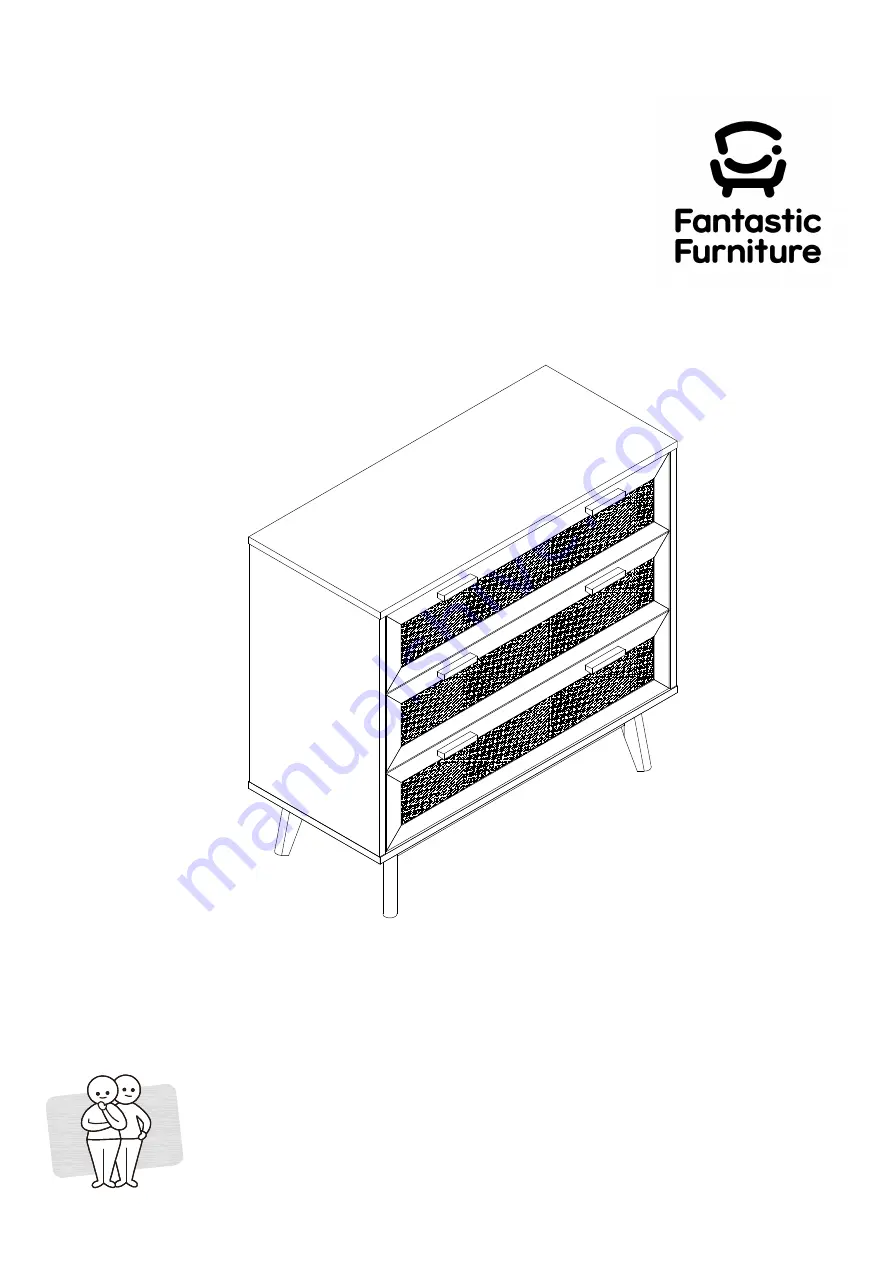
Dresser 3 Drawer
fantasticfurniture.com.au
Required
Two People
Страница 1: ...Version 1 0 Java Dresser 3 Drawer fantasticfurniture com au Required Two People...
Страница 2: ...Rattan is a natural material that will respond to humidity in the environment Low humidity may cause the rattan to shrink High humidity may cause the rattan to absorb moisture and expand causing the w...
Страница 3: ...scratching or damaging the surface of the product Bulky items such as wardrobes and bunk beds should be assembled in the room they will be used in as they may not fit through a door once assembled Ne...
Страница 4: ...Panel P1 Bottom Panel P2 Left Side Panel P3 Right Side Panel P4 Drawer Front P5 P5 Back Panel P13 Metal Rail P12 Front Rail P14 Leg P11 Leg P11 Drawer Support P10 Drawer Base P9 Drawer Back P8 Drawer...
Страница 5: ...x Screws 16mm H6 12 x Flat Washers H9 8 x Spring Washers H10 12 x Screws 28mm H11 1 x Allen Key H12 4 x Felt Feet H5 8 x Bolts 55mm H8 6 x Back Panel Connectors H7 2 x Screws 25mm H14 24 x Small Cam N...
Страница 6: ...to bottom panel P2 using 2 x bolts H8 2 x spring washers H10 and 2 x flat washers H9 Tighten the bolts with allen key H12 Repeat this step for the other 3 x legs P11 With assistance turn the assembled...
Страница 7: ...ted slide tracks H19 1 onto side panel P3 P4 with 18 x screws H18 using a phillips head screwdriver as shown Ensure the slide tracks H19 1 are attached so the rubber stopper is positioned near the gro...
Страница 8: ...same side Insert 4 x large cam nuts H2 into front rails P14 Rotate the cam nuts so the arrows point towards the incoming cam bolts Using a flat head screwdriver turn clockwise to lock This is how a ca...
Страница 9: ...ls P2 P3 P4 align Screw 4 x screws H17 into side panels P3 P4 using a phillips head screwdriver With assistance carefully turn the assembled frame over Step 7 Unfold and slide back panel P13 into the...
Страница 10: ...cam bolts Using a flat head screwdriver turn clockwise to lock Step 9 You will need Flat Head Screwdriver 4 x Large Cam Nuts H2 P1 P3 P4 H2 H2 H2 H2 Required Two People Screw 4 x cam bolts H1 into to...
Страница 11: ...in place fix 6 x back panel connectors H7 to assembled unit with 6 x screws H6 as shown using a phillips head screwdriver Phillips Head Screwdriver 6 x Screws 16mm H6 6 x Back Panel Connectors H7 XX...
Страница 12: ...eft side P6 and 1 x drawer right side P7 and 2 x drawer supports P10 onto drawer front P5 Ensure the grooves on each of the panels P5 P6 P7 align Insert 8 x small cam nuts H15 into drawer sides P6 P7...
Страница 13: ...mbly Step 15 You will need X3 X3 Slide drawer base P9 into the grooves on panels P5 P6 P7 Repeat this step for the other 2 x drawer assembly P9 24 x Screws 38mm H17 Phillips Head Screwdriver P8 H17 H1...
Страница 14: ...other 2 x drawer assembly 12 x Screws 28mm H11 Phillips Head Screwdriver 6 x Handles H4 Attach 2 x handles H4 onto a drawer front P5 with 4 x screws H11 using a phillips head screwdriver as shown Rep...
Страница 15: ...bearing track to front of slide track H19 1 H19 2 H19 1 Gently insert drawer slide runner H19 2 in between the ball bearing track Position drawer so that slide runners H19 2 align with slide tracks H...
Страница 16: ...driver Seek advice from a qualified trades person on how to attach this wall strap to your specific wall Screw and wall plug are not included Please use appropriate fixtures for your wall With assista...
Страница 17: ...Step 21 Page 17 fantasticfurniture com au Job complete In the interest of our environment please dispose of all packaging thoughtfully...