Step 22
Page 16
fantasticfurniture.com.au
Job complete!
In the interest of our environment please dispose
of all packaging thoughtfully.
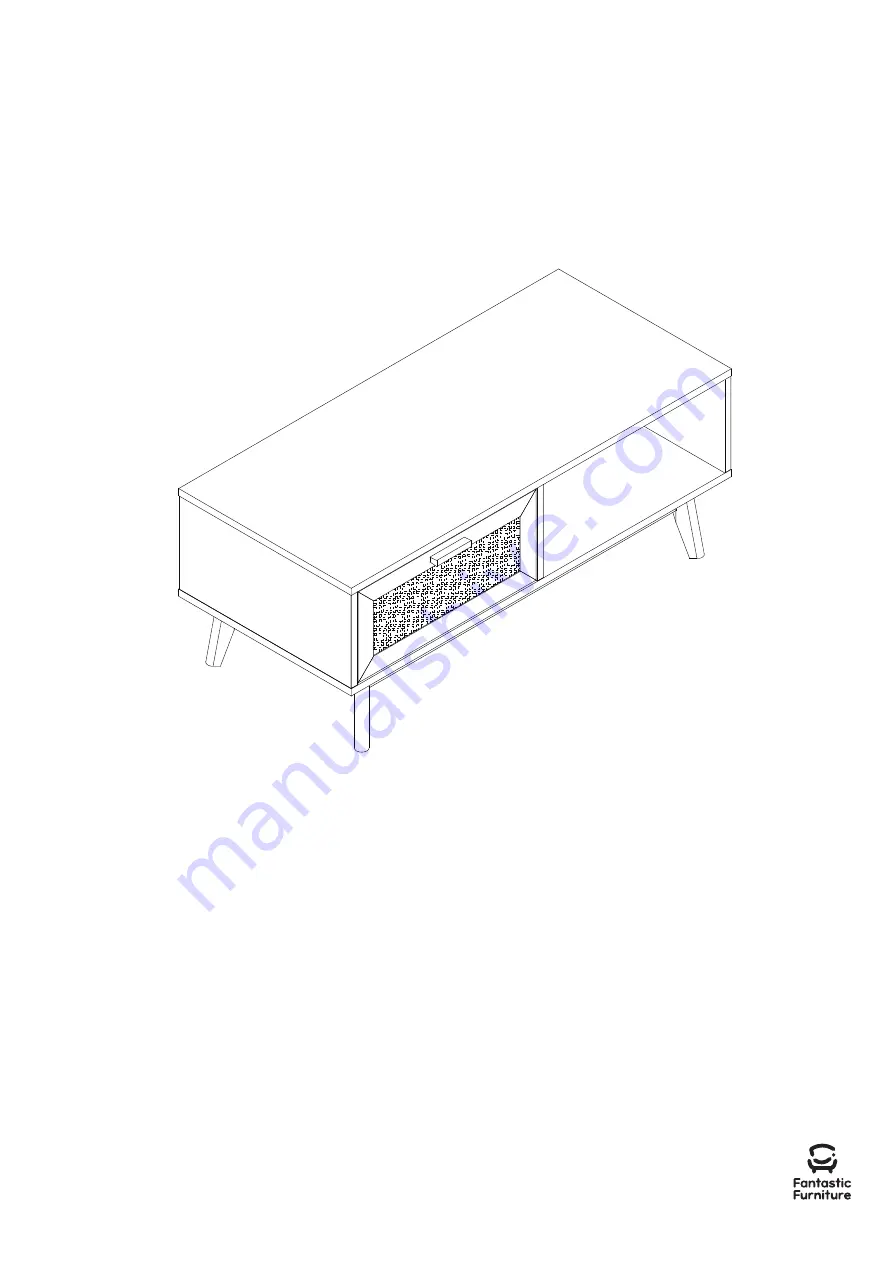
Страница 1: ...Version 1 0 Java Coffee Table fantasticfurniture com au Required Two People...
Страница 2: ...tan to absorb moisture and expand causing the weaving to look loose and wavy This is a natural phenomenon and not a defect Looks like you ve found your Fantastic Love it Share it We re thrilled you ve...
Страница 3: ...scratching or damaging the surface of the product Bulky items such as wardrobes and bunk beds should be assembled in the room they will be used in as they may not fit through a door once assembled Ne...
Страница 4: ...Screwdriver Mallet fantasticfurniture com au Page 4 Top Panel P1 Bottom Panel P2 Side Panel P3 P3 Right Side Panel P4 Back Frame P5 Drawer Front P6 Drawer Back P9 Drawer Base P10 Drawer Left Side P7...
Страница 5: ...Cam Nuts H2 22 x Dowels 8mm H3 1 x Handle H4 8 x Flat Washers H7 8 x Spring Washers H8 2 x Screws 28mm H9 1 x Allen Key H10 4 x Felt Feet H5 8 x Bolts H6 6 x Small Cam Nuts H11 2 x Dowels 6mm H12 9 x...
Страница 6: ...m panel P2 using 2 x bolts H6 2 x spring washers H8 and 2 x flat washers H7 Tighten the bolts with allen key H10 Screw 3 x cam bolts H1 into bottom panel P2 using a phillips head screwdriver 4 x Felt...
Страница 7: ...screwdriver 1 x Screw 38mm H13 Phillips Head Screwdriver H3 Mallet 2 x Dowels 8mm H3 H3 H16 H13 P13 P13 P14 P14 1 x Adjustable Foot H16 Flat Head Screwdriver 3 x Large Cam Nuts H2 Step 4 You will need...
Страница 8: ...p 7 You will need Insert 8 x dowels H3 into back frame P5 as shown Insert 4 x dowels H3 into right side panel P4 as shown Use a mallet to gently tap the dowels into place if needed P2 H1 H1 H1 H1 7 x...
Страница 9: ...e the position of the rubber stopper Attach 2 x separated slide tracks H15 1 onto 2 x side panels P3 with 6 x screws H14 using a phillips head screwdriver as shown Ensure the slide tracks H15 1 are at...
Страница 10: ...cam bolt Using a flat head screwdriver turn clockwise to lock H2 Flat Head Screwdriver 1 x Large Cam Nut H2 Step 10 You will need Attach side panel P3 to back frame P5 as shown Insert 1 x large cam n...
Страница 11: ...ts so the arrows point towards the incoming cam bolts Using a flat head screwdriver turn clockwise to lock Step 12 You will need Attach right side panel P4 to bottom panel P2 as shown Screw 2 x screws...
Страница 12: ...river turn clockwise to lock Step 14 You will need Flat Head Screwdriver 7 x Large Cam Nuts H2 Required Two People Phillips Head Screwdriver 6 x Cam Bolts H1 Step 15 You will need H12 Mallet 2 x Dowel...
Страница 13: ...lock Step 17 Flat Head Screwdriver 6 x Small Cam Nuts H11 P10 Slide drawer base P10 into the grooves on panels of P6 P7 P8 Step 18 You will need Attach drawer back P9 to assembled drawer with 6 x scre...
Страница 14: ...ewdriver as shown 2 x Screws 28mm H9 Phillips Head Screwdriver 1 x Handle H4 Attach 1 x handle H4 onto drawer front P6 with 2 x screws H9 using a phillips head screwdriver as shown 2 x Slide Runners H...
Страница 15: ...bearing track to front of slide track H15 1 H15 2 H15 1 Gently insert drawer slide runner H15 2 in between the ball bearing track Position drawer so that slide runners H15 2 align with slide tracks H...
Страница 16: ...Step 22 Page 16 fantasticfurniture com au Job complete In the interest of our environment please dispose of all packaging thoughtfully...