Version 1.0
Havana
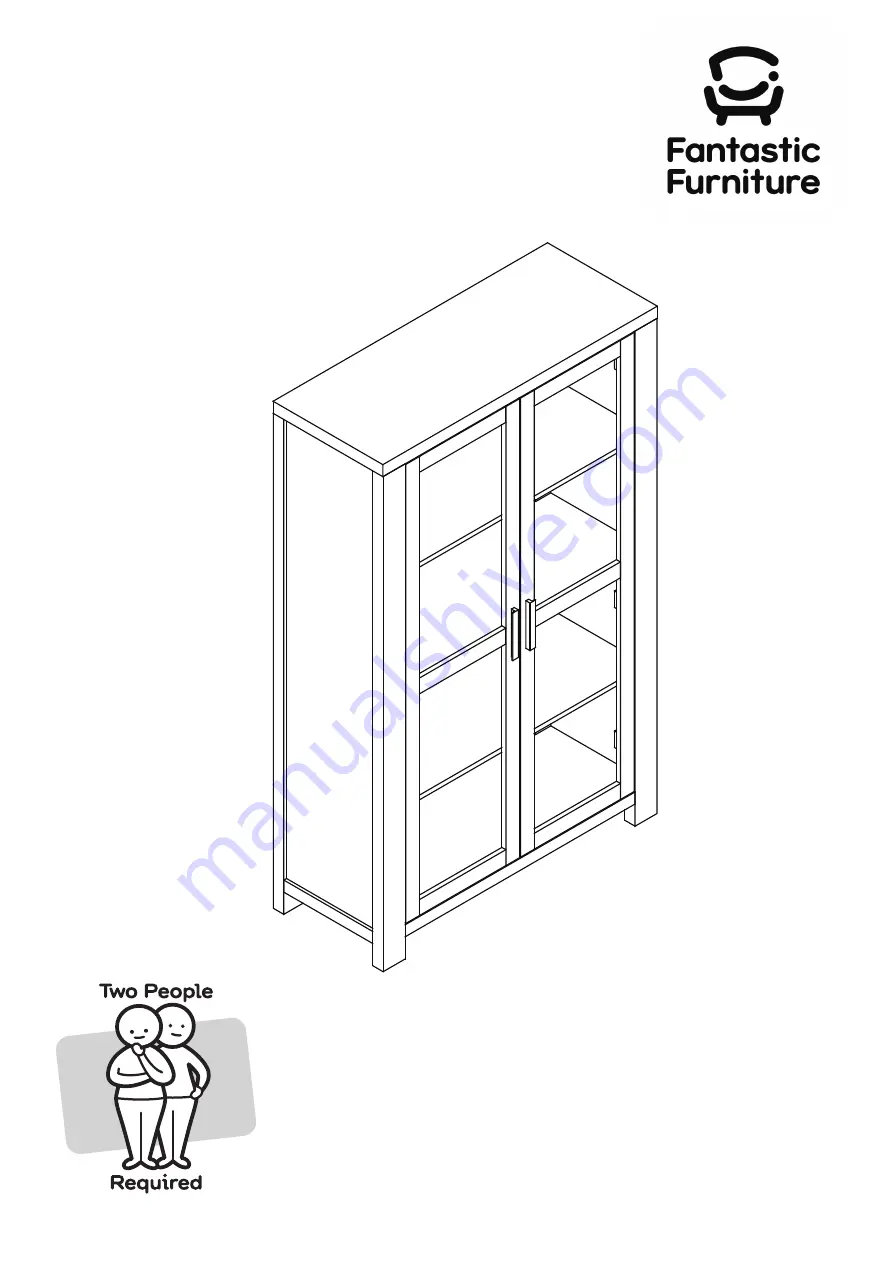
Display Cabinet 2 Door
fantasticfurniture.com.au
Страница 1: ...Version 1 0 Havana Display Cabinet 2 Door fantasticfurniture com au...
Страница 2: ...professional advice if you are in doubt of what wall connections to use Recommended weight capacity 25kgs Shelf Love it Share it Fantastic buy Share how it looks at home on Instagram for your chance t...
Страница 3: ...o avoid scratching or damaging the surface of the product Bulky items such as wardrobes and bunk beds should be assembled in the room they will be used in as they may not t through a door once assembl...
Страница 4: ...What you need to assemble the product Other tools you need Phillips head screwdriver Hammer Page 4 fantasticfurniture com au DO NOT USE Right Side Panel P3 Left Side Panel P2 Leg P4 Leg P5 Leg P6 Leg...
Страница 5: ...ts H3 Phillips Head Screwdriver Attach 6 x Cam Bolts H3 to Right Side Panel P3 by tightening with the Phillips Head Screwdriver Attach 6 x Cam Bolts H3 to Left Side Panel P2 by tightening with the Phi...
Страница 6: ...wards the incoming cam bolts Attach Shelf Panels P8x3 to Right Side Panel P3 by tightening the Cam Nuts H4 with the Phillips Head Screwdriver Phillips Head Screwdriver 6 x Dowels H1 Phillips Head Scre...
Страница 7: ...ch 10 x Cam Bolts H3 to Legs P7 P5 by tightening with the Phillips Head Screwdriver You will need Phillips Head Screwdriver Step 6 You will need Step 5 H6 H6 H7 H1 H3 H3 H3 H3 H3 H3 H3 H3 H3 H3 H1 H1...
Страница 8: ...Bottom Panel P9 by tightening the Cam Nuts H4 with the Phillips Head Screwdriver You will need Step 7 Carefully turn the unit over Attach Leg P6 to Right Side Panel P3 with 6 x Bolts H6 by tightening...
Страница 9: ...Panel P9 Step 9 Gently stand the unit on it s side as shown Slide Back Panels P10x3 into the grooves of Shelf Panels P8x3 Bottom Panel P9 P10 P10 P10 P8 P8 P8 P8 P8 P8 P9 P6 P2 P9 P4 fantasticfurnitur...
Страница 10: ...ghten 2 x Bolts H6 on Bottom Panel P9 with the Allen Key H7 Gently stand the unit upright Slide Back Panel P10 into the grooves of Legs P4 P9 Step 12 H12 H7 H6 H6 H12 H12 H12 P2 P9 P6 P4 P5 P7 P8 P6 P...
Страница 11: ...Page 11 Insert 4 x Dowels H1 into Side Panels P2 P3 Insert 8 x Large Dowels H5 into Legs P4 P5 P6 P7 as shown Insert 6 x Cam Nuts H4 into Legs P4 P5 P6 P7 and Side Panels P2 P3 as shown Rotate the cam...
Страница 12: ...hown Ensure the doors open and close easily Step 16 You will need Phillips Head Screwdriver Phillips Head Screwdriver P8 P11 P12 P12 P11 P5 P7 12 x Screws H11 24 x Screws H11 6 x Hinges H10 2 x Handle...
Страница 13: ...i ed trades person on how to attach this safety strap to your speci c wall You will need Step 18 Phillips Head Screwdriver 1 x Washer H17 Screw and Wall Plug are not provided Please use appropriate xt...
Страница 14: ...STEP 2b MOVE DOOR OUT STEP 2a MOVE DOOR IN Loosen the screw indicated a little adjust the hinge to right position see step 2a 2B then tighten screw Top panel door LF Leg P7 Door Top panel Door Top pa...