G
Ver:1.1
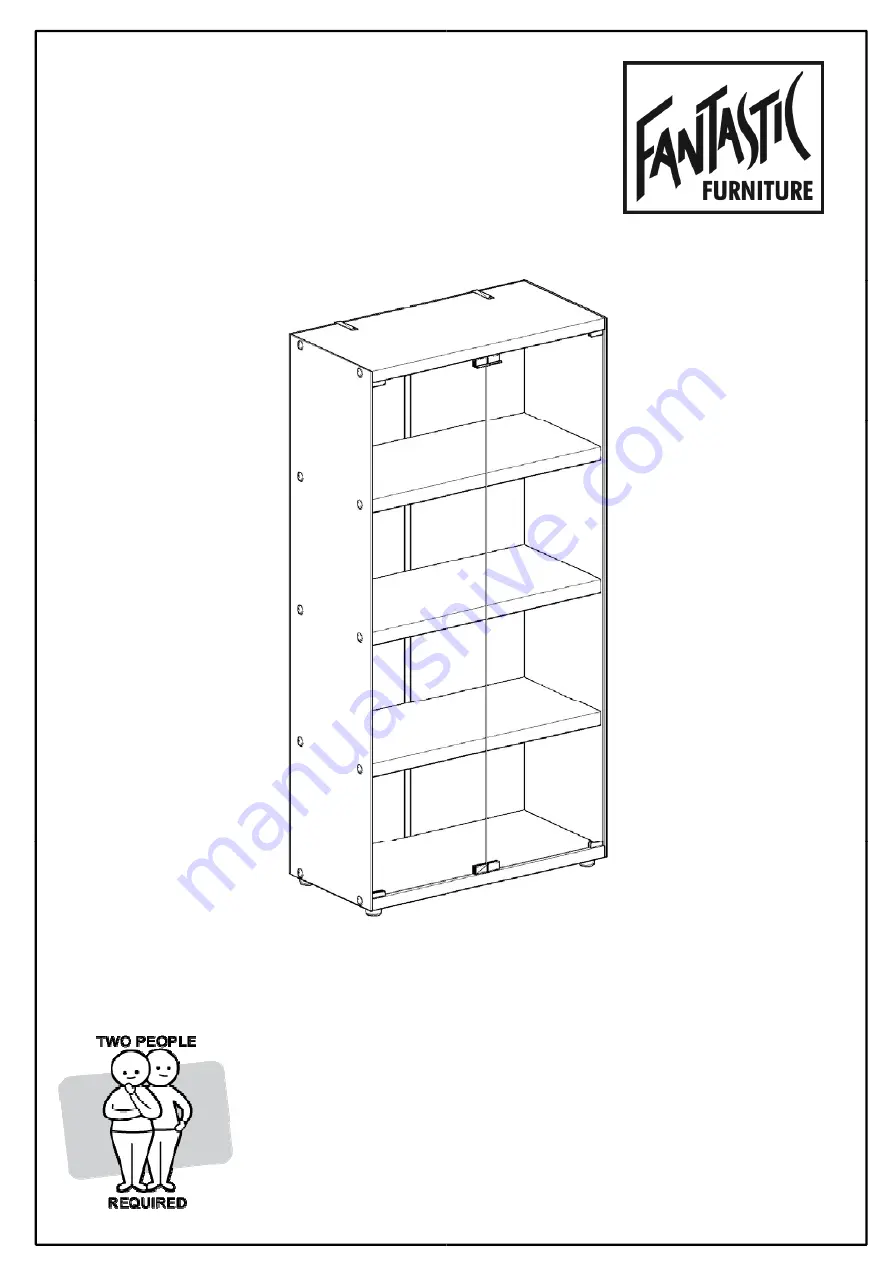
GALLERY
Display Cabinet 4 SHELF
www.fantasticfurniture.com.au
Страница 1: ...G G Ver 1 1 GALLERY GALLERY Display Cabinet 4 SHELF www fantasticfurniture com au...
Страница 2: ...de Dropping heavy glass ceramic metal or simila to the table leading it to break suddenly and with En Your pur Australia s Best V www fantasticfurniture com au th care Scratches chips sudden changes i...
Страница 3: ...ue until you are certain that the Periodically check and re tighten all fasteners C product care instructions If you are having any difficulties assembling you please visit our website Help Centre for...
Страница 4: ...P8 Right Door P9 34 x Knob Bolt H1 4 x Feet H2 4 H1 H2 4 x Magnetic Catch H5 2 x Strike Plates Foam Insert H6 H5 2x M4 x 14 mm Screws H9 4 x Washers H10 H6 www fantasticfurniture com au Left Back P6 R...
Страница 5: ...4 x Screws H3 Step 2 You will need You will need 10 x Knob Bolt H1 P1 Attach Left Panel P4 to Base P1 3 x Shelf P2 Ensure holes in P1 P3 face upwards www fantasticfurniture com au H2 H3 H2 H3 Base P1...
Страница 6: ...4 You will need 14 x Knob Bolt H1 Attach Right and Left Back Panel P7 P6 to Base x Knob Bolt With help carefully stand the cabinet u www fantasticfurniture com au P2 P2 P3 P1 P5 P2 and Top Panel P3 w...
Страница 7: ...the Strike Pla Step b Peel off the backing from Foam insert and p Step b Peel off the backing from Foam insert and p Step c Slide the Strike Plate H6 into position Step d Remove the Foam Insert from t...
Страница 8: ...ewdriver It is recommended that the unit is fixed to a wal As wall materials vary screws for fixing to wall are n As wall materials vary screws for fixing to wall are n For advice on suitable screw sy...
Страница 9: ...Screwdriver Reposition the cabinet Attach the cabinet at its top to the Wall Straps H11 using 2 x Screws H9 and 2 x Washers H10 Step 10 Job co In the interest of our environment Plea www fantasticfur...