


5
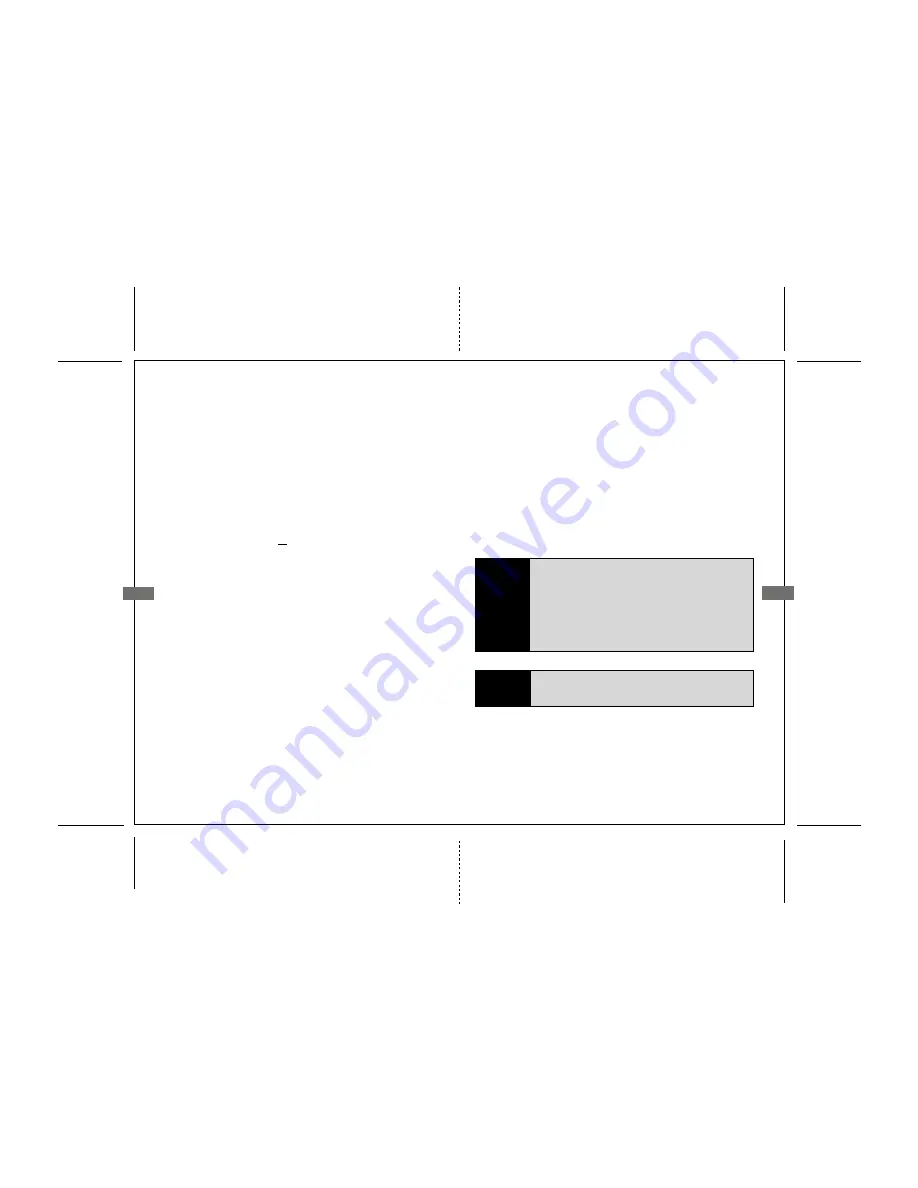
7: Mode/Shooting/Playback button:
9: Menu/Delete
button:
Pressing the W button in full-frame playback displays pictures
in contact sheets whereas pressing the T button can be used
to zoom in on pictures during full-frame playback.
Swivels between Shooting/Playback and Mode function.
Pressing this button during
shooting
or
playback
displays
a
mode selection
menu either Shooting Mode or Playback
Mode menus appear.
To view pictures full-frame in monitor [full-frame playback],
press this button [if camera is off, pressing the button for about
a second will turn the camera on in playback mode].
Swivel function button for the following dual functions:
Delete
To delete the current displayed picture in the monitor, press
the Delete button. Two options appear: No or Yes. Highlight
wanted option and press the OK center button [#10].
Additionally, pressing the Delete button in full-frame or
thumbnail playback displays the same dialog requesting
confirmation for deletion. Follow the directions as stated above
to delete.
6
8: Rotary
Multi Selector:
The rotary multi selector is used to navigate the camera menus.
Rotate in any direction to highlight items and press the center
OK [#10] button to confirm selection. To cancel and return
to the previous menu, press the rotary multi selector to the
left. Highlighted options are found when pressing this rotary
dial left, right or up and down.
5: Buckle to secure housing:
Refer to the section "Using the Fantasea FS-9 Housing" on
how to open and close the camera housing.
6: Lens Port:
Refer to the section "Inserting Camera" for useful information.
Menu
To display the Shooting menu, select the shooting mode [button
#7] and press the Menu button. For Playback menu, the
playback mode must be selected and press the Menu button.
To display the Set Up menu, select setup from the shooting,
playback, scene, movie etc menus
Note!
Before making a selection from the Rotary Selector
button, be sure the flange of the OK button is moved
away from the Multi Selector field.
Once you have made your selection on the Rotary
Selector, swing the flange around of the OK button
directly over the 'confirm' area in the center of the
Rotary Selector and press down on the OK button to
validate your selection.
10: Center
OK button:
This button authorizes the selections made when the Delete,
Menu and Rotary Multi selector buttons are used. Must be
swiveled into place when pressing OK and see that it does
not interfere with the action of the Rotary Multi Selector
button.
Note!
It is strongly recommended that you familiarize yourself
with all the controls topside before using these controls
while diving.


