14
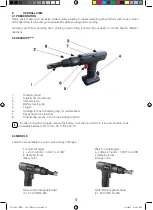
3.3 SUSPENSION CLIP
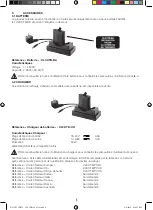
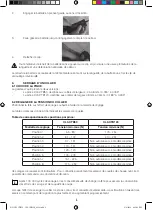
To facilitate even more handling of the tool on a fi xed station, a suspension clip is available to allow the user even
easier handling.
‘Suspension hook’ reference: CL3.CTB-SH
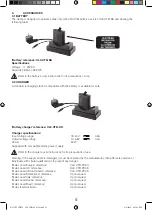
3.4 MAINTENANCE KIT
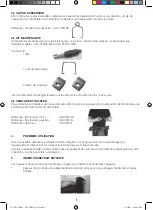
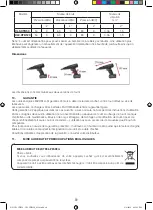
This set is necessary for maintenance on the pliers. There are two versions corresponding to the
different models: CL3.CTB50-MK and CL3.CTB120-MK.
It includes
-
1 head
-
1 removal tool
-
2 spare blades
The blade should be changed every 30k cycles and the head every 100k cycles.
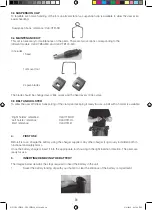
3.5 BELT AND HOLSTER
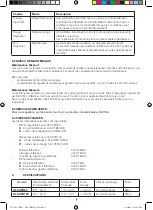
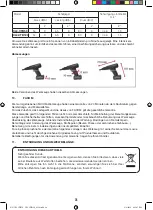
To allow the user effortless transporting of the clamp and keeping it ready for use, a belt with a holster is available.
‘Right holster’ reference: CL3.CTB-HR
‘Left holster’ reference:
CL3.CTB-HL
‘Belt’ reference:
CL3.CTB-B
4. FIRST USE
Before fi rst use, charge the battery using the charger supplied. Any other charger is rigorously forbidden both in
functional and safety terms.
Once the battery charged, insert it into the appropriate tool housing in the right insertion direction. The pliers are
ready for use.
5. INSERTING/REMOVING THE BATTERY
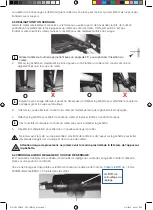
The images below describe the steps required to insert the battery in the unit.
1. Swivel the battery locking clip with your thumb to clear the entrance of the battery compartment.
NU-CL3.CTB50 - CL3.CTB120_0216.indd 14
2/9/2016 4:25:19 PM


