17
For the 10Gbit option Facilis supports the optical (LC) version of the 10Gbit Ethernet
card as well as a copper (Cat 5E, 6, 7) RJ45 version. Cabling will vary based on
which model TerraBlock Server is used. The 10Gbit optical uplink connection in the
rear of the switch requires an SFP+ module. For troubleshooting purposes, cabling
should be done in an organized fashion so cables can be easily identified.
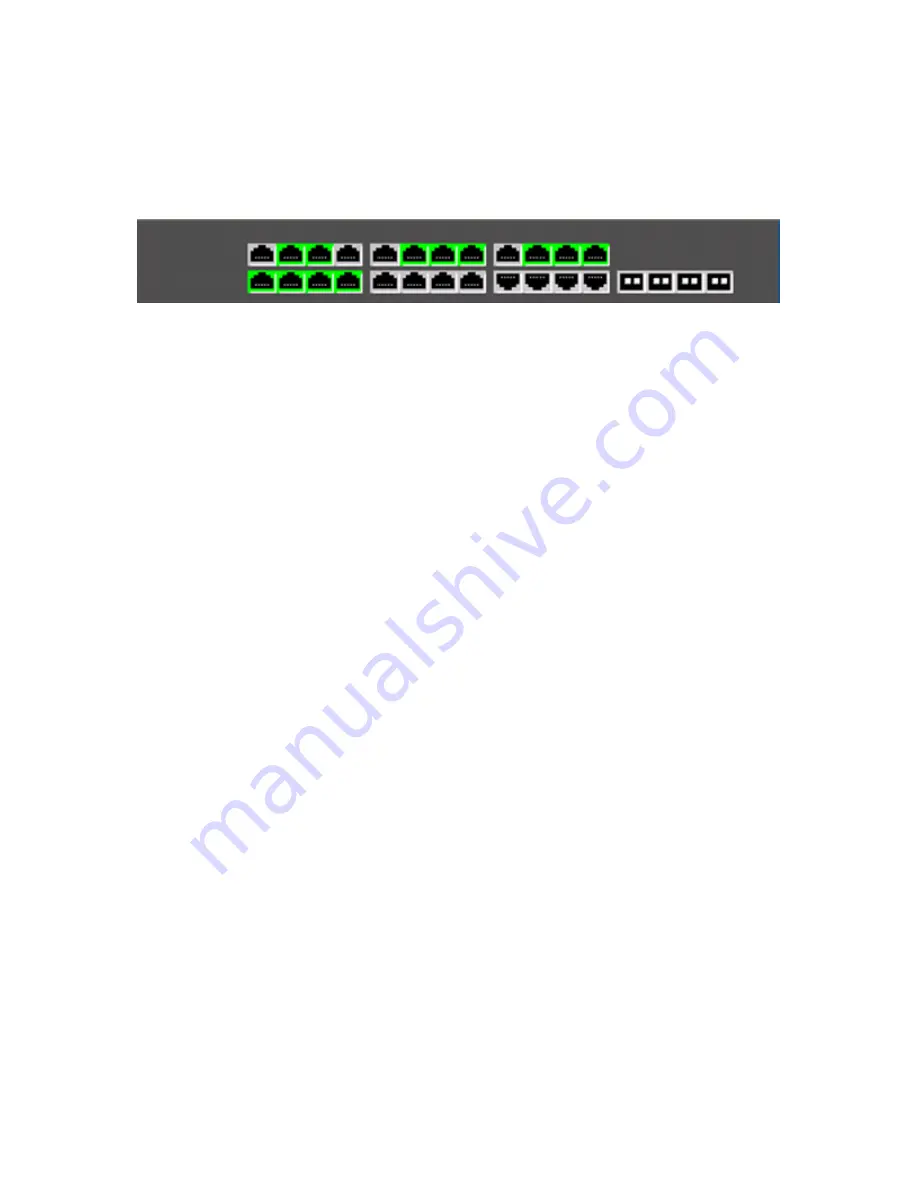
Not shown here: Established link LED’s
When a link has been established with the TerraBlock Server or a client system, an
LED light will illuminate on the switch where the port number is listed. Additional
configuration on the TerraBlock Server and clients will be required.
Turning on the TerraBlock Server
Before turning on the TerraBlock Server, make sure that you have all the drive
carriers installed in the server enclosure per the diagram(s) above. Once all of the
drive carriers are properly installed in the TerraBlock Server enclosure, you can then
turn on the TerraBlock.
The Power button is on the front indicator panel. Press it once. After a delay of 3-4
seconds, the system will power on. The system has been configured from the factory
to login to the operating system automatically with user account “Facilis” and no
password.
It is the responsibility of the site administrator to maintain any desired
software security options, including passwords, for the TerraBlock Server.
Upon reaching the Windows Explorer (desktop), launch the SMDriveMonitor tool
shortcut (yellow Facilis icon) on the desktop. The text on screen should state that the
Facilis storage service has started, list the version of the service, and display the
date and time.
If your TerraBlock Server was ordered with 16/32Gbit Fibre Channel
hardware, a password “facilis” (without quotes) will be set to log into
the operating system.
REFER TO THE TERRABLOCK RELEASE NOTES FOR CLIENT SOFTWARE
INSTALLATION INSTRUCTIONS.


