6
6. START THE B500B
Power On
z
Insert the memory card that has videos, pictures or music.
z
Connect the provided power adapter and turn on the power switch, then the B500B will power
on automatically.
Status After Power On
z
Status 1:
If the “Auto Start (ALL, Photo + Music, One File Repeat or Programmed Play)”
function is enabled and there are media files on the memory card, the B500B will auto play
media files after power on.
z
Status 2:
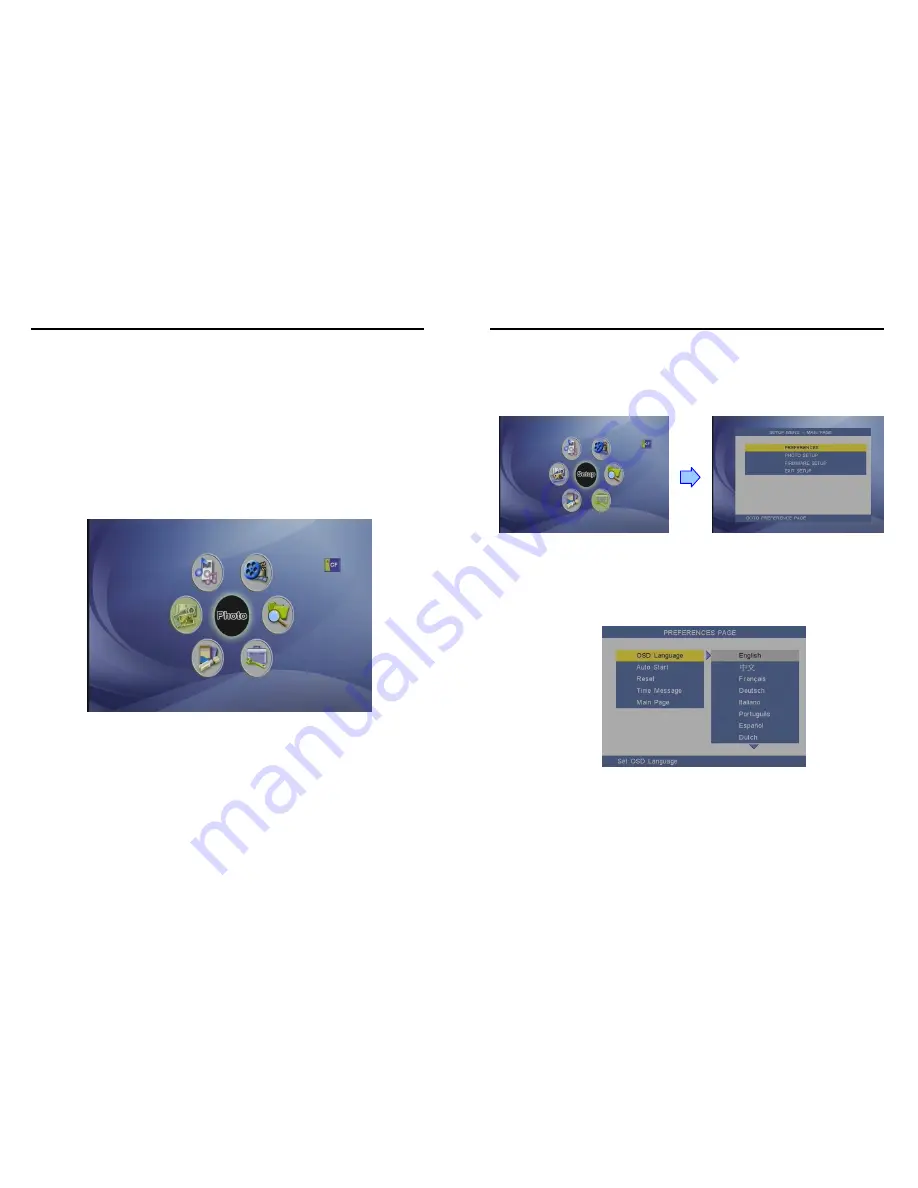
If the “Auto Start” function is disabled, after power on the main menu will appear as
shown in the following figure. There are six items in the main menu.
Power Off:
Turn off the power switch or press the “POWER” button on the remote control to
power off.
7
7. SETTING UP
In the main menu, using the “
▲
、
▼
、
▲
、
▼
” button on remote control to select the “
Setup
” item,
and then press the “ENTER” button. You will be presented with the B500B settings screen.
You can also press the “
SETUP
” button on remote control to directly open the settings screen.
(If there is file that is being play, please stop first.)
7.1 PREFERENCES
OSD Language:
Select the OSD language (English/ Chinese/ French/ German/ Italian/
Portuguese/ Spanish/ Dutch/ Japanese).
Содержание B500B
Страница 14: ...26 Code 39 Enable Code 39 Disable 27 Codabar Enable Codabar Disable...
Страница 15: ...28 UPC EAN JAN Enable UPC EAN JAN Disable 29 ITF 2 of 5 Enable ITF 2 OF 5 Disable...
Страница 16: ...30 Chinese Post Code Enable Chinese Post Code Disable 31 Code 128 Disable...
Страница 17: ...32 Code 93 Enable Code 93 Disable 33 EAN 128 Enable EAN 128 Disable...
Страница 18: ...34 Code 32 Enable Italian Pharmacy Code Code 32 Disable Italian Pharmacy Code 35 MSI enable MSI Disable...
Страница 19: ...36 EAN 13 Convert to ISBN ISSN Enable EAN 13 Convert to ISBN ISSN Disable 37 UPC EAN ADD ON OFF ADD ON 5 only...
Страница 20: ...38 ADD ON 2 only ADD ON 2 or 5 39 EAN UPC Add on none mandatory EAN UPC Add on mandatory...


