


EYE-LCD-1700/2100-HB-BC
35
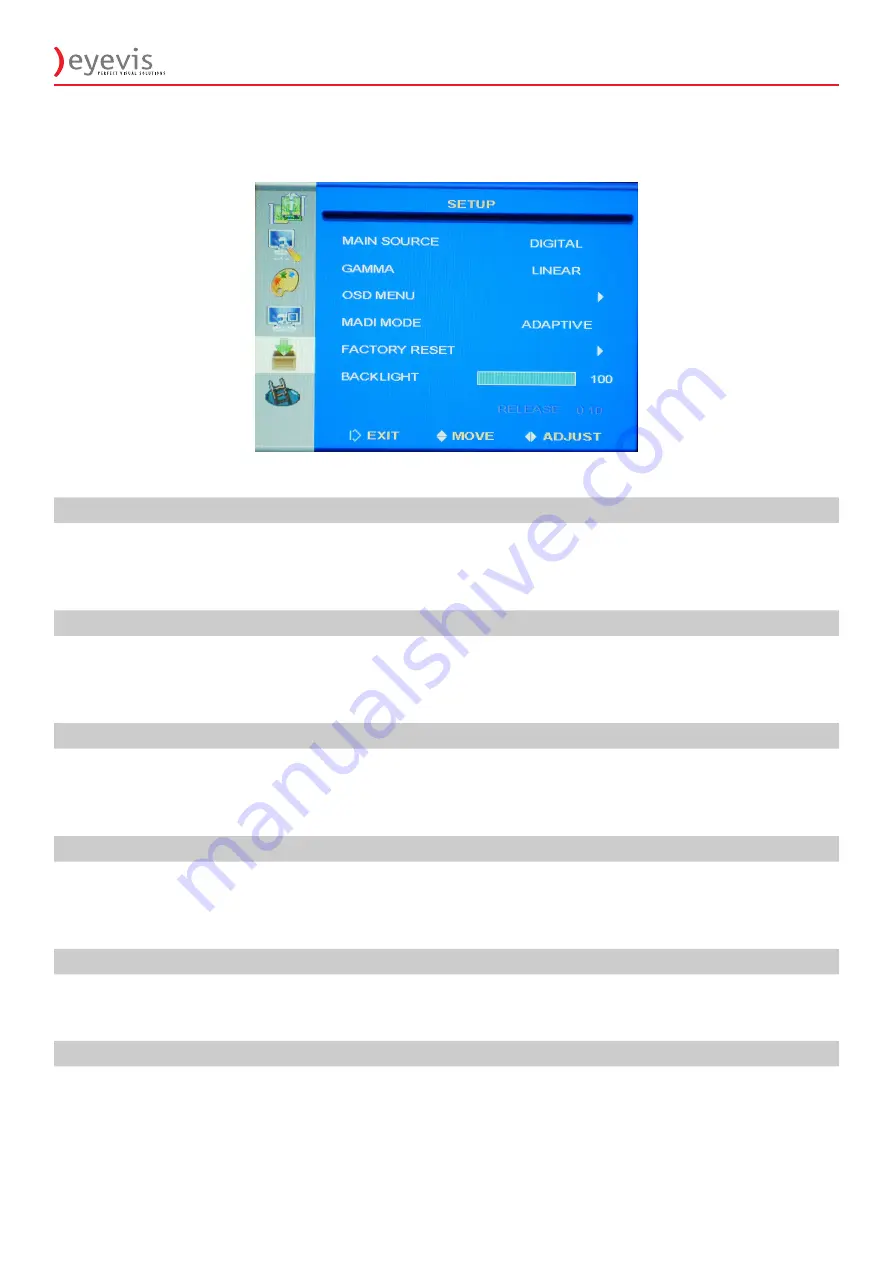
6.9 Setup Menu
MAIN SOURCE
Selects the input signal.
Press
◄
or
►
to select the desired input source:
(SDI, DIGITAL, ANALOG, COMPOSITE, S-VIDEO)
Press
MENU
to exit.
GAMMA
Adjust panel gamma curve.
Press
◄
or
►
to select the desired setting:
(LINEAR, CRT, X-RAY)
Press
MENU
to exit.
OSD MENU
Enter the OSD sub-menus.
Press
►
to enter the OSD sub-menus.
Press
MENU
to exit.
(covered below table)
MADI MODE
Motion Adaptive De-interlacing Control
Press
◄
or
►
select the desired setting:
(NORMAL, ADAPTIVE and OFF).
Press
MENU
to exit.
FACTORY RESET
Re-initialize mode independent descriptor and port dependent settings value.
Press or
►
to start the factory reset.
Press
MENU
to exit.
BACKLIGHT
Adjust the Pulse Width Modulation control
Press
◄
or
►
to select the desired level.
Press
MENU
to exit.
Range: 0~100 (Default: 100)


