10
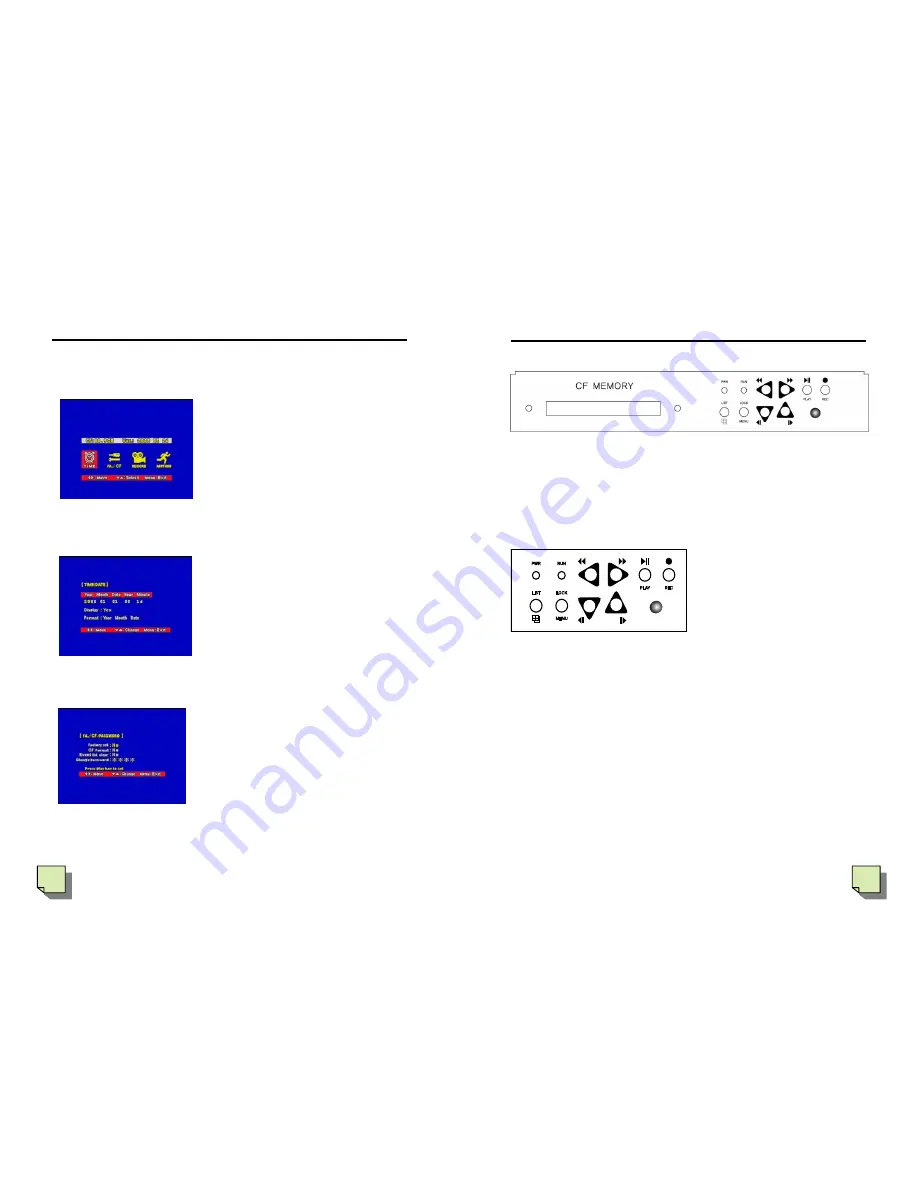
4-3. SETTING MENU
1.
MENU (Function Selection)
When you press the menu button.
You could control the 5 function mode
setting.
(The Press
►
button to select menu
about 5 functions) But press up/down
button will be moved to other functions.
Press MENU button or
◄
again, it will be
exit the Menu screen.
2. TIME / DATE
Press Adjust Time. Press
◄
,
►
to
move year. date, time and press
▲
,
▼
to adjust.
Time Display: Press Yes or No to select
Time display on the screen.
3. FA.MEMORY ( Initialize CF-card )
Factory Set
: To initialize of System setting.
HDD Format
: To initialize only HDD - YES.
Format Hard Disk Drive and Event List.
Event list clear:
Only clear for Event List.
Change Password
: To change the system
password. Password must be combination of
4 digit number (1 ~ 4)
IV. OPERATION
7
IV. OPERATION
4-1 FRONT PANEL
1. LED
It shows status of each operations.
PWR
LED : This LED shows status of DVR is power ON/OFF..
RUN
LED : This LED is flash when DVR is operating (Play or Record)
2. Buttons
Front Panel have 8 buttons which have
multi functions applied by modes. Must be
careful how to use all buttons by different
situations. It will explain special key with
any actions.
1) REC (Record)
When you press this key, DVR will start recording and if you press one more, Recording will
be stopped.
While you are watching live image, you can start recording by pressing this button. And if
you want to stop recording, simply press this button again.
2)
PLAY
( ▶||)
(Play / Pause)
Press this button (
▶
||).
it will be displayed recorded time, and user can pick time after can
play with play button. However, press one more time pause played screen.
When you press (
▶
||) button, you will see below OSD (On Screen Display) First Display
and TIME search.
When you see these modes, PLAY( (
▶
||) button has not only time search function but
also simple play function.
Содержание DVST GN-704JLC
Страница 1: ...USER S MANUAL English ...


