Quantum Ultra Series Videowall Processing Systems • Installation and Configuration
42
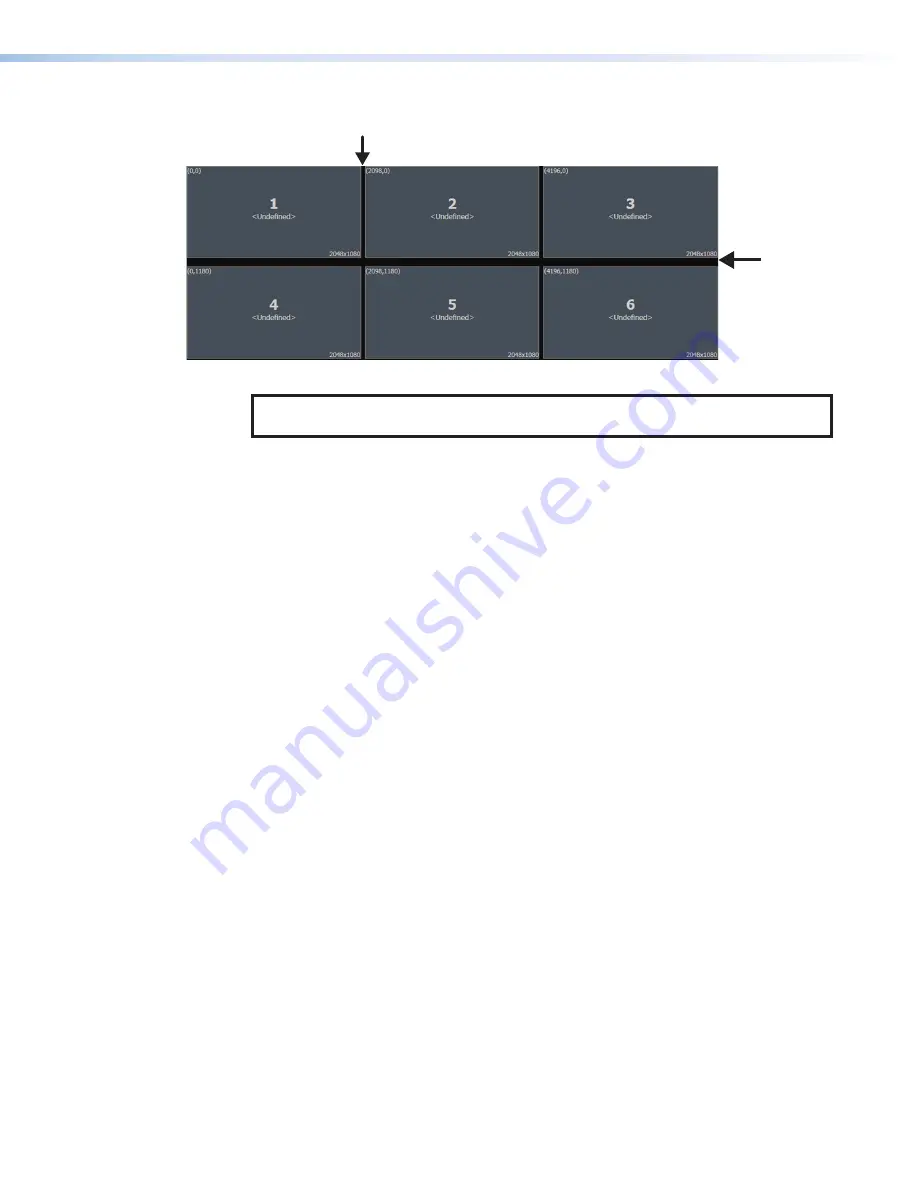
Horizontal Mullion
(50 pixels)
Vertical Mullion
(100 pixels)
Figure 37.
Example of Mullion Compensation Settings on a Canvas
NOTE:
For information about replacing input and output cards, see
Connecting to a Network
The Quantum Ultra Series provides an Ethernet network connection over UTP that is
separate from the network port dedicated for control. In secure installations, it is often
preferable to isolate the AV control network and separate it from the standard house
network. This provides access to the rich media content that the Quantum Ultra chassis
supports. You can access VNC sessions on your network using one LAN port, and the
AV control IP connection is not required to also be on your data network. Connect a
computer running VCS to the rear panel Ethernet (10/100/1000Base-T) LAN A or LAN
B port to let you control the Quantum Ultra and to set up videowall applications via the
computer.
You must use VCS to set up the Quantum Ultra Series chassis. However, you can use
SIS to reset the IP address of LAN port A from the default (192.168.254.254) without
interacting directly with the embedded operating system interface. LAN port B is not
accessible via SIS but can be configured via VCS or the embedded operating system.
After the system is configured with the desired wall layout and window presets, the
Quantum Ultra can be controlled directly by a control system via Ethernet or RS-232.
The network port on the computer or the network hub, router, or LAN must be able to
support a 100Base-T connection. When the Quantum Ultra Series processor is delivered,
it is set with the following default addresses and values:
•
Default IP addresses:
LAN A: 192.168.254.254
LAN B: 192.168.1.254
•
Default subnet mask:
255.255.255.0
•
Default gateway:
0.0.0.0
To change these addresses, use the Videowall Configuration Software (see the
VCS Help
File
), the
Control
Panel
on page 49) or (for LAN
port A only) SIS commands (see
37


