- 14 -
3.2.3 Make sure you understand the controls, their locations, their functions, and their
safety requirements.
3.3 OPERATING INSTRUCTIONS
3.3.1 Read the Engine Owner's Manual carefully for detailed operating instructions and
maintenance regarding the engine.
Before attempting to operate the unit, refer to Section 1 (Safety) and follow all
safety, operating, and preparation guidelines as stated in that section.
3.3.2 Starting the Engine
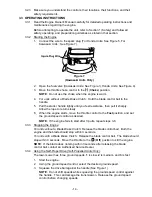
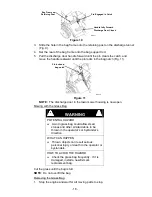
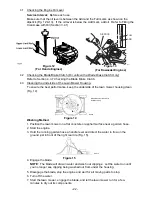
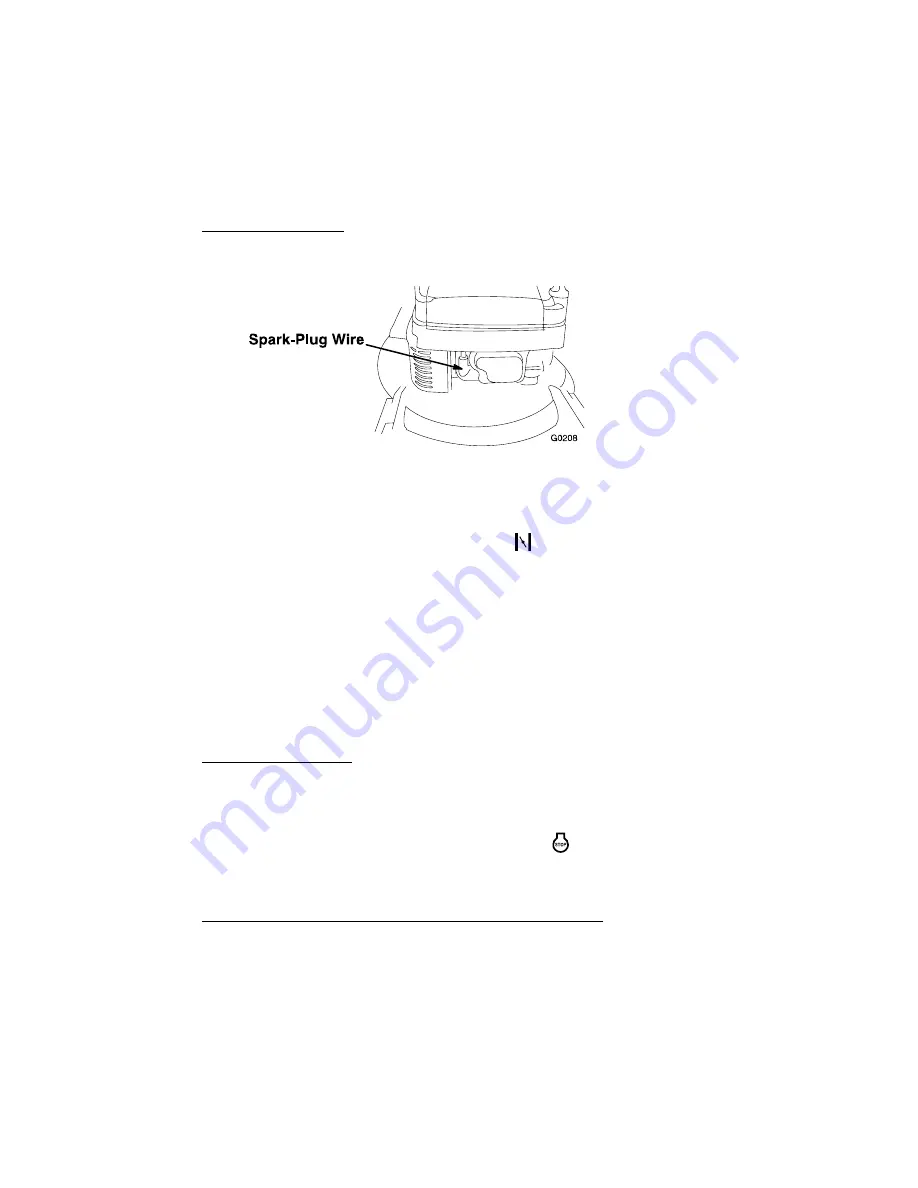
1. Connect the wire to the spark plug (For Honda Units: See Figure 5, For
Kawasaki Units: See Figure 7).
2. Open the fuel valve (Kawasaki Units: See Figure 3, Honda Units: See Figure 4).
3. Move the throttle-choke control to the
(
Choke
) position.
NOTE
: Do not use the choke when the engine is warm.
4.
For units without a Blade Brake Clutch
: Hold the blade control bail to the
handle.
5. Pull the starter handle lightly until you feel resistance, then pull it sharply.
Allow the rope to return slowly.
6. When the engine starts, move the throttle control to the
Fast
position, and set
the ground speed control as desired.
NOTE
: If the engine fails to start after 3 pulls, repeat steps 3-6.
3.3.3 Stopping the Engine:
For units without a Blade Brake Clutch:
Release the blade control bail. Both the
engine and the blade should stop within 3 seconds.
For units with a Blade Brake Clutch
: Release the blade control bail. The blade should
stop within 3 seconds. Move the throttle to the (
Off
) position to kill the engine.
NOTE
: If the blade does not stop within 3 seconds after releasing the blade
control bail, contact an Authorized Service Dealer.
3.3.4 Using the Self-Propel Drive (
Self-Propelled Units Only
):
The lawn mower has three ground speeds.
1
is slow,
2
is medium, and
3
is fast
1.
Start
the
engine.
2. Using the ground speed control, select the desired ground speed.
3. Squeeze the drive bail against the handle (See Figure 1).
NOTE
: Do not shift speeds while squeezing the ground speed control against
the handle. This can damage the transmission. Release the ground speed
control before changing speeds.
Figure 7
(Kawasaki Units Only)
Содержание Metro 21 Series
Страница 44: ... 39 NOTES ...
Страница 45: ... 40 NOTES ...
Страница 46: ... 41 NOTES ...
Страница 47: ... 42 SERVICE RECORD Date Description of Work Done Service Done By ...

