


Exinda Network Orchestrator
4 Settings
|
383
Complete the following tasks to continue…
Installing the Active Directory Connector
Providing the required permissions to the Exinda AD service
Providing the required permissions to the Exinda AD service
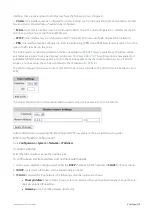
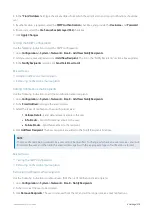
When installing the Exinda AD Connector on a server that is not a domain controller, ensure that the account in charge
of running the service is an Active Directory domain admin account.
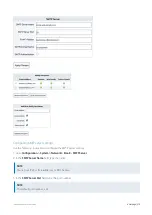
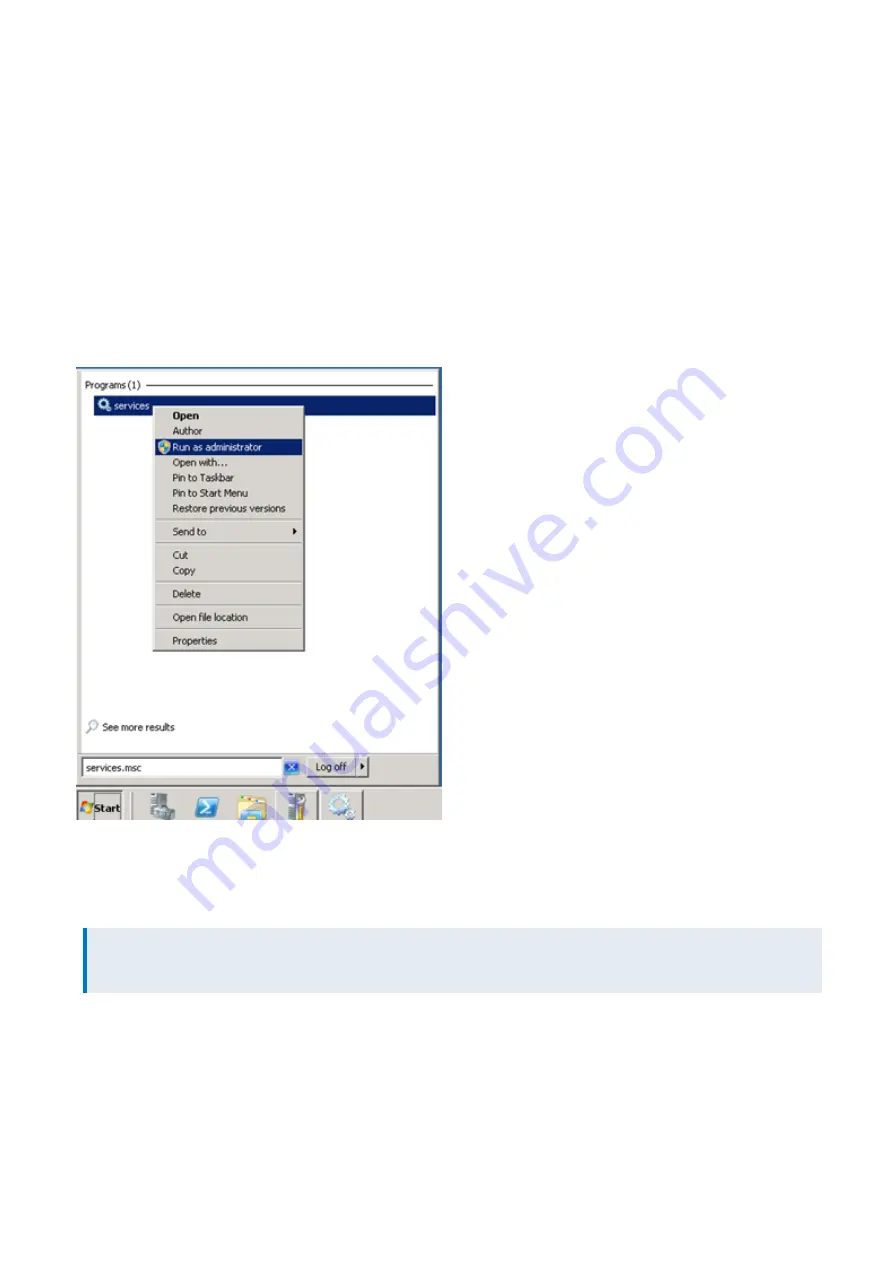
To provide the required permissions
1.
Run
Services.msc
as an Administrator.
2.
Find the entry for the
Exinda AD
service.
3.
Right click on it and select
Properties
.
4.
On the
Log On
tab, click
Browse
and select the domain and administrator account.
NOTE
The domain and slash (\) are required.
5.
Type the
Password
and confirm.
Содержание EXNV-10063
Страница 98: ...Exinda Network Orchestrator 2 Getting started 98 6 Click New The New Virtual Hard Disk wizard opens ...
Страница 99: ...Exinda Network Orchestrator 2 Getting started 99 7 Select VHDX as the Disk Format type and click Next ...
Страница 130: ...Exinda Network Orchestrator 2 Getting started 130 Screenshot 35 The life cycle of configuration status ...
Страница 369: ...Exinda Network Orchestrator 4 Settings 369 ...
Страница 411: ...Exinda Network Orchestrator 4 Settings 411 Screenshot 168 P2P OverflowVirtualCircuit ...
Страница 420: ...Exinda Network Orchestrator 4 Settings 420 Screenshot 175 Students OverflowVirtualCircuit ...
Страница 451: ...Exinda Network Orchestrator 4 Settings 451 ...