


FREEStyler DTS INSTALLATION AND QUICKSTART GUIDE
INSTALLATION
1.Unpacking & Setup
When recieving the FREEStyler it is important to inspect the crate for damage. If there is damage
please document and notify EXILE Technologies. If no damage is found proceed to the next step.
When lifting the FREEStyler out of the shipping box be careful to lift it out from the metal chassis
underneath. DO NOT LIFT FROM THE PLASTIC CASING OR PRINT CARRIAGE.
The FREEStyler should be installed on a sturdy, FLAT surface with no obstructions underneath as
the Y axis Printhead mechanism requires a minimum clearance underneath the FREEStyler of 25
mm (1.00”).
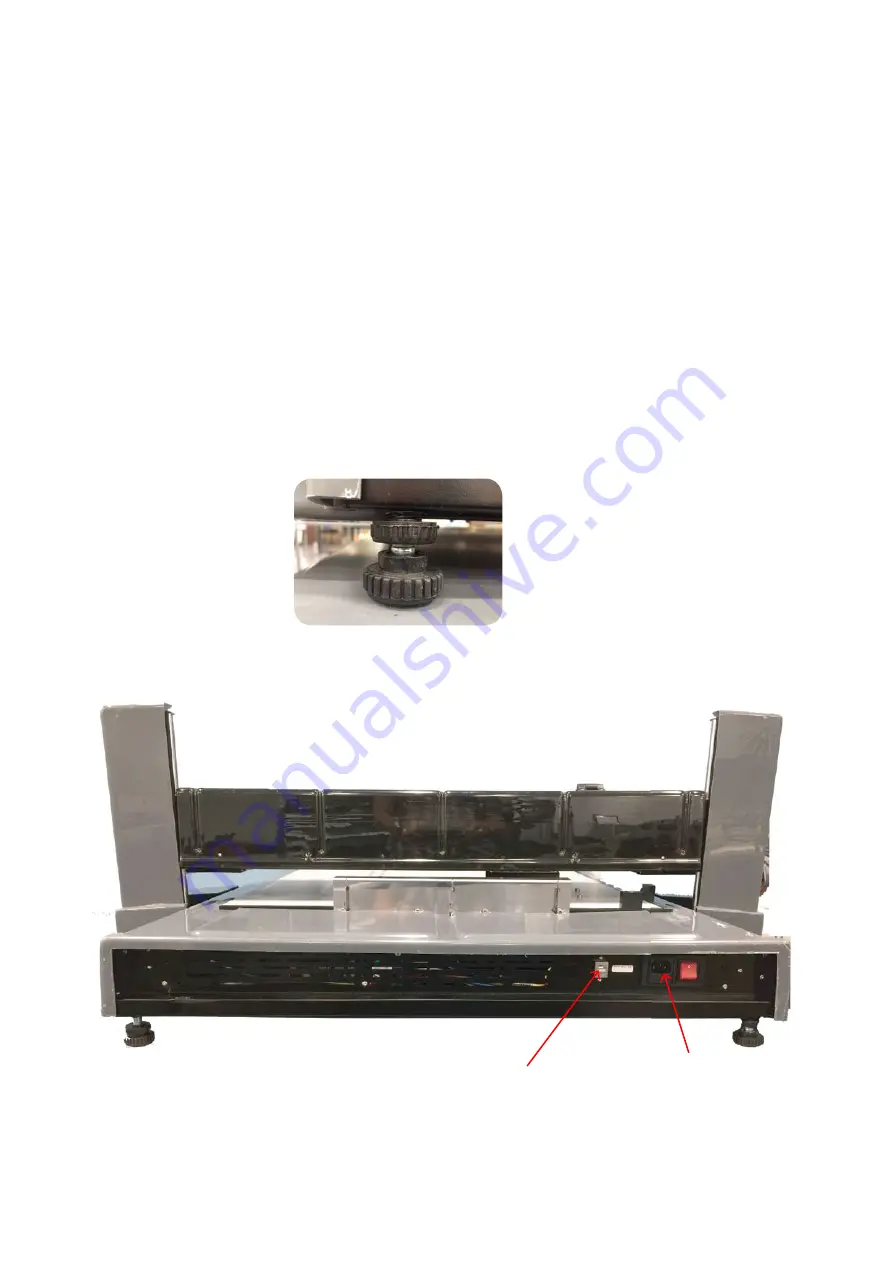
Adjust the height to ensure the FREEStyler is level using the adjustable feet on the four corners of
the chassis.
Check level on flatbed.
Attach the power cable and USB cable as shown to the connections at the rear of the FREEStyler
as shown:
Connect the other end of the USB cable to the Windows PC where the FREEStyler Print Utility will
be installed (MiniFB).
You can now power on the FREEStyler.
USB
POWER


