EverFocus EVS200A Скачать руководство пользователя страница 8


EVS200A/EVS200AW 


1. Press 

  button to display the "Live" page.   


Double click on the image to show a full screen display, double click again or press 

ESC to return normal display. 


2. Press 

Playback

 button to start playback. 


3. Press   

button to enter Setting page. In Setting page, there 

are 8 sections: [System Info], [User Config], [Network], [Video], [Audio], [User], 

[Event] and [System]. Please refer to “4. SETTING” for further information. 


4. Press   

button to close the network page.   
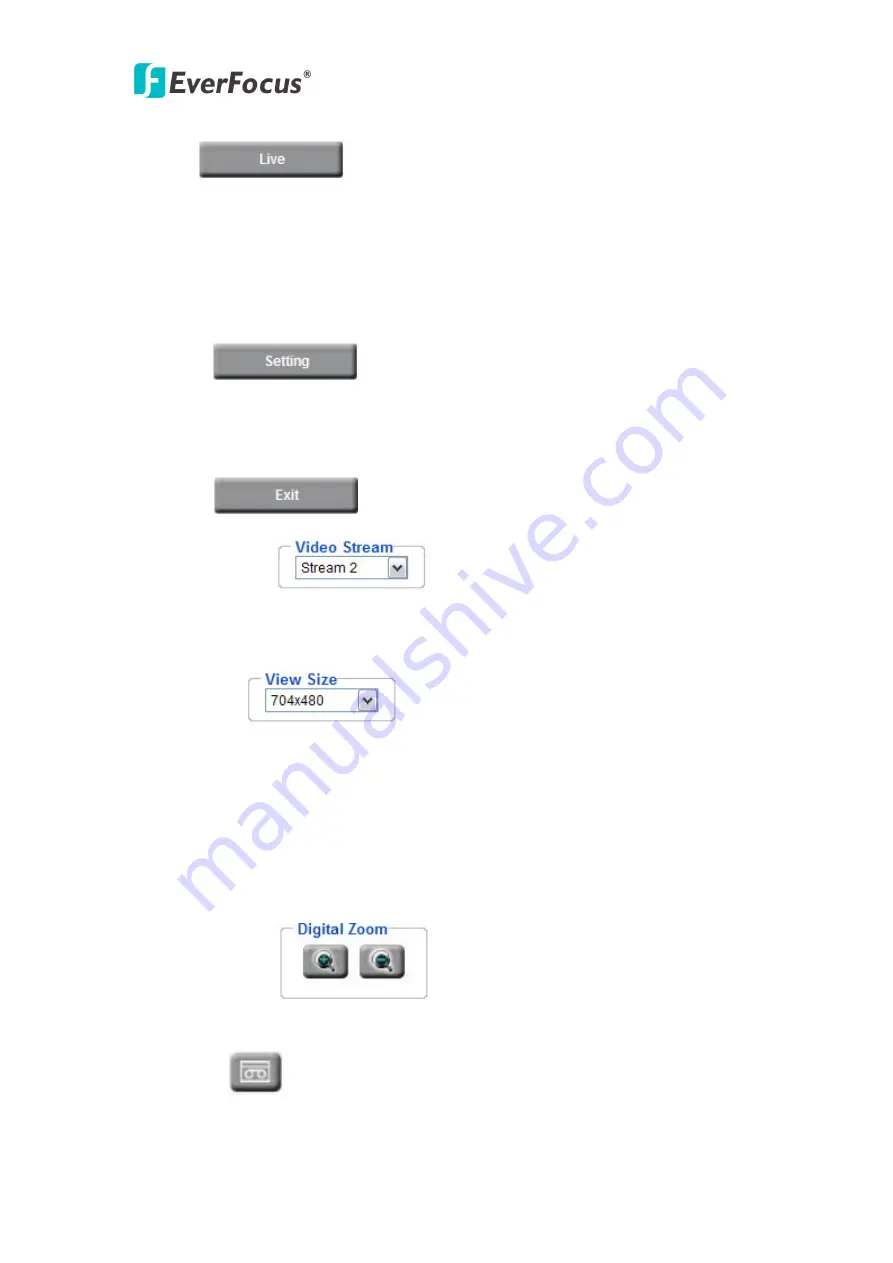
 

5. Video Stream   


Select Video Stream from Stream 1 / Stream 2, Stream 3 and Stream 4.


Please refer to 

“4.4.1 Multi Streaming” for further information. 


6. View Size   


You can select View size to either reduce or enlarge the image to the appropriate view 

size. 


Select the view size for live images from:   

NTSC: 704*480/640*480/352*240/320*240/176*120 

PAL: 704*576/640*480/352*288/320*240/176*144 


7. Digital Zoom   


Press “+” or “-“ button to enlarge / reduce the displayed image. (max. is X10) 


8. Record     


The record button is used to record the current video stream. The location where the 

Содержание EVS200A

Страница 1: ...EVS200A EVS200AW User s Manual Copyright EverFocus Electronics Corp Release Sept 2009 Rev 0...

Страница 2: ...equipment not expressly approved by EverFocus or parties authorized by EverFocus could void the user s authority to operate the equipment This device complies with part 15 of the FCC Rules Operation i...

Страница 3: ...by turning the equipment off and on the user is encouraged to try to correct the interference by one or more of the following measures Reorient or relocate the receiving antenna Increase these separa...

Страница 4: ...should be performed by qualified service personnel only in accordance with the National Electrical Code or applicable local codes Terms and Trademark Ethernet Internet Explorer Linux Microsoft Windows...

Страница 5: ...twork 14 4 3 2 DDNS 16 4 3 3 Bandwidth 17 4 3 4 SMTP FTP 18 4 3 5 Network Alarm reserved for PowerCon 20 4 3 6 Wireless EVS200AW 21 4 4 VIDEO 22 4 4 1 Multi Streaming 23 4 4 2 Camera 25 4 5 AUDIO 25 4...

Страница 6: ...irectional audio communication in parallel to video EVS200AW wireless model has full support for both Wired Equivalent Privacy WEP and Wi FI Protected Access WPA WPA2 making it one of the most secure...

Страница 7: ...for how to find the IP address Step 3 Input Username and Password Default Username is user1 and default password is 11111111 Step 4 Click Login button Step 5 You might be required to download Active X...

Страница 8: ...mation 4 Press button to close the network page 5 Video Stream Select Video Stream from Stream 1 Stream 2 Stream 3 and Stream 4 Please refer to 4 4 1 Multi Streaming for further information 6 View Siz...

Страница 9: ...ctions will be effective if they have been set in Event menu Please refer to 4 7 1 Event 13 Manual Control Reset Alarm Press Reset Alarm button to reset alarm output remotely 14 Status Display The nam...

Страница 10: ...u 4 1 System Info System information and system log check of the setup menu can be performed on this page The System Info page has 2 tabs Information tab and the Log tab 4 1 1 Information System Infor...

Страница 11: ...Date Time displaying date and time of the log Log message all information and event message including login user s IP reboot firmware upgrade load factory default configuration reset and event detecte...

Страница 12: ...g items Text Setting Check the box for text of Machine name Date Time or Frame Rate to be displayed on the screen Text Color Foreground Color Select the foreground color of text to be displayed by mov...

Страница 13: ...the folder to be exported File size Able to limit the size of the single recording file in minutes When the single recording file size exceeds the time you set system will create a new file to contin...

Страница 14: ...g the change 4 3 Network The network settings and the settings relating to Network DDNS Bandwidth SMTP FTP and Network Alarm can be configured on this page The Network setup page has 5 tabs of the Net...

Страница 15: ...r to input user name and password IP address When not using DHCP enter the IP address of the camera Do not enter the IP address already used for PC or other network cameras Subnet Mask This field is t...

Страница 16: ...ly the setting changes or Reset to reset without saving the change 4 3 2 DDNS DDNS setting When accessing the camera via the Internet from the network environment of which the global IP address is obt...

Страница 17: ...ovider it is necessary to configure Record ID FQDN Username and password and register in DDNS server Refer to the web site for further information about the DDNS Press Apply to apply the setting chang...

Страница 18: ...to apply the setting changes or Reset to reset without saving the change 4 3 4 SMTP FTP Set SMTP The settings relating to the mail server used to send the e mail notification from the camera to prede...

Страница 19: ...o send a testing mail to the assigned address Set FTP The settings relating to the FTP server used to transmit the alarm images can be configured FTP Server Enter the IP address or the host name of th...

Страница 20: ...EVS200A EVS200AW 20 4 3 5 Network Alarm reserved for PowerCon Set Network Alarm This function is reserved for PowerCon software for the detail setting please refer to PowerCon network alarm protocol...

Страница 21: ...nnect directly to a host equipped with a wireless adapter in a peer to peer environment Channel Shows the wireless channel currently in use Default 1 Security Disable Security WEP or WPA PSK WPA2 PSK...

Страница 22: ...the following rules As 64 hexadecimal 0 9 A F characters As 8 to 63 ASCII characters Authentication AES or TKIP Default AES Network Key Entering a key in either hexadecimal or ASCII format Confirm Key...

Страница 23: ...for live view Check Enable box to enable other streams Format Select encode format from H 264 MPEG4 and MJPEG Resolution NTSC 4CIF 704 480 VGA 640 480 CIF 352 240 QVGA 320 240 QCIF 176 120 PAL 4CIF 7...

Страница 24: ...without saving the change Note 1 User can assign one stream for each channel 2 EVS200 should record both channels specified by the streams here If not enough computation power supported only storing I...

Страница 25: ...Apply button whenever the above three picture parameters are adjusted the values will be set to the channel 2 Click Reset to reload to the original value when just jump into this page 4 5 Audio The E...

Страница 26: ...S200A EVS200AW The audio source can be selected from Internal Microphone External Audio Input L and External Audio Input R Audio Input volume Adjust the Audio Input Volume for the audio input devices...

Страница 27: ...change supervisor s account and password User a user can view the Live View page system info network video audio and adjust user config settings The user does not have access to the user event and sys...

Страница 28: ...x x x Record to PC x x x x x Network Alarm x x x Re trigger x x x 4 7 1 Event The settings relating to event occurrences such as settings for the event occurrence motion alarm and time mask can be co...

Страница 29: ...and it will be highlighted Press button to remove the event Check Enable checkbox to activate event actions when the event occurs in the specified time zone To change the priority of events click on t...

Страница 30: ...r the event e g Event 1 3 Select Manual Trigger as event type 4 Select Upload to FTP as action type 5 Check Enable Pre alarm Buffer and Enable Post alarm Buffer For pre and post alarm buffer setting p...

Страница 31: ...ection simply right click the mouse the selected polygon will be deleted Press All Areas to have the entire screen selected for motion detection Press Clear to clear all selections There are 5 motion...

Страница 32: ...re and after a trigger e g 5 seconds before or after a motion has been detected Pre Alarm Buffer Image saved internally in the server from the time immediately preceding the trigger Input the desired...

Страница 33: ...lows you to schedule event actions Select Always for event action to be taken continuously Press button to add new time period Mask name Input a mask name for the new time period Check the check box f...

Страница 34: ...g changes or Reset to reset without saving the change 4 8 SYSTEM Date Time Daylight Saving SD card and Maintenance settings can be performed on this page The System page has 4 tabs of the Date Time ta...

Страница 35: ...year Time Click on Hour Minute Seconds am pm then use up arrow to increase value and down arrow to decrease value Press Apply to apply the setting changes or Reset to reset without saving the change S...

Страница 36: ...ry March April May June July August September October November December Set the starting time change of daylight saving time Choose the From time and End time when daylight saving starts Set the end t...

Страница 37: ...the value selected from the following 50 20 10 5 2 0 Event Recording FTP backup only Event video will record to SD card when network is disconnected Normal Follow the event actions settings you have...

Страница 38: ...to press button Once button is pressed button will be shown for user to insert the SD card back Press button to format SD card Obtain images on the SD memory card 1 Access the camera using the Windows...

Страница 39: ...There are six different speeds 2400 4800 9600 19200 38400 57600 Default 9600 Protocol Select protocol from EVF Pelco D Pelco P Samsung and Panasonic Default Pelco D Data Bit This field is the data bit...

Страница 40: ...S setting Default The Default button should be used with caution Pressing this button will return all of the camera s settings including the IP address to the factory default values The camera will th...

Страница 41: ...rmware Press Browse button to search firmware file Press Upgrade button to upgrade the firmware Note 1 Do not disconnect power to the unit during the upgrade The unit reboots automatically after the u...

Страница 42: ...rd IEEE 802 11b g Antenna gain 2 dBi TERMINAL I O Alarm Input Output 1 1 Serial Connector RS 485 EVENT MANAGEMENT Event Triggered Alarm input Manual trigger Motion detection and Schedule recording Not...

Страница 43: ...n recycling centre In the European Union there are separate collection systems for used electrical and electronic product Please help us to conserve the environment we live in Ihr EverFocus Produkt wu...

Отзывы: