


24
Step4
When finished adjusting focus and zoom, remove the focus aiding cap from the camera
lens, replace the the dome cover and tighten the tamperproof screws with provided
wrench.
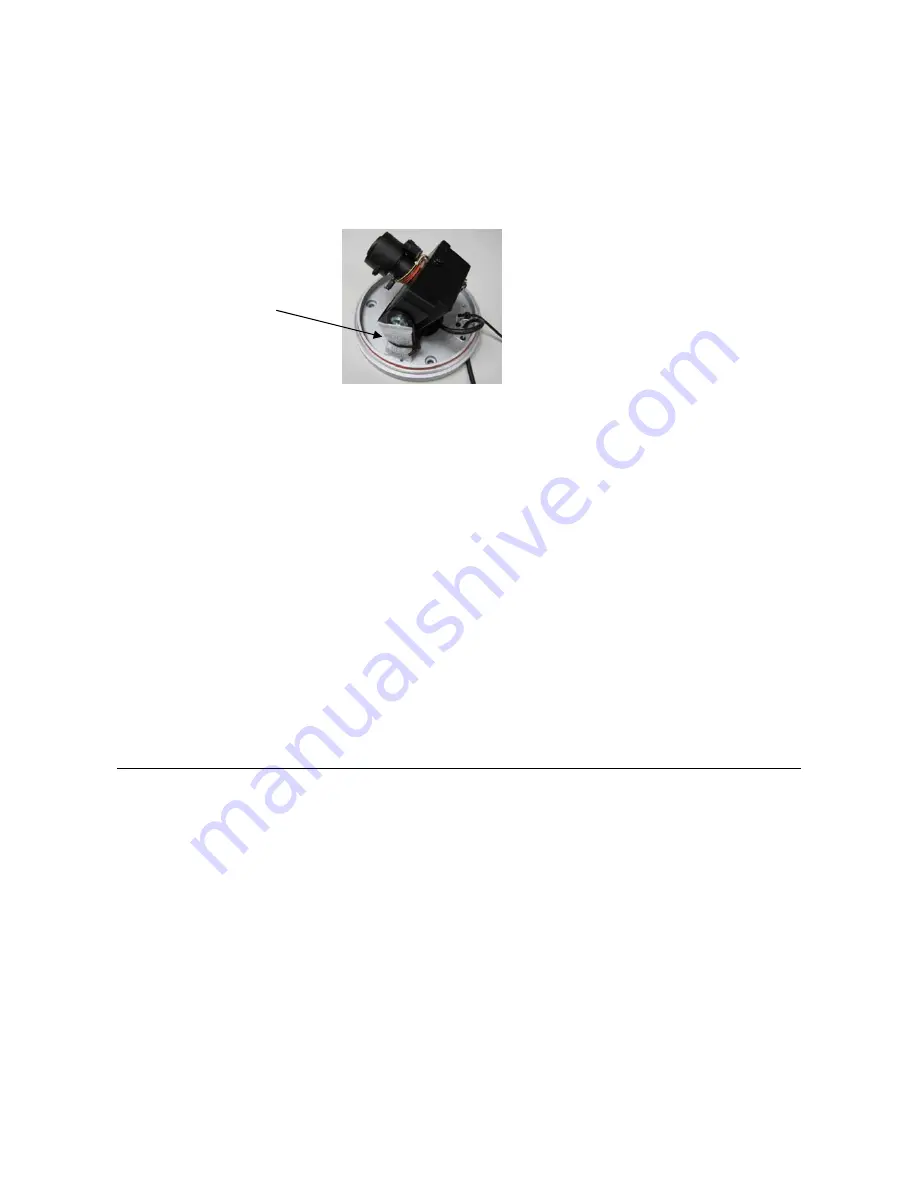
NOTE:
If necessary, you can put desiccant pack in bracket side. Using cable to fix it before place the
cover back to camera.
2.2.3 Camera Setting
2.2.3.1 OSD User Setup Menu
This camera utilizes an On Screen Display (OSD) user setup menu.
Please refer to Chapter 3 OSD Menu & Configuration, to get more detail about OSD menu steps.
C H A P T E R 2 I N S T A L L A T I O N
Desiccant Pack


