6.
Getting Start
Open the battery compartment and insert two new 1.5V AAA
batteries into the clock. Ensure that the battery polarities "+"
and "-" are correct. Close the battery compartment.
When insert the batteries, all the symbols on the LCD display
will light up for 3 seconds. You will hear a "dididi" sound. The
projection clock starts to detect indoor temperature. Connect
the clock with DC power adapter at the same time.
Insert 2 new 1.5V AAA batteries to wireless remote sensor.
Ensure that the battery polarities "+"and "-"are correct. Close
the battery compartment.
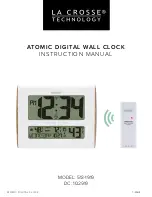
The projection clock starts to make a connection with the
outdoor remote sensor, displayed by a flashing symbol in the
"OUT" display area on the LCD screen. This procedure will take
about 3 minutes.
7.
Radio-controlled time reception
The clock will now scan the DCF frequency signal and DCF
symbol will be flashing. when the time code is received
successfully after 3-7 minutes, the radio-controlled time
and the DCF-symbol are displayed steadily in the display.
Caution:
During the DCF time reception period, backlight turns
off and no outdoor temperature will be transmitted.
If there is no reception possible, manual initialization can be
helpful
Press “+” and “-” button at same time.
The DCF symbol will be flashing.
Содержание 47133
Страница 1: ......
Страница 3: ...13 3 Barometric Pressure Trend 16 14 Low Battery 15 USB Charger 16 Waste Disposal 19 ...


