securethesetogether.(image11).Repeat
atallfourshoulders.Youalsowillneedto
dothisonthevestibulepole.Alsocon-
nectVelcroaroundpolesasshownon
image12.
12. Nowattachflysheetcornerhookstothecorresponding
cornerrings.Stretchoutandextendovervestibuleand
connecttothesamestakes
usedtostakeoutthe
vestibulefrontandsingle
pointback.
13. Stretchoutthefrontvestibule
andsecure.Stakeoutsideflystretchcords,twooneeach
side.Yourtentwillnowbesetup.(image13)
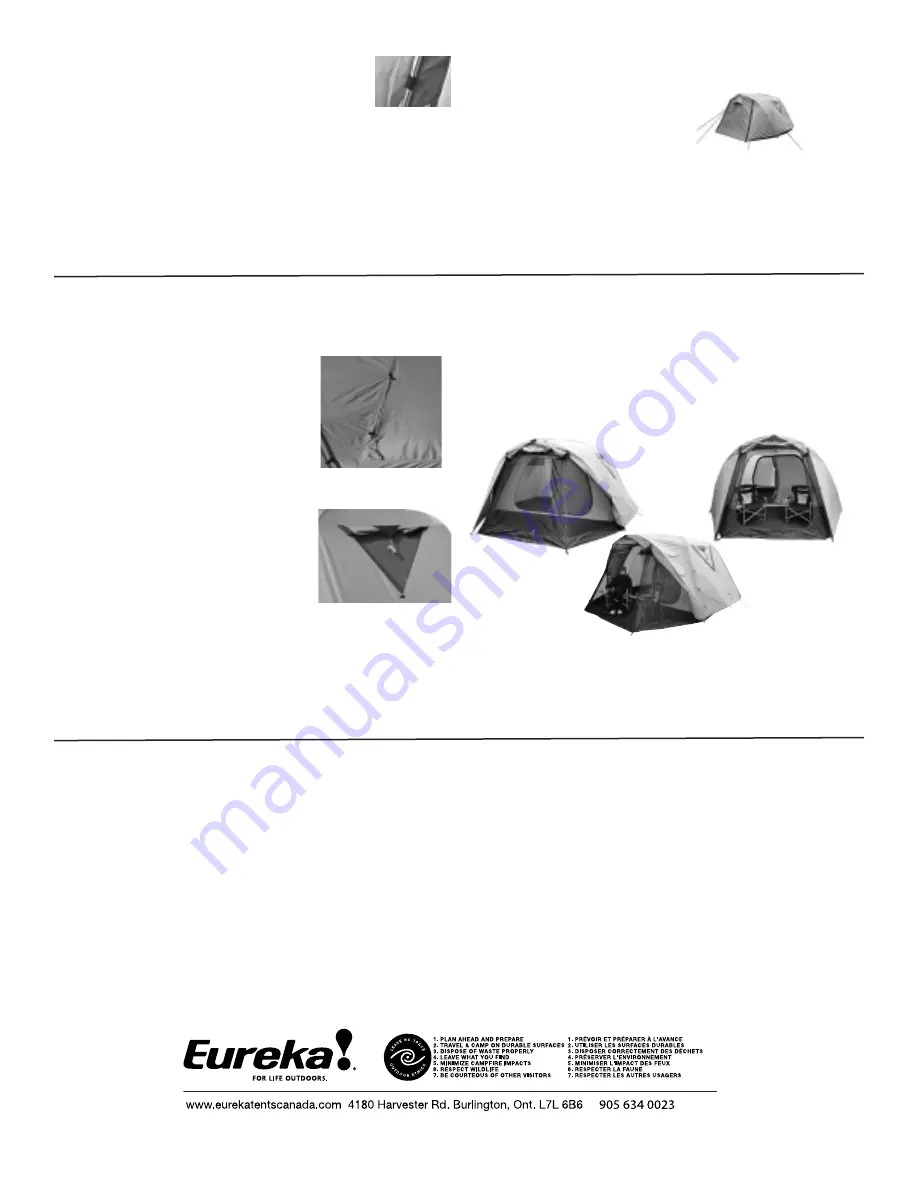
1. Whenwindyorstormyconditionsareexpectedbesureto
stakeoutyourtentusingtheattached
guylines.(imageT1)
2. Sidetrianglewindowscanbefully
openedinfairweather,haveflapan-
gledandsecuredinlightrain,or
closedsecurelyinstormconditions.
(imageT2)
3. OptionalBonEchoAir/Tourfootprints
areavailableandfitunderyourtent
andprovideafloorinthemain
vestibule.
4. Centerpaneloffrontvestibulecanbe
elevatedandusedasanawningwith
optionalsupportpoles
5. Mainvestibuleflapscanallberolled
backandsecuredorrolleddownde-
pendingonweatherconditions.(seethreeoptionsimage
T3)
6. Mainvestibulehasoverlapclipinfloorwithfullnoseeum
meshwallsandroofforfullbugprotection.
a. Alwaysstoredryandinadrylocation.Prolongedstorage
whilewetwillresultinmildewdamagetofabriccoatings
andvoidwarranty.
b. Tocleanuseanonabrasivecloth,warmwaterandamild
detergentscrubbinggently.
c. Yourtenthasbeencoatedtoahighwaterprooflevelandall
exposedseamsaretapedtomakeeveryefforttokeepyou
dry.Itispossible,althoughveryunusual,forsmallpinpoint
leakstooccurovertime,usuallyatlocationswherethere
aremultiplesewinglayerslikeguylineattachments.Ifthis
happenstoyou,locatetheareaandwhenthetentisdry
simplyapplyseamsealant,suchasSeamGrip,tothearea
andletdry.Rubbingoncandlewaxorevencrayonwillhelp
aswell.
d. Forlongerzipperlifeopenzippersproperlybyusingthe
sliders(pullers).Donotgrabfabricandpullaparttoopen
thezipperasthiswilleventuallyfatiguethesliderandyour
zippercoilswillnolongermesh.
T1.
T3.
T2.
TENT CARE
TIPS
12
.
13.


