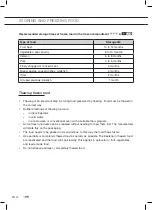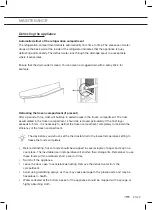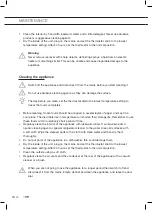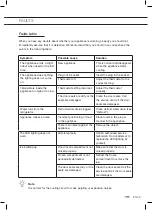
EN 15
INSTALLATION AND CONNECTION
Spacers
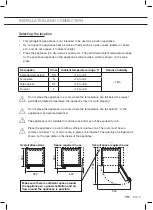
2 spacers are included. In order to get a better cooling performance, we suggest you install these
spacers at the back of your appliance.
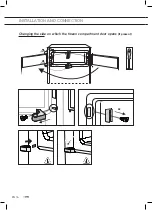
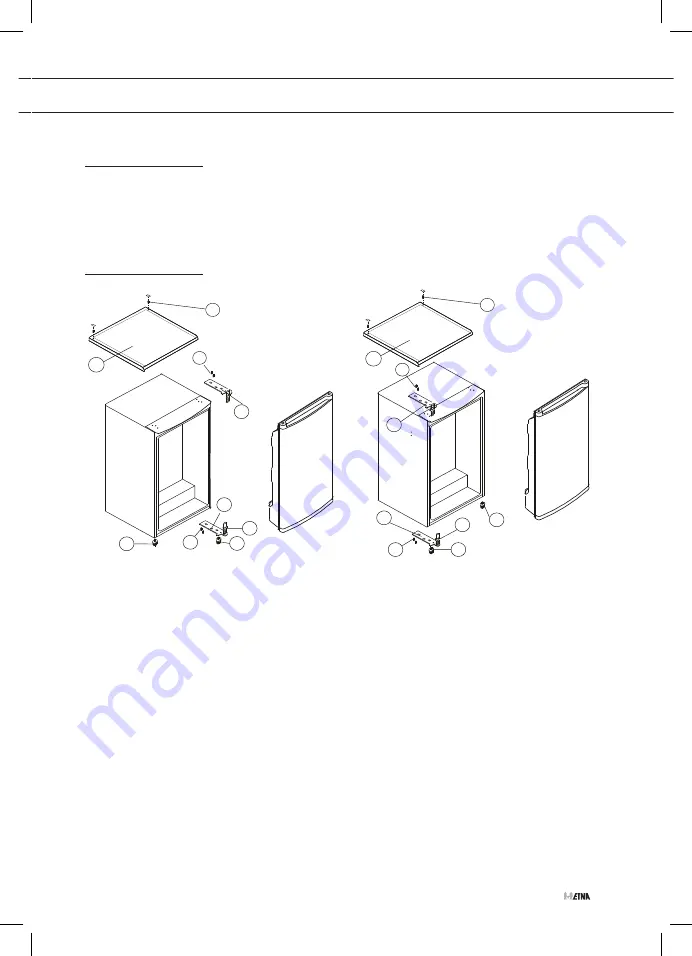
Changing the side on which the door opens
1
1
5
5
2
2
4
4
8
8
3
3
9
9
6
6
7
7
1. Remove the cover plates and screws (6) holding the top panel (7) to the unit.
2. Remove the top panel.
3. Remove the two screws (1) holding the top hinge (5) (right side) to the frame.
4. Remove the top hinge (5).
5. Lift the door off the bottom hinge pin and place it on a non-scratching surface.
6. Remove the two screws (8) holding the bottom hinge (2).
7. Remove the bottom hinge (2).
8. Remove the left front leg (4) and transfer it to the right side.
9. Before replacing the bottom hinge (2), remove the hinge pin (9) and reverse the direction of
the hinge (2). Reassemble the bottom hinge (2) on the left hand side using the two screws
(8).
10. Refit the hinge pin (9) into the bottom hinge (2).
11. Lower the door onto the bottom hinge pin (9).
12. While holding the door in the closed position, reassemble the top hinge (5) on the left hand
side using the two screws (1). Do not tighten the screws (1) until the top of the door is level
with the counter top.
13. Refit the top panel using the screws and place the cover plates (6).
Содержание KKV6143WIT
Страница 16: ...NL 16 INSTALLEREN EN AANSLUITEN Draairichting deur vriescompartiment wijzigen indien van toepassing 2x...
Страница 68: ...DE 16 INSTALLATION UND ANSCHLUSS Anschlagseite der Tiefk hlfacht r ndern falls vorhanden 2x...
Страница 94: ...EN 16 INSTALLATION AND CONNECTION Changing the side on which the frozen compartment door opens if present 2x...
Страница 106: ...EN 28...
Страница 107: ...EN 29...

