


28
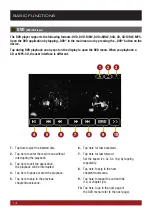
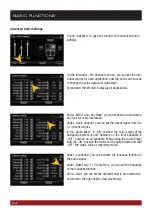
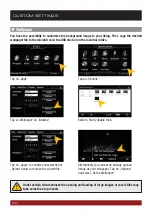
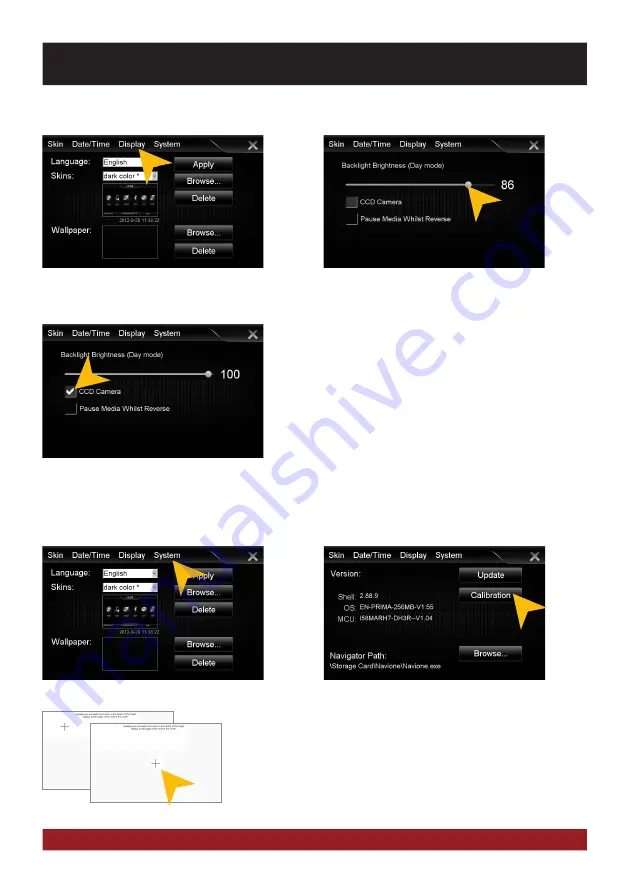
Calibration of the touchscreen operation
If the touchscreen function is inaccurate you can recalibrate the display. Proceed as follows:
Tap with the included stylus marker on the „+“. Then the „+“ will be
moved to another location, then tap again on the „+“ and repeat this
process until the calibration is complete. Then confirm the calibration
process.
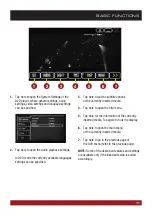
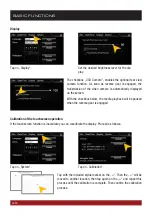
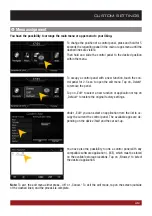
Set the desired brightness level for the dis-
play.
The checkbox „CCD Camera“, enables the optional rear view
camera function. As soon as reverse gear is engaged, the
transmission of the video camera is automatically displayed
on the screen.
With the checkbox below, the media playback will be paused
when the reverse gear is engaged.
Display
Tap on „Display“.
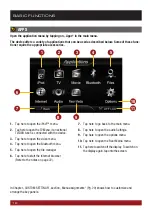
BASIC FUNCTIONS
Tap on „System“.
Tap on „Calibration“.
Содержание VN710 MB-A1
Страница 1: ...VN710 MB A1 O W N E R S M A N U A L V 1 3...