22
10.4. Disabling the pulse signal and power supply
To avoid “twitching” of conventional servos you can disable the
pulse signal being sent to the servo after it reaches the end position.
Further you can set the power supply to each individual servo be
interrupted after it reaches the end position. You may refer to CV
50 to do these settings.
Bit
Description
0
Initial impulse after command received: If set, then the pulse
signal will be sent to the servo only after first command is given
to the servo.
1
Timeout impulse after position reached: After the servo reaches
the end position, the signal is turned off.
2
Power on servo only while moving: The power supply to the
servo is interrupted usually and enabled only while the servo
should be moving
11. RailCom®
RailCom® is a technology which was developed by the company
Lenz Elektronik, Giessen for transmitting information from the de-
coder back to the digital control unit. The past DCC system could
only transmit data from the control unit to the decoder but could
never verify whether the data actually arrived or not.
The following information can be sent from the SwitchPilot deco-
der to the central unit:
CV Information:
The decoder can return all CV values to the cen-
tral unit via Railcom®. A programming track will not be necessary
in the future.
11.1. How to activate RailCom®
All SwitchPilot decoders are capable of using Railcom®. It is disab-
led by factory default and can be enabled as follows:
Set CV 29 Bit 3.
Set CV 28 Bit 1.
The first time the Railcom® function is being enabled it should
be done on the programming track (see sections 7 and 8). After
Railcom® has been turned on you can directly continue with the
other programming steps.
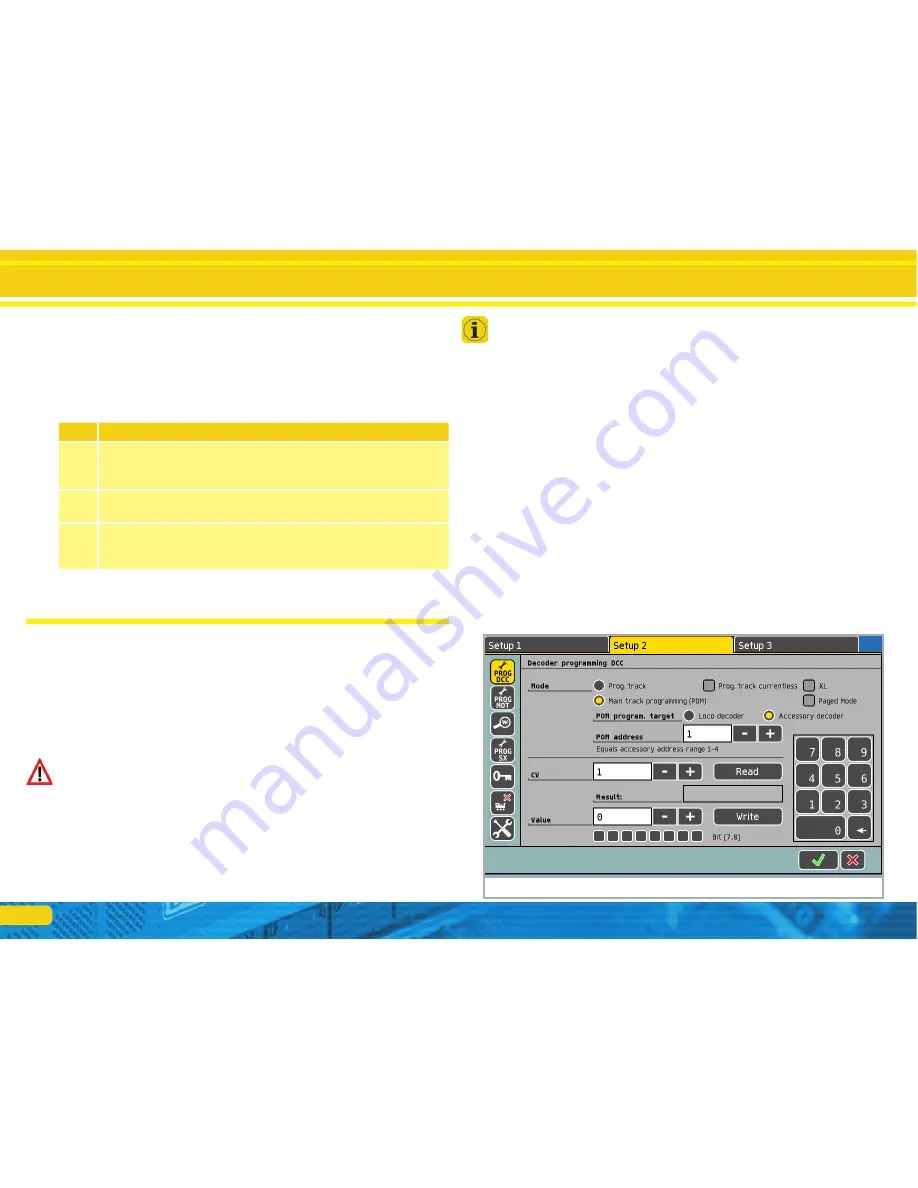
11.2. How to read out CVs with RailCom® and ESU ECoS
After a successful Railcom® activation you can directly read CVs
from the main track – as long as this is being supported by your
central unit. The approach to do this for the ESU ECoS is displayed
here. In our example a decoder which is configured for turnout
numbers 13 – 16 needs to be read. The turnout numbers 13 – 16
correspond to decoder address 4.
• Go to the general programming menu of the ECoS
• Choose „Main Track Programming, „DCC“, and then „Solenoid
Accessories“
• Enter the decoder address of the SwitchPilot on the bottom right.
In our example, this is number 4.
• Enter the number of the CV that you would like to read in the
CV field
• Press the „Read“ button
• The read value must be displayed immediately.
Servo outputs
Figure 13: SwitchPilot programming


