Copyright © 2014 ESI (Estech Systems, Inc.). • 0450-1374 Rev. B
Quick-reference
Phone User’s Guide
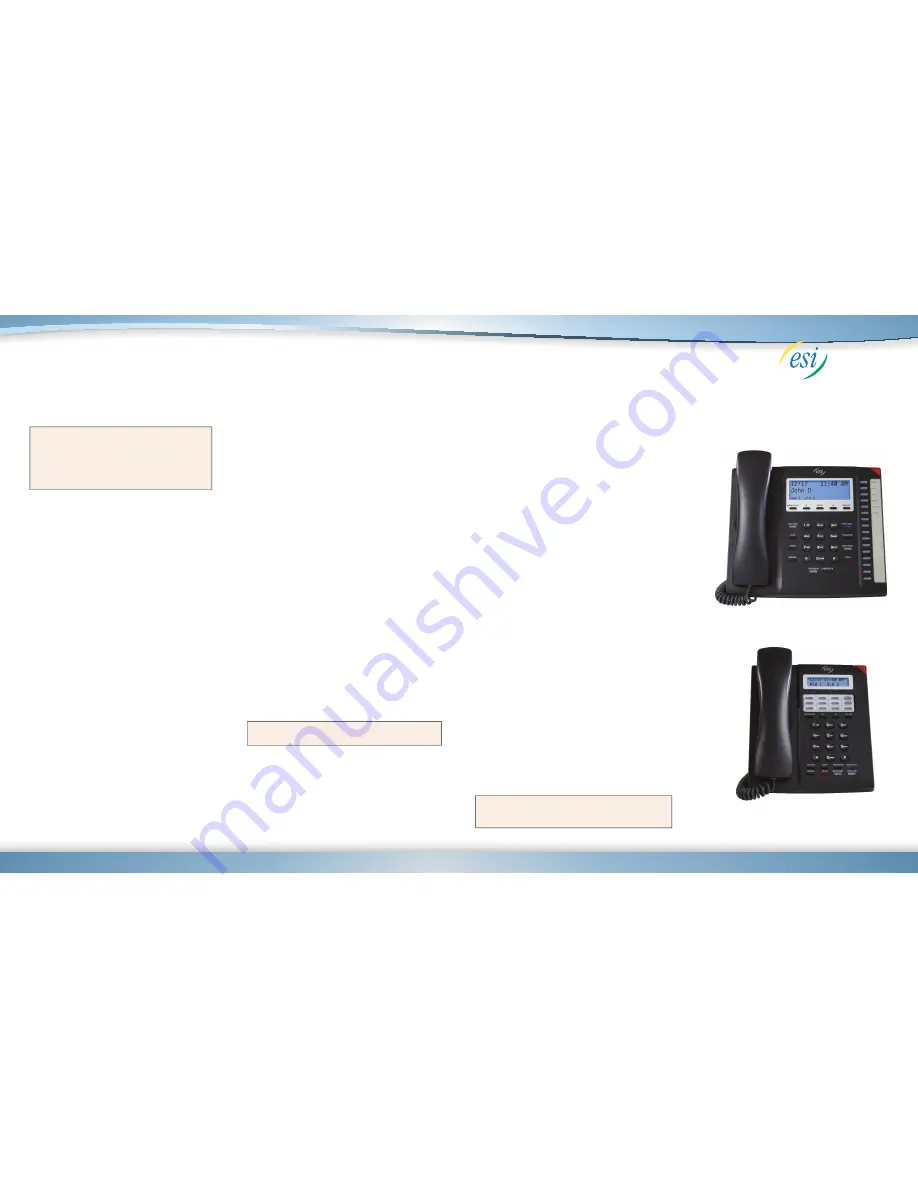
for ESI 45SIP and ESI 30SIP
0450-1374 Rev. B
Some features described herein either may not be available
or may not have been activated on your ESI service.
For more details, consult your System Administrator.
Personalizing your phone with
programmable keys
General information on programming the keys
1.
Access the menu by pressing
MENU/EXIT
.
2.
Scroll to
Phone Settings
and press
SELECT
.
3.
Scroll to
Prog Feature Key
and press
SELECT
.
Tip:
On the ESI 30SIP, programmable keys start with
key number
1
at the top-left corner moving left to
right, top to bottom, and ending with key
12
in the
lower-right corner.
On the ESI 45SIP, programmable keys start with
key number
1
at the top and end with key number
16
at the bottom.
4.
Scroll to choose the desired key type (
Lines
,
Features
,
or
Speed Dials
) and press
SELECT
. (For specific
information regarding speed-dial numbers, refer to
“Programming a speed-dial key,”
below
.)
5.
Scroll to and select
Save
to complete the process.
You also can choose to save when you finish all
programmable changes; you’ll be prompted to choose
Yes
or
No
before exiting the menu.
Programming a speed-dial key
A speed-dial key can be programmed for phone numbers or
extensions that you dial most often.
1.
Press
MENU/EXIT
. Scroll to and select
Phone Settings
,
then
Prog Feature Key
.
2.
Scroll to the desired key number to program, and
press
SELECT
.
3.
Scroll to choose the number or optional account
selections. Press
SELECT
to confirm these changes.
4.
To reset the selected key, choose
Reset
in the key
programming menu.
5.
Scroll to and select
Save
to complete this process.
You also can choose to save when you finish all
programming changes, which you do by pressing
MENU/EXIT
a few times; you’ll be prompted to choose
Yes
or
No
before exiting the menu.
Adjusting device settings
For each of the following, press
MENU/EXIT
, then scroll and
press
SELECT
. Choose
Phone Settings
and then
Device
Settings
. From there, proceed as directed.
Auto-answering
When this is enabled, all calls sent to your phone will
automatically be answered via the speakerphone.
1.
Choose
Auto Answer
and press
SELECT
.
2.
Scroll to choose
Enable
or
Disable
.
3.
Press
SELECT
to confirm the change.
Backlight timeout
1.
Scroll to
Backlight Timeout
and press
SELECT
.
2.
Scroll to choose how long, in seconds, the display
backlight should stay on before turning off.
3.
Press
SELECT
to confirm the change.
Military (24-hour) time
1.
Scroll to
Military Time
and press
SELECT
.
2.
Scroll to choose
Enable
or
Disable
.
3.
Press
SELECT
to confirm the change.
Ringtone
This setting is available for only the ESI 45SIP.
1.
Scroll to
Ringtone
and press
SELECT
.
2.
Scroll to choose the desired ringtone.
3.
Press
SELECT
to confirm the change.
Missed-call message
When this is enabled, the display will indicate the number of
missed calls since the call history was last reviewed.
1.
Scroll to
Missed Call Message
and press
SELECT
.
2.
Scroll to choose
Enable
or
Disable
.
3.
Press
SELECT
to confirm the change.
Comfort noise
When this is enabled, there will be a soft background sound,
called “comfort noise,” that fills silence when you’re using
the handset, speakerphone, or (optional) headset, giving you
assurance that the phone or call is working and connected.
Caution:
Enabling comfort noise may present undesired audio
in certain call scenarios, especially at high volume.
1.
Scroll to
Comfort Noise
and press
SELECT
.
2.
Scroll to choose
Enable
or
Disable
.
3.
Press
SELECT
to confirm the change.
Web-based phone programming
There are two ways to access Web-based programming of
your phone, depending on the system to which your phone
is connected:
• The
user dashboard
used with ESI Cloud Services,
accessible via the Internet. This provides a more seamless
programmable experience that we call
ESI Intelitouch
™
.
• The
Web programming tool
used with ESI’s IP Server 900
or a third-party IP-based PBX, accessible from anywhere on
your organization’s local area network (LAN).
Each method is supported by the
Internet Explorer
,
Chrome
,
Firefox
, and
Safari
Web browsers.
Connecting to the user dashboard
Remember, this is available only if your phone is connected
to ESI Cloud Services.
1.
In your Web browser, open a new window or tab.
2.
Go to
my.esihs.net/portal
in the window or tab you
opened in the previous step.
3.
Enter your
USERNAME
and
PASSWORD
provided by
your System Administrator.
4.
To access the user dashboard, click
LOG IN
.
Once inside the user dashboard, you can (and should)
change the
PASSWORD
attribute in programming. (The
USERNAME
attribute is fixed.)
Connecting to the Web programming tool
1.
Connect your phone to your organization’s LAN.
2.
Obtain the phone’s IP address from either the phone
itself or your System Administrator.
Here’s how to obtain the IP address from the phone
:
a.
When your phone is idle (you’ll see the date and time
in the top row of the display), press
MENU/EXIT
.
b.
Scroll to and select
System
.
c.
Scroll to and select
Network
.
d.
Scroll to
LAN IP Address
. This will display the
phone’s IP address.
3.
Open a new window or tab in your Web browser.
4.
In the Web browser’s address bar, type:
http://
<IP address>
:8000
. . . where
<IP address>
is the phone’s IP address that
you obtained in step 2. Then, press
Enter
on your
PC’s keyboard.
The browser will take you to your phone’s login page.
The default login information is:
User name
—
user
Password
—
1234
You can (and should) change the user name and
password in programming.
ESI 45SIP phone
ESI 30SIP phone
ESI 30SI


