PT-19XL PLASMARC CUTTING TORCH
SECTION 3
INSTALLATION AND OPERATION
5
3.1 INSTALLATION
To mount the PT-19XL torch, refer to F-12-528 (PCM-
8), F-14-493 (PCC-11), or F-15-116 (ESP-1000 Sys-
tem).
To use 4-1/2 ft. to 25 ft. torches with the PCC-11, holes
must be drilled in the PCC-11 sheetmetal opposite the
7/16-20 L.H. and 7/16-20 R.H. fittings on the brass
power block. These holes should be fitted with appro-
priate bushings.
Recommended hole size: 1.094" Dia.
Recommended snap bushing: P/N 639533
The "B" L.H. fitting should be plugged with:
"B" size plug (PCC-8 P/N 996857) and nut
"B" L.H. (P/N 10N40).
The "C" L.H. fitting should be plugged with:
"C" size plug (P/N 996856) and nut "C" L.H.
(P/N 10N18).
The existing 1.073" and 1.500" diameter holes should
be covered or plugged.
3.2 OPERATION
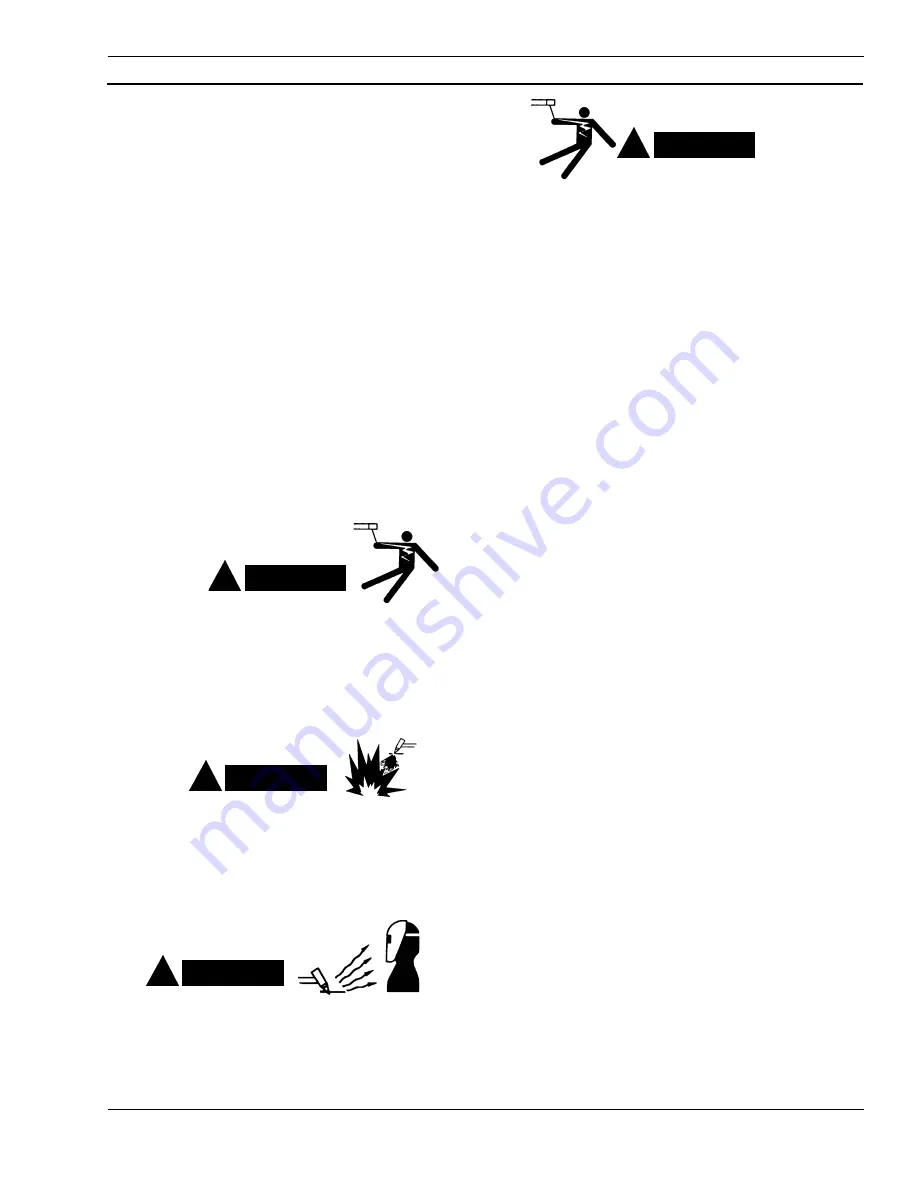
ELECTRIC SHOCK CAN KILL. Precautionary mea-
sures should be taken to provide maximum protec-
tion against electric shock. Therefore, before mak-
ing any adjustments or performing any mainte-
nance on the torch, make sure the power to the
torch is shut off.
Never use oil or grease on this torch. Handle parts
only with clean hands on a clean surface. Oil and
grease are easily ignited and burn violently in the
presence of oxygen under pressure. Use silicone
lubricant only where directed.
Wear the usual protective gloves, clothing, and
helmet. Helmet with filter lens shade No. 6 or 7
should provide adequate protection for your eyes.
!
DANGER
NOTE
!
WARNING
!
WARNING
!
WARNING
D. If cutting arc is lost during a cut, the pilot arc will
immediately reignite as long as the switch is
depressed. You then have about 6 seconds to
move the torch close enough to work to rees-
tablish the cutting arc.
E. The cutting arc will extinguish at the end of the
cut; however, the start switch should be re-
leased to keep the pilot arc from reigniting.
Never touch any torch front end parts (Nozzle,
Retaining Cup, Etc.) unless the power switch is in
the off position, and primary power is shut off at the
disconnect.
A. Position the torch over the edge of the
workpiece with the tip of the nozzle set at about
3/8" above workpiece (standoff).
If piercing thick plate, increase standoff to 1/2" for up to
1/2" thick plate, 3/4" for thicker plate. Then return to
3/8" standoff after completing the pierce and you are
ready to cut.
B. Lower your protective helmet and activate
start switch. Pilot arc and high frequency will
energize and gas will start flowing. The pilot
arc should then transfer to the cutting arc.
NOTE
If cutting arc does not start within 6 seconds, the pilot
arc will shut off. Deactivate start switch. Check to be
sure gas pressures are adequate, work cable is firmly
connected to workpiece, cooling water is on, standoff
is about 3/8", etc. Then start from step one again.
C. Maintain the standoff of 3/8" throughout the cut
and move the torch at a rate that produces the
desired cut quality. The cutting should pro-
duce a straight fine spray of molten metal
emitting from beneath the workpiece as illus-
trated in Figure 4-1. See Table 2-1 for recom-
mended cutting speed range.
Содержание PT-19A
Страница 2: ...This page intentionally left blank ...


