LBI-39169
MONITORING EDACS FAULT CONDITIONS
34
8.3.2.3 Deleting
Events
Events continue to appear in an Event Browser list until you delete them or the maximum number of events for the
browser has been reached. The primary reason to delete events is so you can determine when new events occur. If you do not
delete events, the buttons in the Event Category window will continue to show status color, and you will not know when
newer events of the same or lower severity level occur. If you want to keep the event, but not delete it, you can assign it to a
new category or new severity level. In this way you can “acknowledge” the receipt of the event, but keep the event around to
look at later. If you have installed the Network Node Manager product, you can create a new category using the event
configurator. Call this new category “Acknowledged Events”, and assign acknowledged events to that category.
Once deleted, the same events does not re-appear. Though an event will appear in an event category list and the “All
Events” category list, you need only delete the event from one list.
8.3.2.4 Filtering
Events
Within any Event Browser window, you can filter based on one or more criteria. These criteria are severity, source,
and/or event. You use filtering to reduce the number of events displayed. The status of the filtering is shown at the bottom of
the Event Browser window, showing how many events are in the category, as well has how many of each severity are
displayed. If filtering is on, the status will change to indicate that a subset of the events in the category is displayed. You can
then perform operations based on the filtered events, the selected events, or all the events in the category.
As an example, to see all the Critical events:
1. Select the “All Events” category.
2. From the “All Events Browser” pick View -> Set Filters..., then chose Critical severity.
You now see all the critical events. After resolving all these events, you will want to delete them.
3. If you select Action ->Delete -> Filtered Events, the event category indicator light will change from red to the next most
severe color.
8.3.2.5 Locating Source of Event
To locate the source of a specific event perform the
following:
1. Select the event and then choose Action->Highlight
Source
on Map.
This will bring up a submap containing the source of the
event. The label for the source object will be highlighted.
2. Select the source object and use the menu items in the
OVW map menu bar to obtain more information or to fix
the problem that has caused the event.
8.3.2.6 Obtaining Detailed Event Information
Use the following procedure to obtain additional detailed
information regarding the cause of the alarm and possible
corrective action:
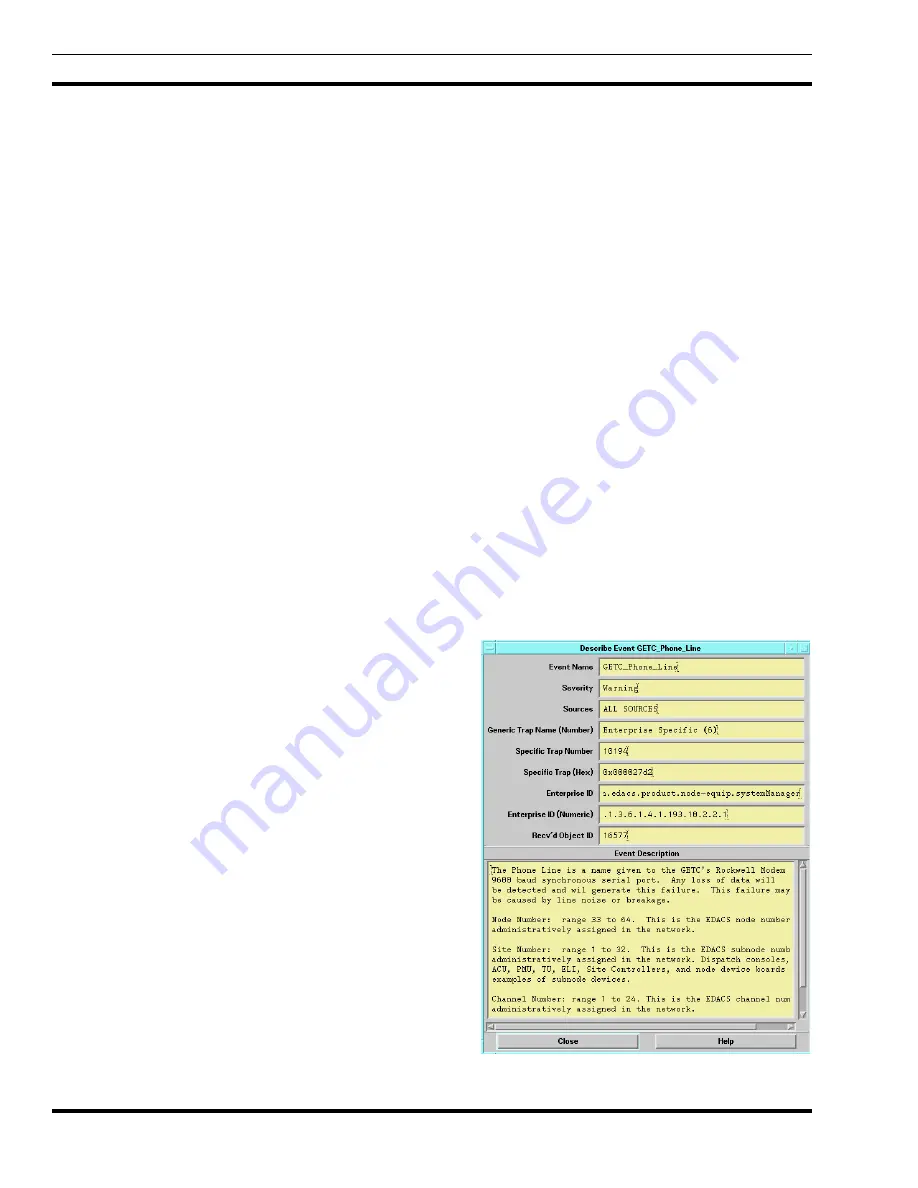
1. Highlight the event, and select the View->Event
Description from the Event Browser menu bar.
Figure 13 - Event Description


