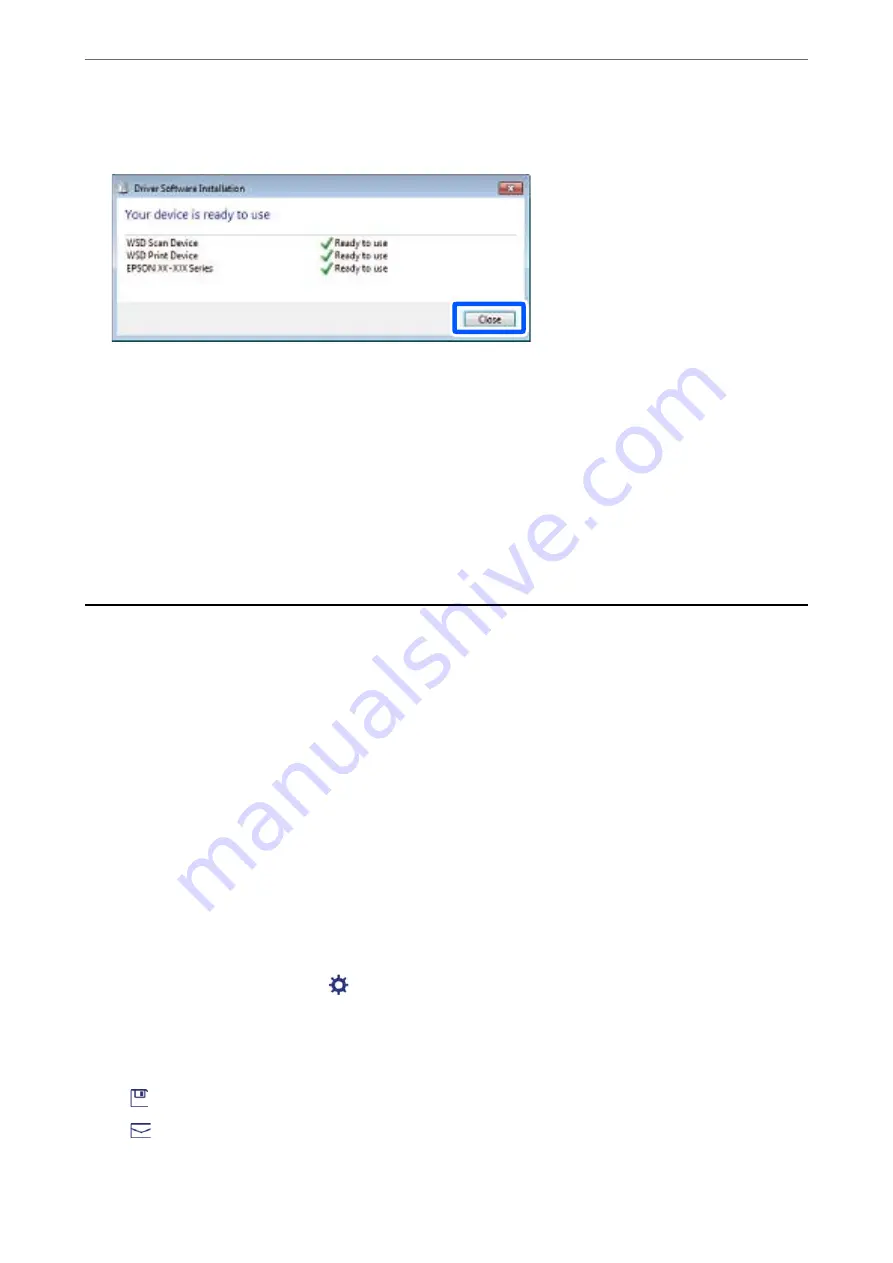
5.
Check the message, and then click
Close
.
6.
Open the
Devices and Printers
screen.
❏
Windows 7
Click start >
Control Panel
>
Hardware and Sound
(or
Hardware
) >
Devices and Printers
.
❏
Windows Vista
Click start >
Control Panel
>
Hardware and Sound
>
Printers
.
7.
Check that an icon with the printer's name on the network is displayed.
Select the printer name when using with WSD.
Scanning Originals to a Smart Device
Note:
❏
Before scanning, install Epson iPrint on your smart device.
❏
Epson iPrint screens are subject to change without notice.
❏
Epson iPrint contents may vary depending on the product.
1.
Place the originals.
“Placing Originals” on page 43
2.
Start Epson iPrint.
3.
Tap
Scan
on the home screen.
4.
Tap
Scan
.
Note:
You can set the scan settings. Tap the
icon at the top-right of the screen.
Scanning starts.
5.
Check the scanned image, and then select the saving method.
❏
: Displays the screen where you can save the scanned images.
❏
: Displays the screen where you can send scanned images by email.
>
Scanning Originals to a Smart Device
126
Содержание WorkForce Pro WF-C879R
Страница 21: ...Part Names and Functions Front 22 Rear 26 ...
Страница 36: ...Loading Paper Paper Handling Precautions 37 Paper Size and Type Settings 38 Loading Paper 39 ...
Страница 100: ...Copying Available Copying Methods 101 Basic Menu Options for Copying 106 Advanced Menu Options for Copying 108 ...
Страница 469: ...3 Click Edit Administrator Information Settings to Use the Printer Setting a Shared Network Folder 469 ...
Страница 567: ...Where to Get Help Technical Support Web Site 568 Contacting Epson Support 568 ...


