


2.
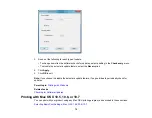
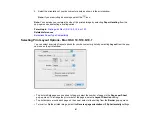
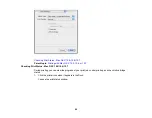
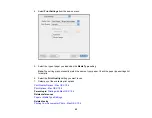
Select the type of document you are printing as the
Document Type
setting. The software
automatically sets the Adjustments options for that document type.
3.
If necessary, customize the Adjustments settings as instructed on the screen.
4.
Print a test copy of your double-sided document to test the selected settings.
5.
Follow any instructions displayed on the screen during printing.
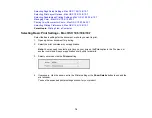
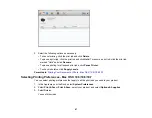
Double-sided Printing Options and Adjustments - Mac OS X
Parent topic:
Printing with Mac OS X 10.5, 10.6, or 10.7
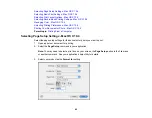
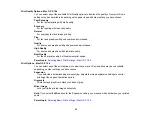
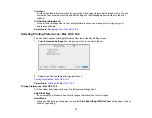
Double-sided Printing Options and Adjustments - Mac OS X
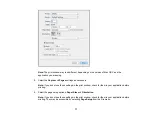
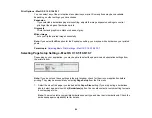
You can select any of the available options in the
Two-sided Printing Settings
or
Output Settings
pop-up menu to set up your double-sided print job.
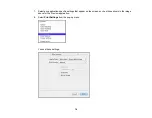
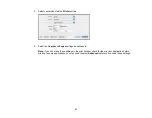
Two-sided Printing Options
Long-Edge binding
Orients double-sided printed pages to be bound on the long edge of the paper.
Short-Edge binding
Orients double-sided printed pages to be bound on the short edge of the paper.
83
Содержание WorkForce 545
Страница 1: ...WorkForce 545 645 Series User s Guide ...
Страница 2: ......
Страница 13: ...WorkForce 545 645 Series User s Guide Welcome to the WorkForce 545 645 Series User s Guide 13 ...
Страница 29: ...4 Slide the edge guide shown below to your paper size 29 ...
Страница 34: ...2 Pull out the paper cassette 3 Slide the edge guides outward 34 ...
Страница 39: ...2 Pull out the paper cassette 3 Slide the edge guides outward 39 ...
Страница 52: ...Parent topic Placing Originals on the Product Related topics Copying Scanning 52 ...
Страница 112: ... Normal preview Click the Auto Locate icon to create a marquee dotted line on the preview image 112 ...
Страница 116: ...3 Adjust the scan area as necessary 116 ...
Страница 123: ...123 ...
Страница 131: ...3 Adjust the scan area as necessary 131 ...
Страница 164: ...You see this window 5 Select Fax Settings for Printer You see this window 164 ...
Страница 175: ...5 Select Fax Settings for Printer You see this window 175 ...
Страница 176: ...6 Select your product if necessary 7 Select Speed Dial Group Dial List You see this window 176 ...
Страница 193: ...2 Insert your memory card into the correct slot making sure the card is oriented correctly 193 ...
Страница 249: ...249 ...
Страница 254: ...254 ...
Страница 281: ...5 Remove any jammed paper from the rear cover 6 Open the rear cover and remove any additional jammed paper 281 ...
Страница 282: ...7 Remove any paper jammed in the rear of your product Avoid touching the paper feed rollers 282 ...
Страница 285: ...3 Remove any jammed paper inside the cassette 4 Remove any paper jammed inside the paper cassette slot 285 ...
Страница 286: ...5 Carefully follow all paper loading instructions when you load new paper 6 Replace the paper cassette 286 ...
Страница 290: ...6 Lower the document cover 7 Raise the ADF input tray 8 Carefully remove the jammed paper 290 ...


