


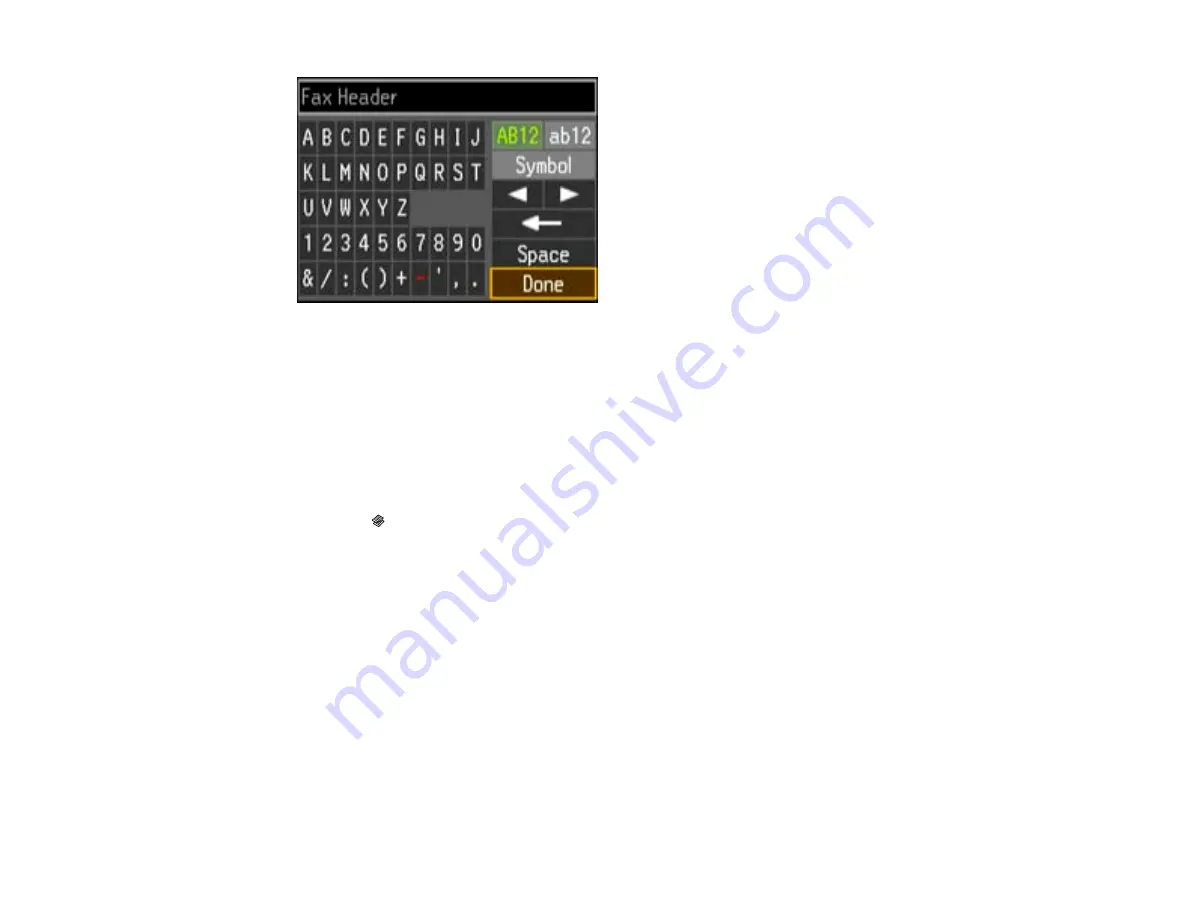
6.
Use the keypad to enter the sender name for your fax source, such as your name or a business
name. You can enter up to 40 characters.
7.
Select
Done
and press the
OK
button to return to the Header menu.
8.
Select
Your Phone Number
and press the
OK
button.
9.
Use the numeric buttons on the control panel to enter your fax number, up to 20 characters. You do
not need to use dashes.
10. Press the
OK
button to return to the Header menu.
11. Press the
Copy
button to exit.
Parent topic:
Setting Up Fax Features Using the Product Control Panel
Related tasks
Entering Numbers and Characters for Faxing
Entering Numbers and Characters for Faxing
Follow these guidelines to enter numbers and characters for setting up your fax settings. You can use
the LCD keypad described here or the numeric buttons on the product control panel.
116
Содержание WF-B4533
Страница 1: ...WF B4533 User s Guide ...
Страница 2: ......
Страница 11: ...WF B4533 User s Guide Welcome to the WF B4533 User s Guide 11 ...
Страница 18: ...Printer Parts Inside 1 Ink system 2 Front cover 3 Print head Parent topic Product Parts Locations 18 ...
Страница 27: ...4 Load a stack of paper printable side down in the cassette as shown 27 ...
Страница 31: ...2 Pull up the rear MP tray 3 Flip the feeder guard forward then slide the edge guides outward 31 ...
Страница 34: ...2 Pull up the rear MP tray 3 Flip the feeder guard forward then slide the edge guides outward 34 ...
Страница 47: ...Parent topic Placing Originals on the Product 47 ...
Страница 48: ...Related references Automatic Document Feeder ADF Specifications Related topics Copying Scanning Faxing 48 ...
Страница 72: ...Parent topic Starting a Scan Related topics Selecting Epson Scan Settings 72 ...
Страница 80: ... Normal preview Click the Auto Locate icon to create a marquee dotted line on the preview image 80 ...
Страница 91: ...91 ...
Страница 136: ...3 Select Fax Settings for Printer Select your product if prompted You see this window 136 ...
Страница 137: ...4 Select Speed Dial Group Dial List You see this window 137 ...
Страница 182: ...3 Remove any paper inside including torn pieces 4 Close the front cover 182 ...
Страница 184: ...3 Remove any jammed paper inside the cassette 4 Remove any paper jammed inside the paper cassette slot 184 ...
Страница 186: ...3 Carefully remove the jammed paper 4 If paper is jammed in the duplexer remove the paper as shown 186 ...
Страница 190: ...6 Lower the document cover 7 Raise the ADF input tray 8 Carefully remove the jammed pages 190 ...


