Caution:
Do not remove any labels or seals, or ink will leak.
8.
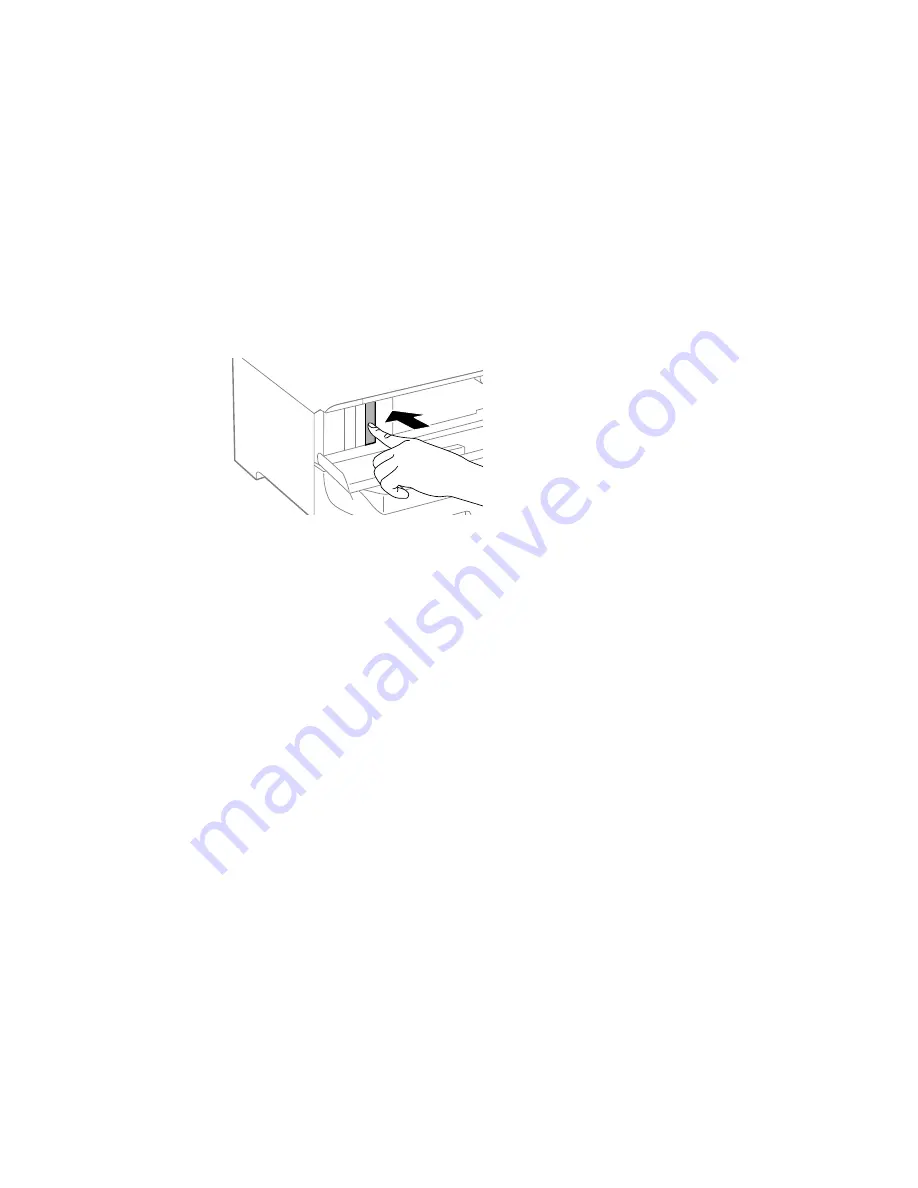
Insert the new cartridge into the holder and push it in until it clicks into place.
9.
If you see
Cartridge Check
on the LCD screen, press the
OK
button to make sure the cartridges are
installed correctly.
10. When you are finished, close the front cover.
The product starts charging the ink and returns to its previous state when finished.
Note:
Do not turn off the printer during ink replacement.
Caution:
If you remove an ink cartridge for later use, protect the ink supply area from dirt and dust and
store it in the same environment as the printer. The valve in the ink supply port is designed to contain
any excess ink, but do not touch the ink supply port or surrounding area. Always store ink cartridges with
the label facing up; do not store cartridges upside-down.
Parent topic:
Replacing Ink Cartridges and Maintenance Boxes
Related concepts
Purchase Epson Ink Cartridges and Maintenance Box
Printing with Black Ink and Expended Color Cartridges
When a color ink cartridge is expended, you can temporarily continue printing from your computer using
black ink. Replace the expended color cartridge as soon as possible for future printing.
Printing with Expended Color Cartridges - Windows
166
Содержание WF-6090
Страница 1: ...WF 6090 User s Guide ...
Страница 2: ......
Страница 11: ...WF 6090 User s Guide Welcome to the WF 6090 User s Guide For a printable PDF copy of this guide click here 11 ...
Страница 50: ...Parent topic Enabling Epson Universal Print Driver PCL or PostScript Printing 50 ...
Страница 55: ...1 Flip the feeder guard forward and pull up the paper support and extension 2 Slide the edge guides outward 55 ...
Страница 73: ...6 Remove the paper cassette from the optional paper cassette unit 73 ...
Страница 202: ...3 Remove the output tray and pull out the paper cassette 4 Pull the lever to lower the cover 202 ...
Страница 206: ...2 Open rear cover 1 D1 3 Carefully remove any jammed paper Caution Do not touch the paper feed mechanism 206 ...


