
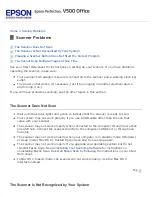


A Line of Dots Always Appears in Your Scanned Images
The document table or transparency unit window may be dusty or scratched. Clean the
document table and transparency unit window as described in
. If
you still have the problem, contact Epson. See
for details.
If you are using the optional ADF, you may need to clean or replace the paper path
Cleaning and Replacing the Paper Path Guide
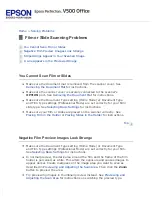
Straight Lines in Your Image Come Out Crooked
Make sure the document lies perfectly straight on the document table. Align the text or any
vertical or horizontal lines with the marks at the rear left and front right corners of the
document table.
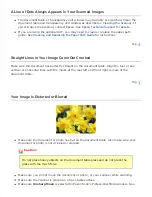
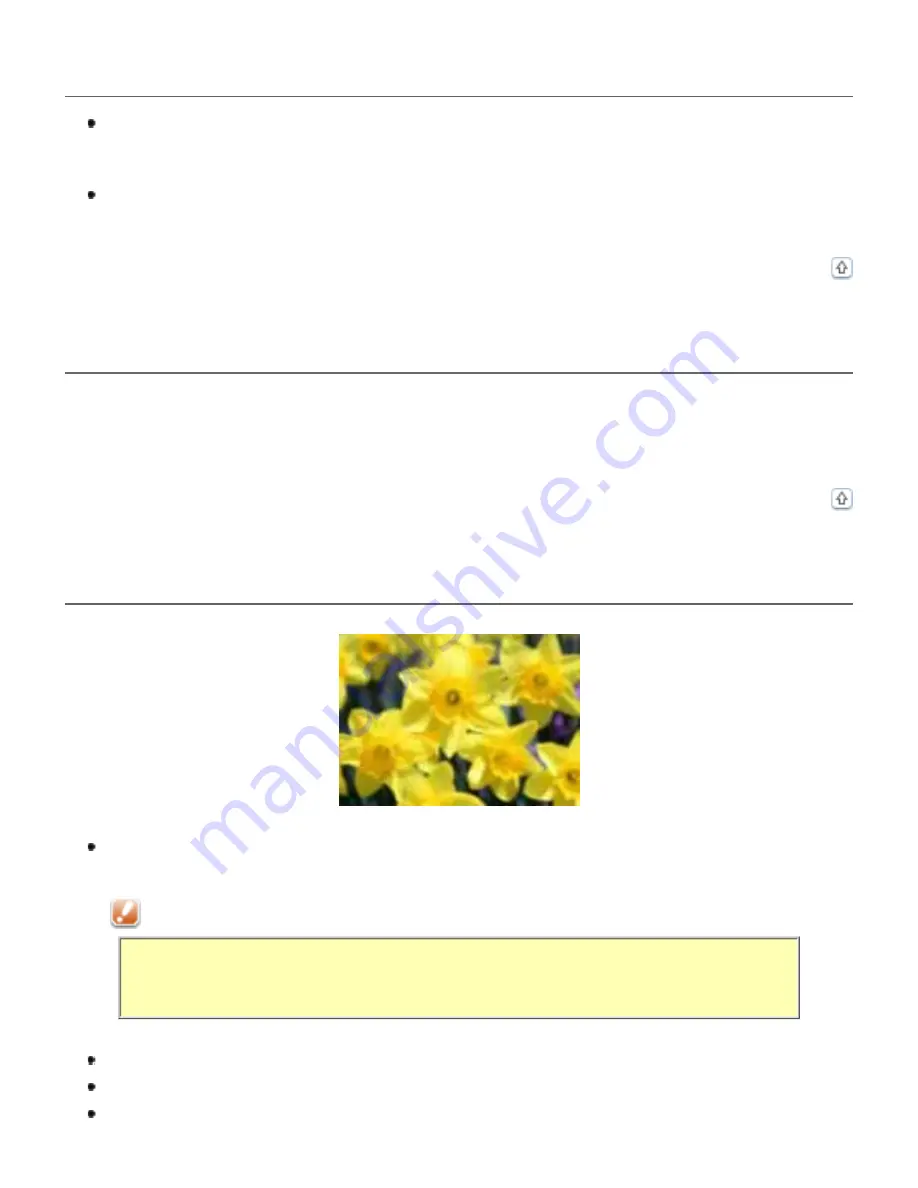
Your Image Is Distorted or Blurred
Make sure the document or photo lies flat on the document table. Also make sure your
document or photo is not wrinkled or warped.
Caution:
Do not place heavy objects on the document table glass and do not press the
glass with too much force.
Make sure you do not move the document or photo, or your scanner while scanning.
Make sure the scanner is placed on a flat, stable surface.
Make sure
Unsharp Mask
is selected in Epson Scan’s Professional Mode window. See
Содержание V500
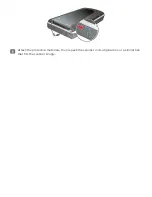
Страница 26: ...a document mat b transparency unit transportation lock c document table d carriage a DC inlet b OPTION port ...
Страница 27: ...c scanner transportation lock d USB interface connector e cover cable ...
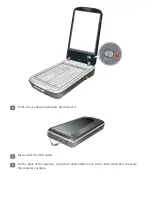
Страница 34: ...Open the scanner cover Pull the scanner cover straight up and off the scanner ...
Страница 47: ...Top ...
Страница 64: ......
Страница 69: ...Thumbnail preview ...
Страница 78: ...Professional Mode ...
Страница 98: ...Professional Mode ...
Страница 99: ...Before you scan your film or slides you need to select these basic settings ...
Страница 103: ...Epson Scan prescans your images and displays them in one of the following Preview windows Normal preview ...
Страница 120: ...Professional Mode Scroll down to the Adjustments area and click the Color Restoration checkbox ...
Страница 121: ......
Страница 131: ...Professional Mode ...
Страница 135: ...Professional Mode ...
Страница 136: ...Note ...
Страница 142: ......
Страница 149: ...Click the Settings button You see the Scan to PDF Settings window ...
Страница 157: ...Click the File Save Settings button The File Save Settings window appears ...
Страница 179: ...Click Apply then click OK Note You must restart your computer before using the newly assigned scanner buttons Top ...
Страница 183: ...Pull the scanner cover straight up and off the scanner ...


