background image

Installing the Epson TM-T88v-i V1 0 17th November 2012.docx 

Page 3 of 9 


Document Details 


Document Author/Reviser 

John Birch 

Role (Company) 

Project Technical Manager (Cybertill) 

Verified By 


Feedback E-Mail Address 

[email protected]


Document Version 

1.0 

Change made if any 

N/A 

For more detailed versioning see Appendix A 
Document Title 

Installing the Epson TM-T88v-i 

Description 

Document Genesis 

Date 

17th November 2012 

Document Reference 

JB1135 

Overview 

This  document  is  intended  to  supply  the  steps  required  to  allow  installation  of  an  IPad 
and Epson TM-T88V-i Receipt Printer. 

Checking the Printer 

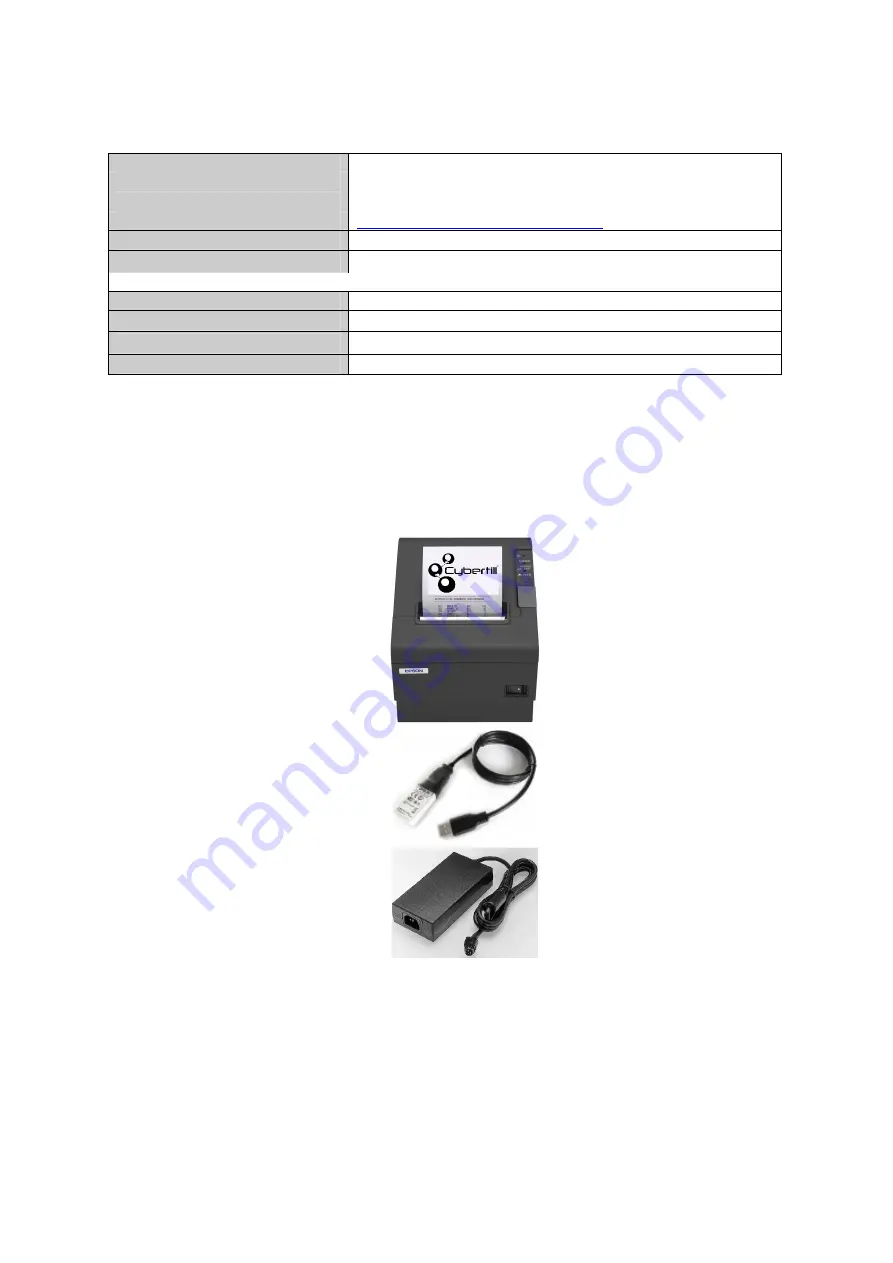
You  need  to  ensure  once  you  have  unpacked  the  hardware  you  should  have  the 
following: 
 

Receipt Printer 


Wireless LAN Cable Set 

This should include: 
-


Wireless LAN unit 

-


USB Extension Cable 

-


Affixing tape (1 pair, 2 pieces) 

-


Rubber cover 

-


User’s Manual 


Power Adaptor 

(Will differ 

slightly from the image here as 
there will be two leads to connect to 
the printer.)


Содержание TM-T88V-i

Страница 1: ...Installing the Epson TM T88v i V1 0 17th November 2012 docx Page 1 of 9 Document Installing the Epson TM T88v i Version 1 0 Date 17th November 2012 ...

Страница 2: ...t Details 3 Overview 3 Checking the Printer 3 Connecting the hardware 4 Setting the IP address of the Printer 4 Adding a Cash Drawer 7 Configuring the printer within Cybertill on the IPad 7 Appendices 8 Appendix A Versioning History 8 Appendix B Wireless LAN unit Indicator 8 Appendix C Resetting the Printer Network 9 ...

Страница 3: ...Description Document Genesis Date 17th November 2012 Document Reference JB1135 Overview This document is intended to supply the steps required to allow installation of an IPad and Epson TM T88V i Receipt Printer Checking the Printer You need to ensure once you have unpacked the hardware you should have the following Receipt Printer Wireless LAN Cable Set This should include Wireless LAN unit USB E...

Страница 4: ... cable into which the wireless LAN unit will be inserted to prevent the unit from coming off Insert the wireless LAN unit into the connector of the cable Adjust the position of the rubber cover so that the description on the label on the back of the wireless LAN unit is not covered Connect the USB extension cable to the USB connector of the printer There is an indicator light on the wireless LAN u...

Страница 5: ... push button at the interface part for approximately 3 seconds When you release the button the printer will print a status sheet detailing the network settings Configure the Laptop so the IP settings and range match the settings on the receipt for the wireless connection If the IP on the receipt is 192 168 192 168 then you will need to configure the PC Laptop to show 192 168 192 1 so the last numb...

Страница 6: ...on and the password as epson Click on wireless Enter SSID and the security Key The SSID is the name of the wireless network for example Cybertill North then click Submit The SSID cannot have any spaces in it for example Cybertill North would need to be CybertillNorth Click on TCP IP under Wireless ...

Страница 7: ...K port on the printer Configuring the printer within Cybertill on the IPad This next section uses the following assumptions 1 The IPad s network settings have already been configured and it can connect to the internet 2 The IPad is loaded with the latest software Close all Apps including any apps open in the multitasking bar which can be reached by pressing the home button twice or multi gesturing...

Страница 8: ...guration fields if you have one connected Click on Save Log out of Cybertill close all apps and then re launch Cybertill via Safari or a bookmark Appendices Appendix A Versioning History Author Reviser Date Version Number Description John Birch 17th November 2012 1 0 Document Genesis Appendix B Wireless LAN unit Indicator On the unit there is an indicator light that tells us the state of the unit ...

Страница 9: ...nicating on a network Appendix C Resetting the Printer Network If you are having issues connecting to the printer via the browser you may need to reset the Network settings on the printer to the default settings Push the button for more than 10 seconds until the following message is printed 20 to 25 seconds later the following message will print out followed by a status sheet ...

Отзывы: