


84
Parent topic:
Related topics
Fixing the Ink
After printing on a shirt, you must fix the ink using a heat press or a heat tunnel. If the ink is not
sufficiently fixed, colors may come out in the wash or when rubbed.
Note:
If you have applied pre-treatment solution, we recommend washing the shirt before wearing it.
When using a heat-press, it is best to insert a heat-resistant sheet between the fabric and the heating
element. When using a heat press on shirts that have plastic buttons or zippers, place a heat-resistant
sheet over the buttons or zippers to prevent them from being damaged by direct exposure to the heat
press.
Fixing conditions differ between the heat press and the heat tunnel. Optimum conditions vary depending
on the type of heat press or heat tunnel used and the amount of ink, so use the values in these sections
only as a guide.
Fixing Conditions (Heat Press)
Fixing Conditions (Heat Tunnel)
Parent topic:
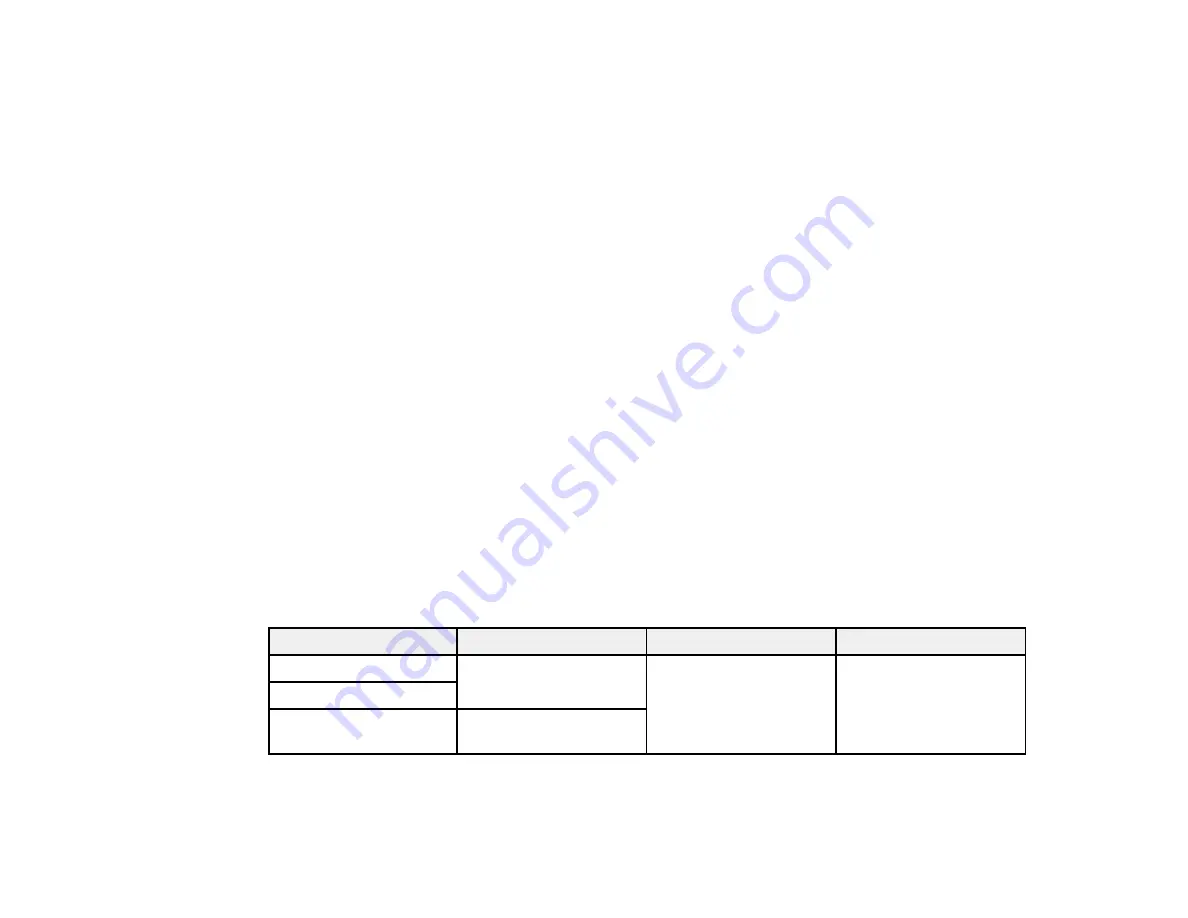
Fixing Conditions (Heat Press)
The conditions under which you must fix the ink with a heat press differ between White ink and color ink.
Make sure that you meet these conditions for fixing the ink.
Optimum conditions vary depending on the type of heat press. Test and check the results in advance to
determine the correct pressure.
Ink type
Time
Temperature
Pressure
Color
45 seconds
338 °F (170 °C)
6 Psi (4.2 N/cm
2
)
White
Larger than A4 size with
White ink
Up to 90 seconds
Note:
If the ink is not completely dry after 90 seconds, extend the duration while carefully checking if the
pre-treatment solution is dry.
Содержание SureColor F2100 Series
Страница 1: ...Epson SureColor F2100 Series User s Guide ...
Страница 2: ......
Страница 8: ......
Страница 36: ...36 Sleeve platen 1 0 47 inch 12 mm margins 2 Platen frame 3 Printable area ...
Страница 44: ...44 2 Peel off the edges of the grip pad 3 Flip the platen over and hold it down with one hand ...
Страница 55: ...55 If you are installing a sleeve platen install it as shown Then go to step 2 ...
Страница 58: ...58 1 Insert the ends of each hook into the holes in the front of the printer as shown ...
Страница 105: ...105 3 Place the inner and outer caps you removed from the new waste ink bottle on the used waste ink bottle ...
Страница 108: ...108 5 Open the printer cover ...
Страница 136: ...136 8 Grasp the tab on the air filter and lift it up to remove it ...
Страница 143: ...143 Note Do not apply force to the gears shown below when cleaning A malfunction may occur ...
Страница 147: ...147 Parent topic Maintenance ...