


3.
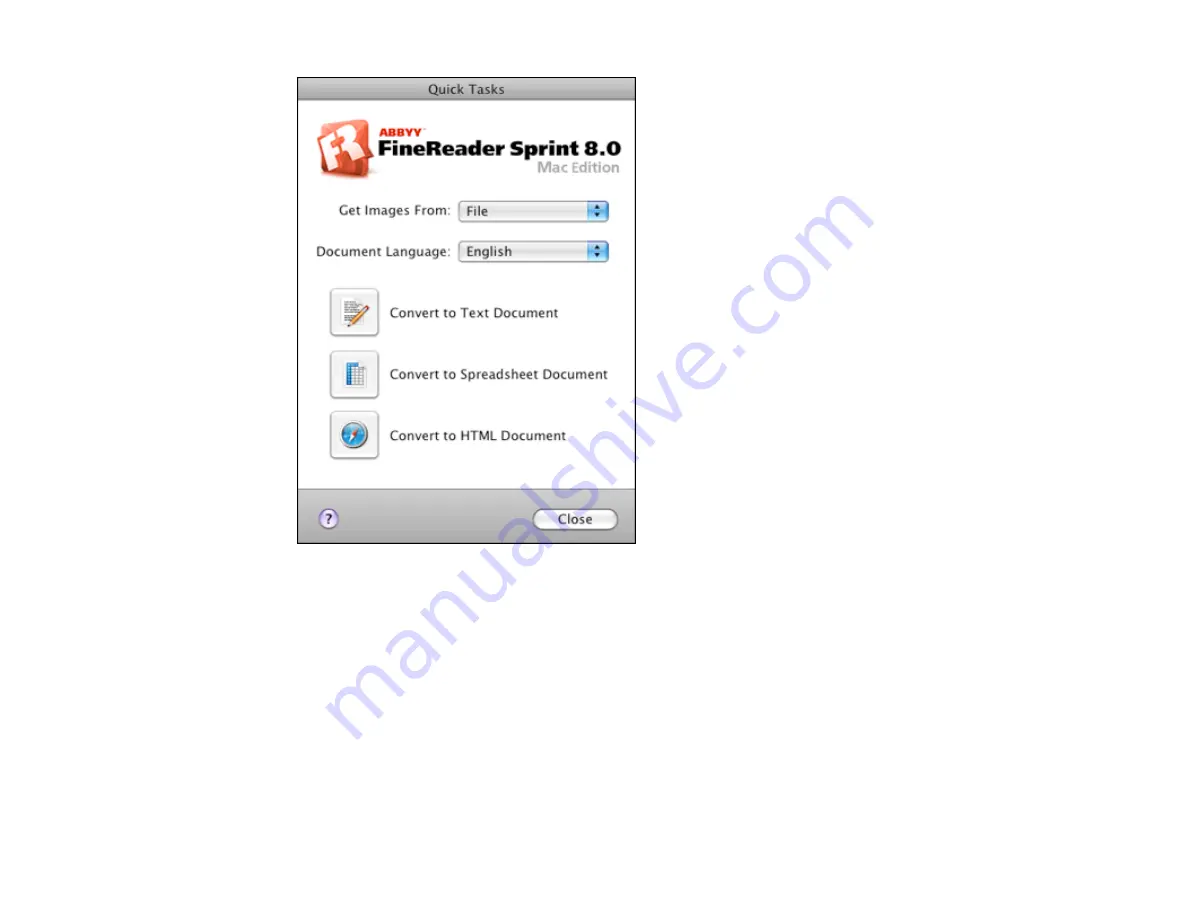
Open the
Get Images From
pop-up menu and select your product.
4.
Select the language used in the document you are going to scan as the
Document Language
setting.
5.
Select the type of document you are going to scan.
Epson Scan starts in the last scan mode you used.
6.
Select your scan settings and click
Scan
.
Your document is scanned and you see the Epson Scan window while your document is converted
to editable text.
7.
Click
Close
to close the Epson Scan window and Preview window, if necessary.
126
Содержание Stylus TX430W
Страница 1: ...Epson Stylus TX430W User s Guide ...
Страница 2: ......
Страница 11: ...Epson Stylus TX430W User s Guide Welcome to the Epson Stylus TX430W User s Guide 11 ...
Страница 17: ...Product Parts Top 1 Sheet feeder 2 Paper support 3 Output tray 4 Paper stopper 5 Feeder guard 6 Edge guide 17 ...
Страница 20: ...Product Parts Back 1 AC inlet 2 USB port Parent topic Product Parts Locations 20 ...
Страница 25: ...3 Pull out the output tray and open the paper stopper on the end 4 Slide the edge guide left 25 ...
Страница 28: ...3 Pull out the output tray and open the paper stopper on the end 4 Slide the edge guide left 28 ...
Страница 87: ...87 ...
Страница 93: ... Normal preview Click the Auto Locate icon to create a marquee dotted line on the preview image 93 ...
Страница 97: ...3 Adjust the scan area as necessary 97 ...
Страница 104: ...104 ...
Страница 112: ...3 Adjust the scan area as necessary 112 ...
Страница 149: ...149 ...
Страница 162: ...162 ...
Страница 168: ...168 ...


