The Control Panel
1-15
Printing a nozzle check pattern
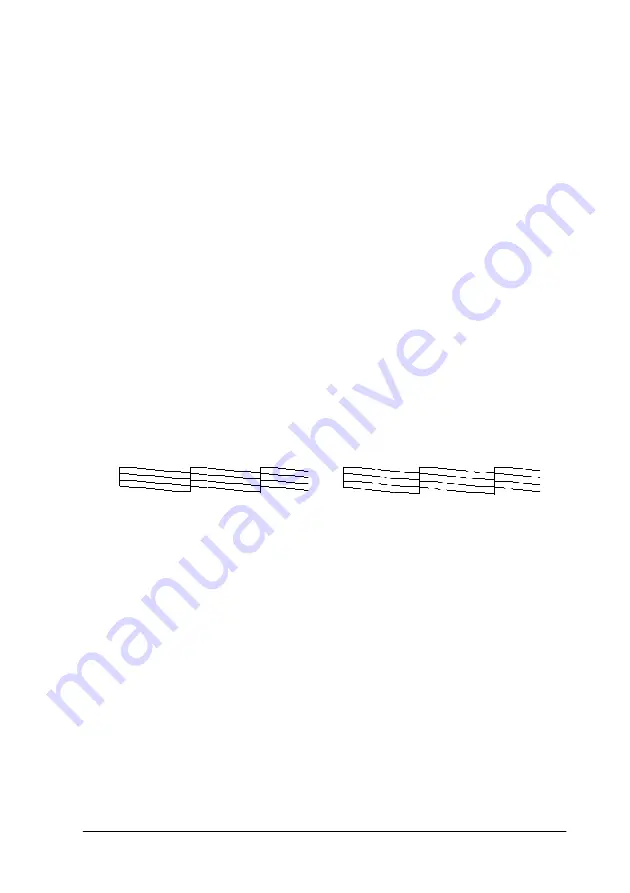
A nozzle check pattern can be printed to check the six colors for
missing dots.
1. Load paper in your printer as described in “Using Roll Paper”
on page 4-3 or “Using Cut Sheet Media” on page 4-15.
2. In SelecType mode, press the
SelecType
button until
is displayed on the LCD panel.
3. Press the
Item
button to display
=
.
4. Press the
Enter
button.
The nozzle check pattern is printed as shown below. After
printing, the printer exits SelecType mode and returns to
READY status.
❏
Nozzle check pattern examples:
If you find that any segments are missing from the test lines in the
pattern, you need to clean the print heads. Press the
Cleaning
button on the control panel for more than 3 seconds or access the
Head Cleaning utility from the EPSON printer utilities in your
software. See “Using the Printer Utilities” on page 2-21.
c
Caution:
Before you start printing images, make sure that the nozzle check
pattern printing is complete. Otherwise, print quality may
decline.
good
head cleaning necessary
Содержание Stylus Pro 7500
Страница 2: ... 2 ...
Страница 4: ... 2 ...
Страница 10: ... 8 ...
Страница 32: ...1 22 The Control Panel ...
Страница 48: ...2 14 Printer Software Paper menu for Windows Page Setup dialog box for Macintosh ...
Страница 122: ...5 16 Maintenance and Transportation ...
Страница 161: ...Product Information A 15 Data transmission timing Refer to the IEEE 1284 specification ...
Страница 166: ... 20 ...
Страница 174: ...B 8 Contacting Customer Support ...
Страница 184: ... 4 SelecType Menu List ...


