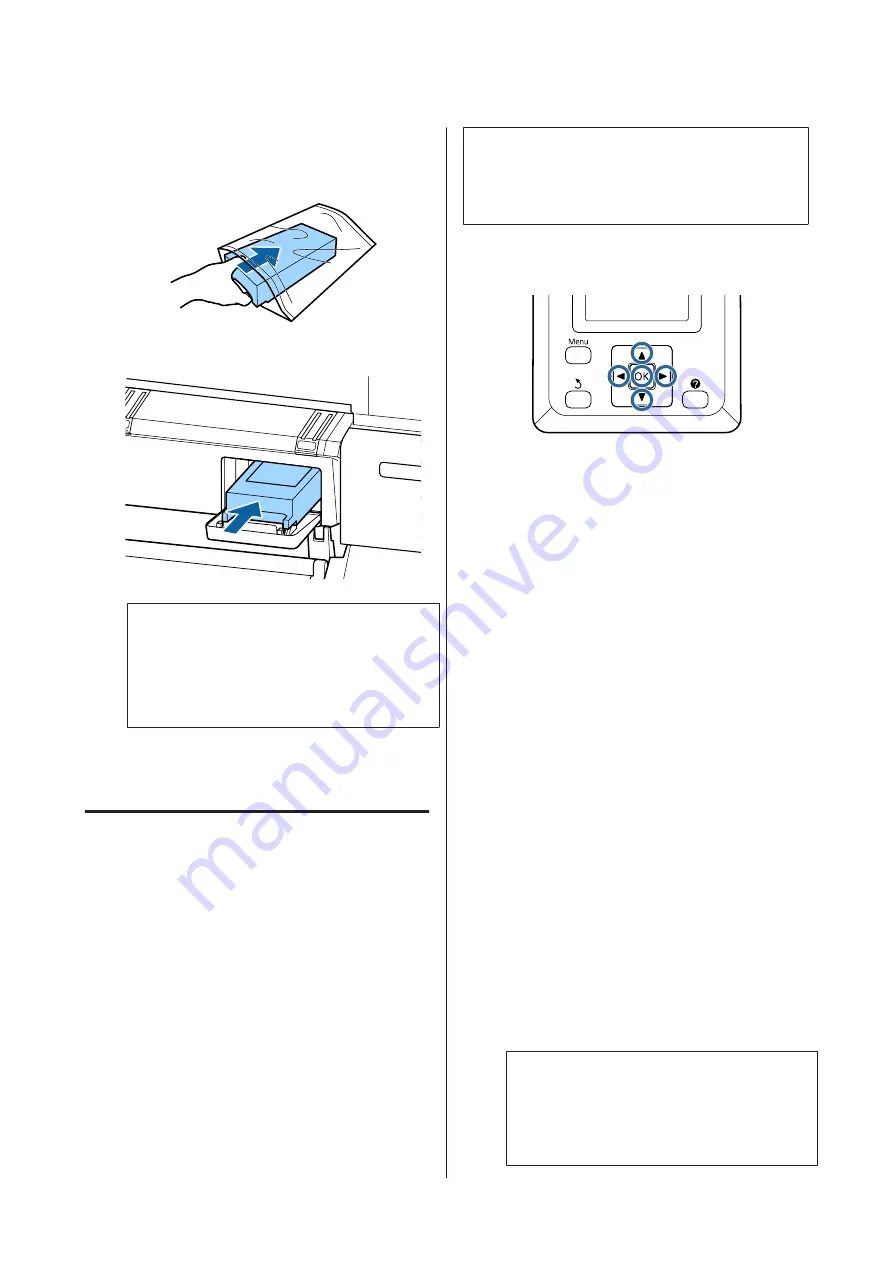
C
Place the used Maintenance Box in the clear bag
included with your new Maintenance Box, and
make sure that the zipper is closed tight.
D
Install the new Maintenance Box.
c
Important:
Do not touch the IC chip on the Maintenance
Box.
Doing so may prevent normal operation and
printing.
E
Close the maintenance box cover.
Replacing the Cutter
Replace the cutter when it is not cutting paper cleanly.
Supported cutter
U
“Options and Consumable Products” on
Use a cross-head screwdriver to replace the cutter. Make
sure you have a cross-head screwdriver with you before
replacing the cutter.
c
Important:
Take care not to damage the cutter blade. Dropping
it or knocking it against hard objects may chip the
blade.
Buttons that are used in the following settings
A
Remove any paper from the printer.
U
“Removing Roll paper or Roll 1” on
U
“Removing Cut Sheets” on page 38
U
“Removing Poster Board” on page 42
B
Confirm that the printer is ready to print. Press
the
l
/
r
buttons to highlight
-
and press the
Z
button.
The Maintenance menu will be displayed.
C
Press the
d
/
u
buttons to select
Cutter
Maintenance
, and then press the
Z
button.
D
Press the
d
/
u
buttons to highlight
Replace
Cutter
and press the
Z
button.
E
The cutter will move to the replacement position.
F
Remove the old cutter from the printer.
Loosen the screw holding the cutter in place
using a cross-head screwdriver and pull the
cutter straight out.
!
Caution:
Do not store the cutter within the reach of
children. The cutter's blade could cause an
injury. Pay careful attention when replacing
the cutter.
SC-T7200 Series/SC-T5200 Series/SC-T3200 Series/SC-T7200D Series/SC-T5200D Series User's Guide
Maintenance
172
Содержание SC-T3200 Series
Страница 1: ...User s Guide CMP0015 00 EN ...


