


11
Getting Started
L
Proof Sign-off:
ABE S. Yamamoto, H. Honda
T. Takahashi
S. Halvorson
R4CC960
User’s Guide
Rev. G
GET.FM
A5 size
10/12/04
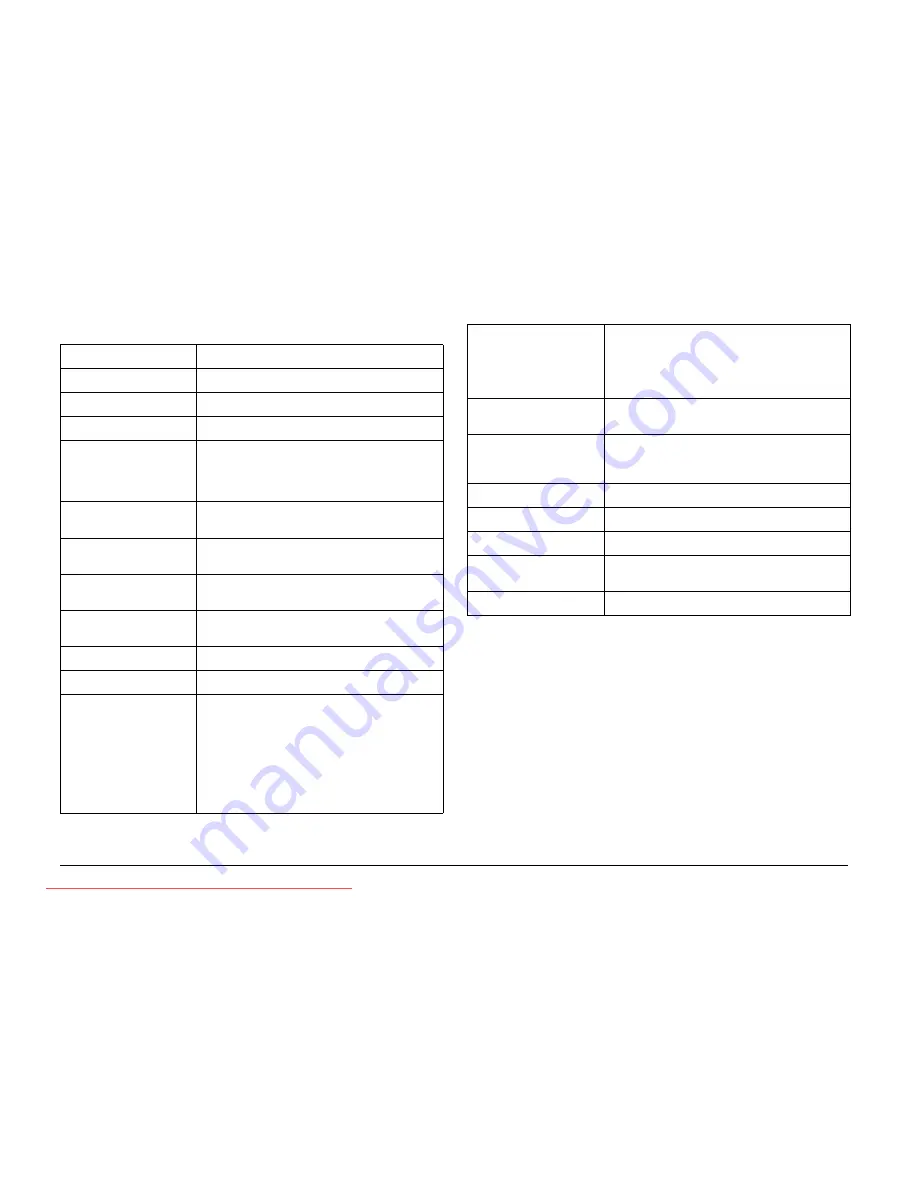
X contact
Used to mount an optional flash.
Lens release button
Used to mount or remove lenses.
AE-lock button
Locks exposure.
Photo quality/WB lever
Sets photo quality or white balance.
SD card access LED
Indicates the following statuses of the SD card.
On: accessing a memory card
Flashing: a memory card error has occurred
Off: not accessing a memory card
LCD button
Switches between picture-taking mode and
playback mode.
MENU button
Displays the Main menu on the LCD monitor
(available in playback mode).
ENTER button
Defines the selected item or settings (available
in playback mode).
CANCEL button
Returns to the previous menu without making
any settings (available in playback mode).
USER button
Performs the function previously assigned to it.
LCD display
Displays a menu screen or photos.
Shutter button
Half-release: Press the shutter button halfway
down to display the optimal shutter speed (i.e.,
optimal exposure value) in the viewfinder.
Also, pressing this button halfway in playback
mode or Power Save Timer mode returns the
camera to picture-taking mode.
Full-release: Press this button fully down to take
a photo.
Status gauge
Four needles display information about the
current settings (number of remaining photos,
photo quality, remaining battery power, and
white balance settings). For details, see
“About the Status Gauge” on page 23.
Accessory shoe
Used to mount optional equipment such as a
flash or external viewfinder.
JOG dial
Navigates through the menus or photos
displayed on the LCD monitor. For details, see
“Menu structure” on page 40.
Frame selector lever
Sets a field angle for the finder.
Shutter charge lever
Winds up the shutter.
Power switch
Switches the power on/off.
Shutter speed /ISO
speed dial
Sets the shutter speed. Or pull this dial up and
rotate it to set the ISO sensitivity.
Lock-release button
Unlocks the shutter speed dial.
Downloaded from ManualsCamera.com Manuals


