83
Note:
You can also register the digital certificates in the projector's Network menu. However, be sure to
register just once or the certificate may not install correctly.
1.
Make sure your digital certificate file is compatible with projector registration.
2.
Make sure the projector is turned on.
3.
Start your web browser on a computer or mobile device connected to the network.
4.
Type the projector's IP address into the browser's address box and press the computer's
Enter
key.
You see the Web Control screen and a prompt to enter a user ID and password.
5.
Select
Advanced
and enter the following information in uppercase or lowercase letters, exactly as
shown:
• For the user ID, enter
EPSONWEB
. (You cannot change the user ID.)
• For the password, enter the default password
admin
. (You can change the Web Control password
using the projector's Network Settings menu.)
6.
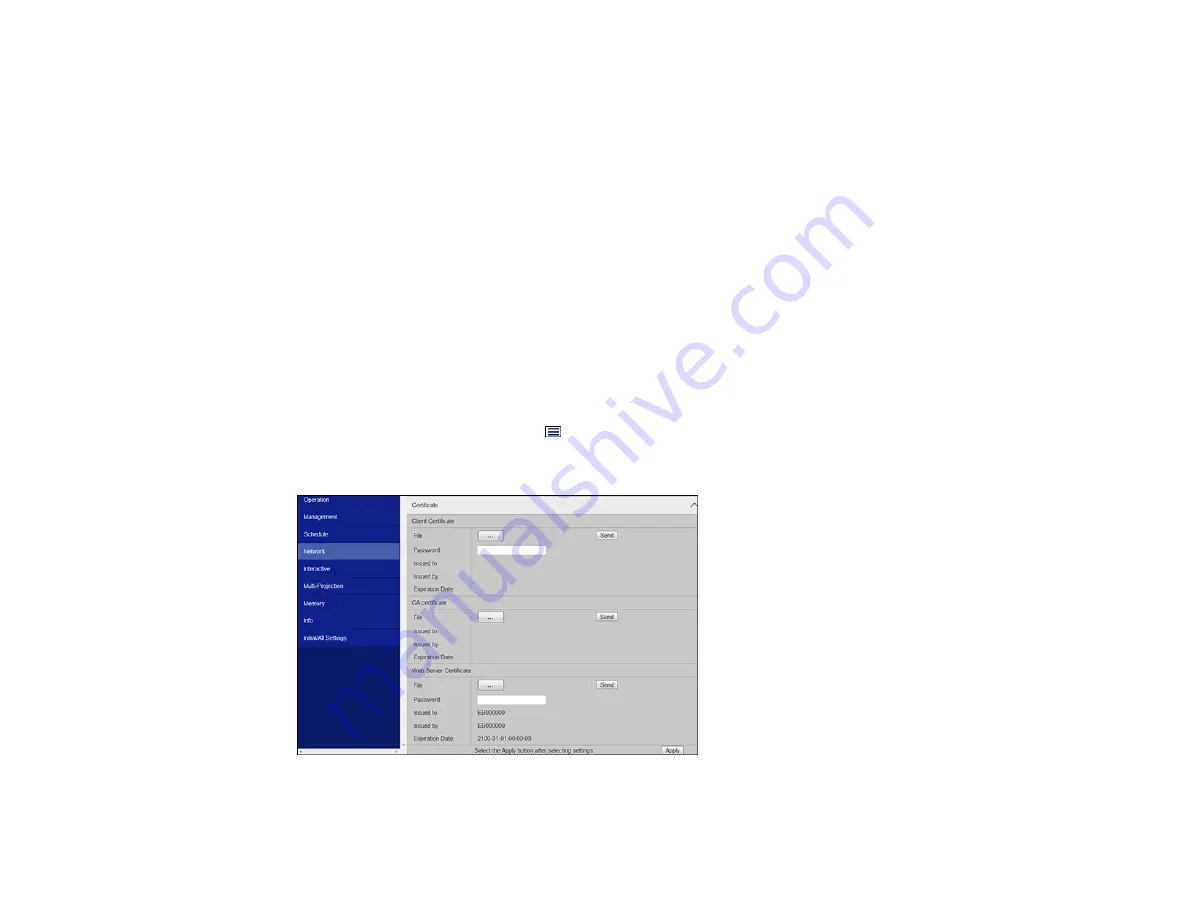
Under
Network
, select
Certificate
.
Note:
You may need to select the
menu icon to find
Network
, depending on your device.
You see a screen like this:
Содержание Pro EX10000
Страница 1: ...Pro EX10000 User s Guide ...
Страница 2: ......
Страница 10: ......
Страница 22: ...22 Related references Projector Light Status Projector Parts Remote Control ...
Страница 25: ...25 Front Rear Front ceiling ...
Страница 120: ...120 3 Select the Operation menu and press Enter ...
Страница 141: ...141 1 Press the Menu button on the remote or control panel select the Management menu and press Enter ...
Страница 164: ...164 You see a screen like this 6 Select Add New and press Enter ...
Страница 168: ...168 Parent topic Scheduling Projector Events ...
Страница 242: ...242 As with any bright source do not stare into the beam RG2 IEC EN 62471 5 2015 ...


