2.
Select the
Extended
menu and press
Enter
.
3.
Select the
Multi-Projection
setting and press
Enter
.
4.
Select the
Multi-screen
setting and press
Enter
.
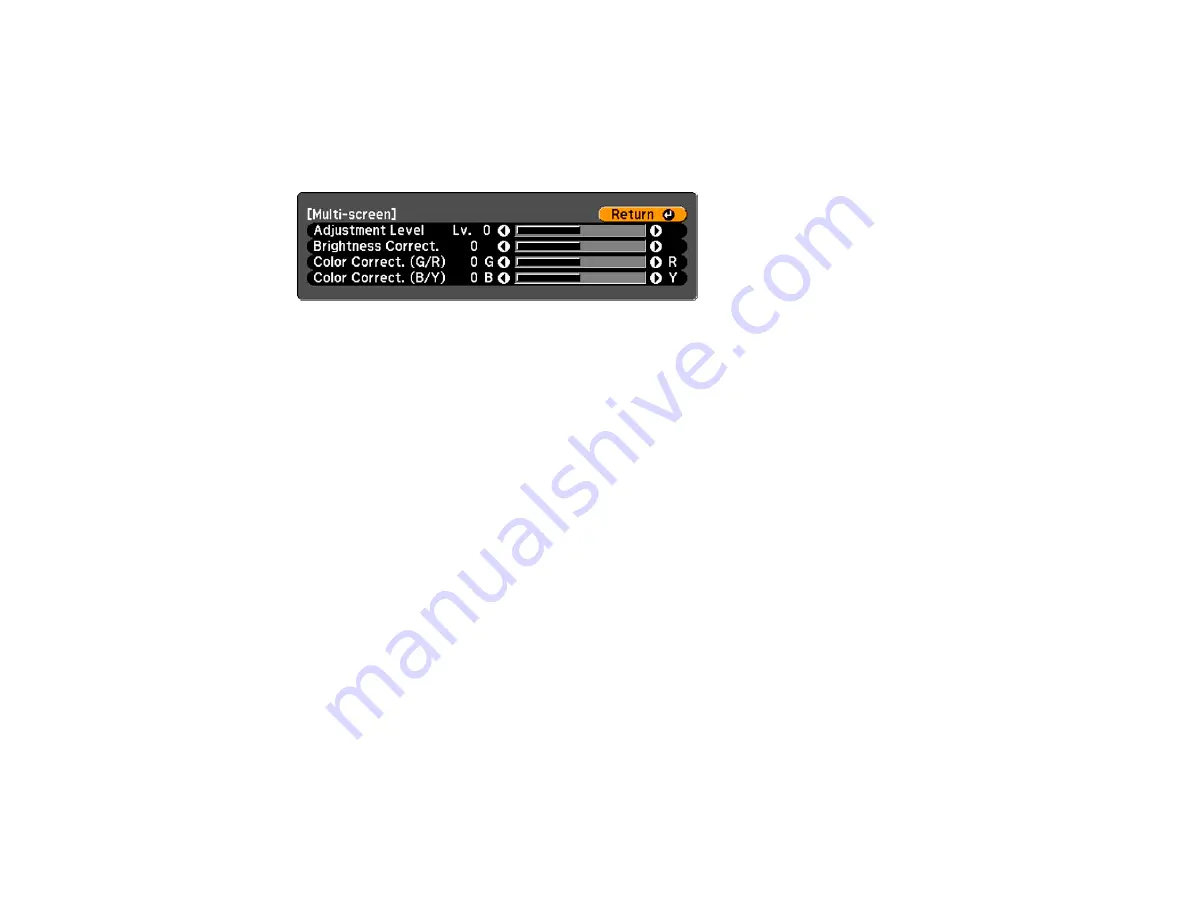
You see this screen:
Note:
Press
Enter
to toggle between the projected image and the adjustment screen.
5.
Set the
Adjustment Level
setting to
1
and press
Enter
.
6.
Set the remote control ID to match the second projector.
7.
Access the Extended menu
Multi-screen
setting on the second projector and set the
Adjustment
Level
setting to
1
.
8.
Adjust the
Brightness Correct.
setting on the projector with the darkest display so it matches the
lighter display, and press
Enter
. (You may need to switch the remote control ID back and forth to
make adjustments to each projector in all of these steps.)
9.
Change the
Adjustment Level
setting to
5
on each projector, but this time match the lighter display
to the darker one.
10. Adjust the
Brightness Correct.
setting on
Adjustment Level 2
,
3
, and
4
in the same way.
11. Adjust the
Color Correct.
settings for green-to-red (
G/R
) and blue-to-yellow (
B/Y
) balance for all the
levels on both projectors in the same way.
12. If you need to match more projectors, repeat these steps matching projector 3 to projector 2, 4 to 3,
and so on.
Parent topic:
Related concepts
148
Содержание PowerLite Pro G6050W
Страница 1: ...PowerLite Pro G6050W G6150 G6450WU G6550WU G6750WU G6800 G6900WU User s Guide ...
Страница 2: ......
Страница 22: ...Parent topic Projector Part Locations Related references Projector Light Status 22 ...
Страница 23: ...Projector Parts Remote Control 23 ...
Страница 27: ...Front Rear Front ceiling 27 ...
Страница 73: ...PowerLite Pro G6050W G6150 G6450WU G6550WU G6750WU 73 ...


