3.
Select the
User's Logo
setting and press
Enter
.
You see a prompt asking if you want to use the displayed image as a user's logo.
4.
Select
Yes
and press
Enter
.
You see a selection box overlaying your image.
5.
Use the arrow buttons on the remote control to surround the image area you want to use as the
User's Logo and press
Enter
.
You see a prompt asking if you want to select this image area.
6.
Select
Yes
and press
Enter
. (If you want to change the selected area, select
No
, press
Enter
, and
repeat the last step.)
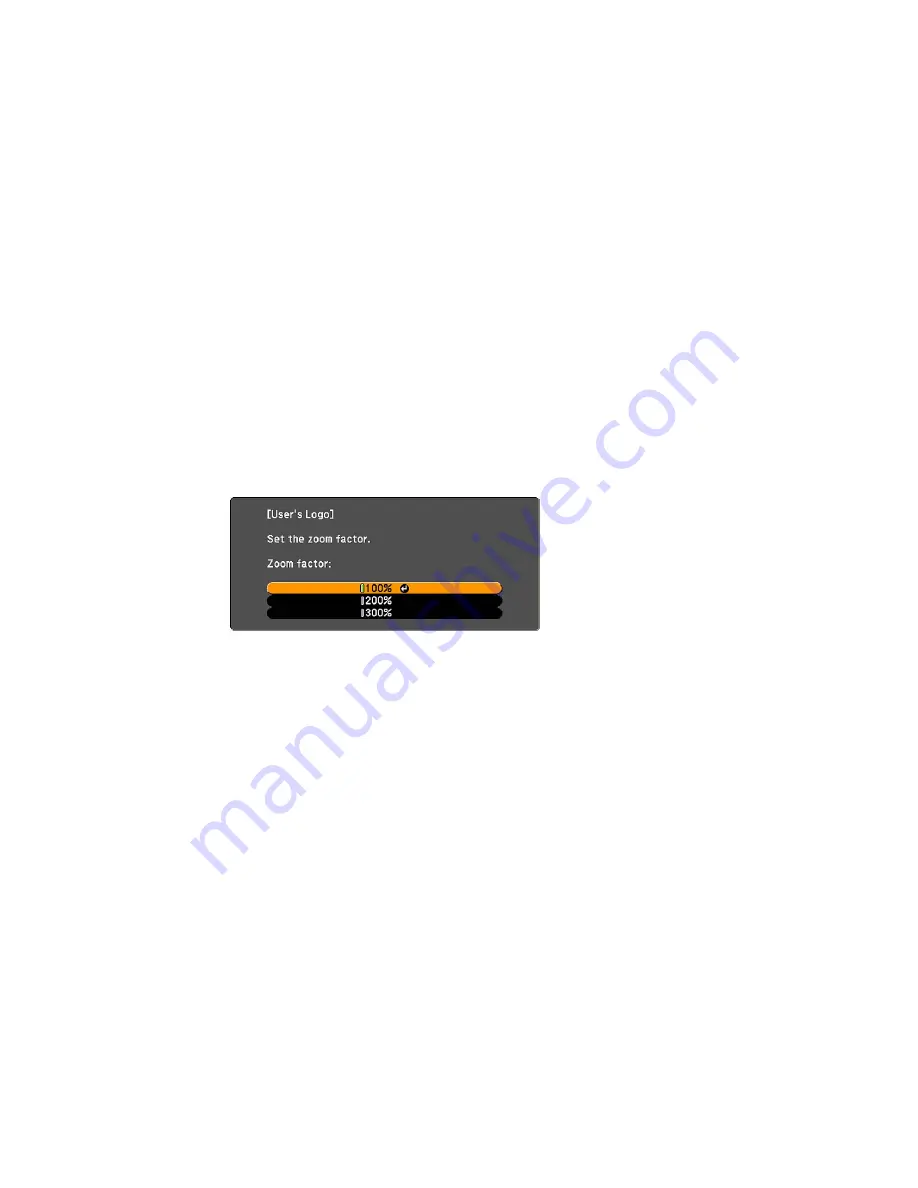
You see the User's Logo zoom factor menu.
7.
Select a zoom percentage and press
Enter
.
You see a prompt asking if you want to save the image as the User's Logo.
8.
Select
Yes
and press
Enter
.
Note:
It takes a few moments for the projector to save the image; do not use the projector, its remote
control, or any connected equipment until it is finished.
You see a completion message.
9.
Press
Esc
to exit the message screen.
10. Select the
Extended
menu and press
Enter
.
11. Select
Display
and press
Enter
.
97
Содержание PowerLite 1263
Страница 1: ...PowerLite 1263W User s Guide ...
Страница 2: ......
Страница 9: ...PowerLite 1263W User s Guide Welcome to the PowerLite 1263W User s Guide 9 ...
Страница 20: ...Related references Projector Light Status Projector Parts Remote Control 20 ...
Страница 38: ...1 Open the battery cover 2 Insert the batteries with the and ends facing as shown 38 ...
Страница 43: ...1 Remove the wireless LAN module cover screw 2 Insert the wireless LAN module into the USB A port 43 ...
Страница 113: ...Parent topic Copying Menu Settings Between Projectors 113 ...
Страница 225: ...Copyright Attribution 2014 Epson America Inc 8 14 CPD 41312 Parent topic Copyright Notice 225 ...


