7-8
Editing Images
6
Select the location where the picture was taken, either
inside
or
outside
.
7
Select the lighting conditions under which the photo
was taken. If you chose
inside
, select
with a flash
,
fluorescent lighting
,
shadows
, or
faded colors
. If
you chose
outside
, select
sunny day
,
cloudy day
,
some shadows
,
lots of shadows
, or
faded colors
.
8
The effects of each selection in steps 5 through 7 are
shown in the
With Changes
example in the SmartPix
window. Remember, you can layer changes over
previous changes—such as
sunny day
and
some
shadows
—to get the effect you want.
9
If you don’t like the results, click
Cancel Changes
at
the bottom of the remote control.
To keep your changes and return to the main HotShots
window, click
Done
. (You can still cancel your
SmartPix changes by selecting
Undo
from the Edit
menu.)
10
To save your edited picture, see page 6-3 for
instructions. Be sure to give your picture a new name, if
you want to save the original picture as it was.
Enhancing Pictures with Fix By
Example
HotShot’s Fix By Example feature lets you make a series of
corrections to a picture’s brightness, intensity, color tint, and
sharpness by selecting from on-screen examples.
Follow these steps to use Fix By Example:
1
Open the picture you want to edit. See page 6-2 for
instructions.
2
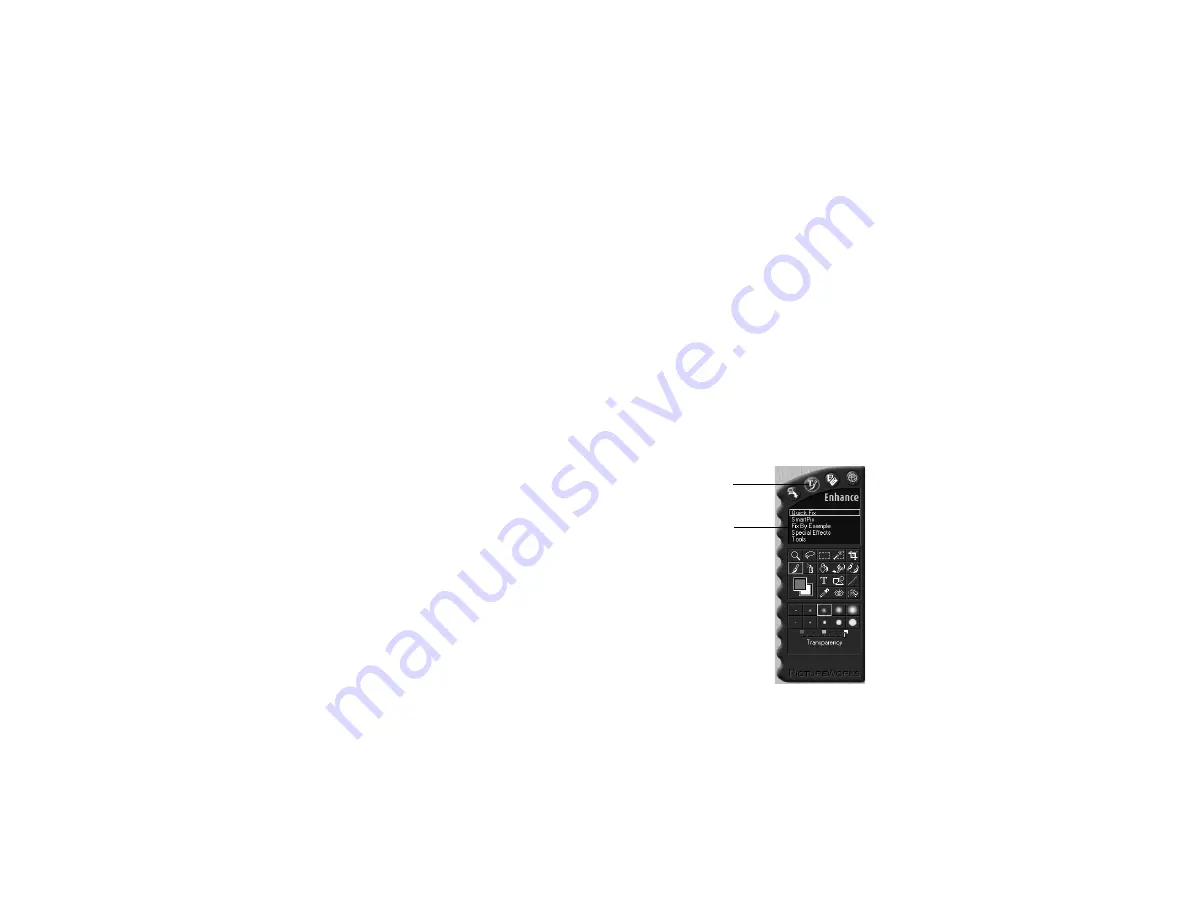
Click the
Enhance
button on the remote control to
open the Enhance menu.
Enhance button
Fix By Example
option
Содержание PhotoPC 650
Страница 3: ...A B ...
Страница 14: ...6 Introduction ...
Страница 52: ...3 16 Playing Back Pictures ...
Страница 100: ...6 20 Working with Photos and Collections ...


