Home Mode
:
“Using DIGITAL ICE Technology in Home Mode” on page 90
Professional Mode
:
“Using DIGITAL ICE Technology in Professional Mode” on page 91
Using DIGITAL ICE Technology in Home Mode
1. Place your original(s) on the document table. See one of these sections for instructions.
Documents or photos:
“Placing Documents or Photos” on page 19
Film or slides:
“Placing Film or Slides” on page 22
2. Start Epson Scan. See “Starting Epson Scan” on page 34 for instructions.
3. In the Home Mode window, select the
Document Type
,
Image Type
, and
Destination
settings.
For details, see “Scanning in Home Mode” on page 44.
4. Click
Preview
to preview your image(s), then select your scan area. See “Previewing and
Adjusting the Scan Area” on page 54 for details.
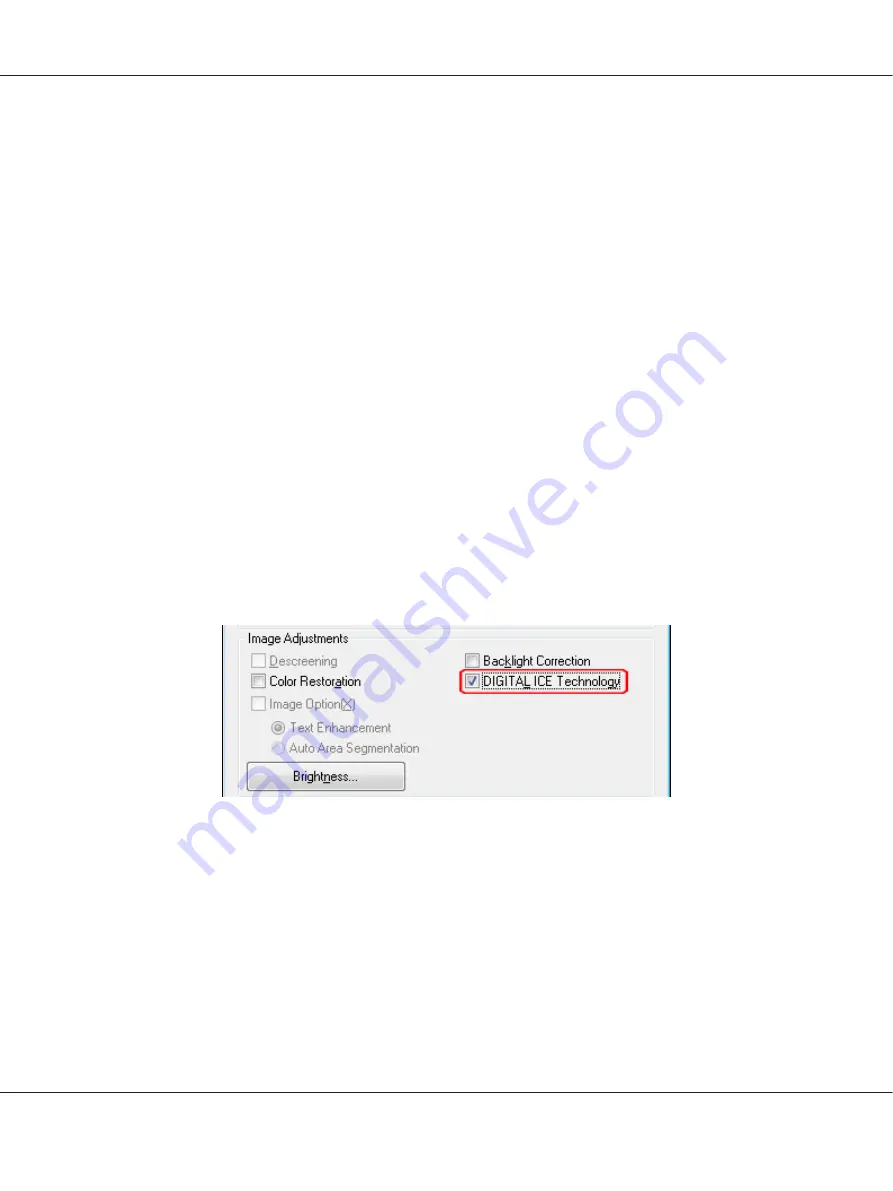
5. Click the
DIGITAL ICE Technology
check box.
Note:
The results of DIGITAL ICE Technology do not appear in the images in the Preview window, but
apply to all of them. You must scan the images to see the effects.
6. Make any other necessary image adjustments. See “Adjusting the Color and Other Image Settings”
7. Size your image(s) as necessary. See “Selecting the Scan Size” on page 70 for instructions.
Perfection V600 Photo User’s Guide
Scanning Special Projects
90


