


Printing Photos From an Index Sheet
15
Printing Photos From an Index Sheet
You can print an index sheet containing small versions of all the photos on your
memory card. Then you can select the photos you want by marking them on the
sheet and scanning the sheet. Your Epson printer automatically prints them.
Printing an Index Sheet
1. Load several sheets of plain letter- or A4-size paper (see page 5).
2. Insert a memory card (see page 13).
3. Press the
Index Sheet
button.
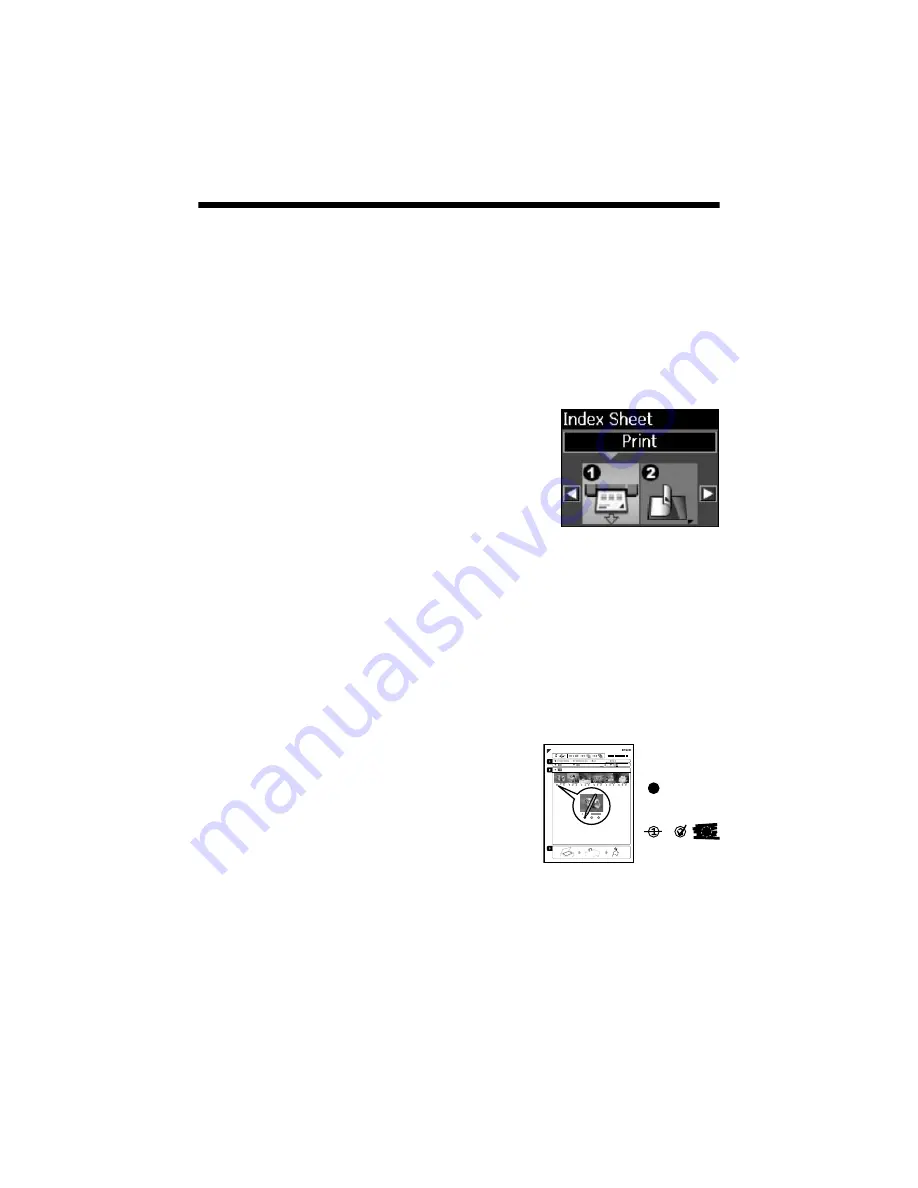
4. Make sure option
1
is selected (for printing the
index sheet), then press
x
Start
.
The most recent photos are printed on the first
index sheet, up to 30 photos per page. If you need
to cancel printing, press
y
Stop/Clear Settings
.
Now you can select the photos you want to print (see the next section).
Printing Photos From the Index Sheet
Once you have printed an index sheet, you can mark the photos you want to print
right on the sheet, scan the sheet, and print the photos automatically.
1. Use a dark pen or pencil to fill in the circles on the sheet.
Note:
Do not use a permanent marker or felt-tip pen;
these could damage the scanner glass.
■
Select the paper type and size you want to
use.
■
Select a
Borderless
or
With Border
layout.
■
If you want to print the date the photo was taken on each photo, fill in
the
Print date on photos
circle.
■
Fill in one circle beneath each photo you want to print. The numbers
indicate how many copies you want of that photo. To print one copy of
all the photos on the index sheet, fill in the
All
circle at the top.
Incorrect:
Correct: