


2. Highlight the printer you want to configure in the list.
3. Click
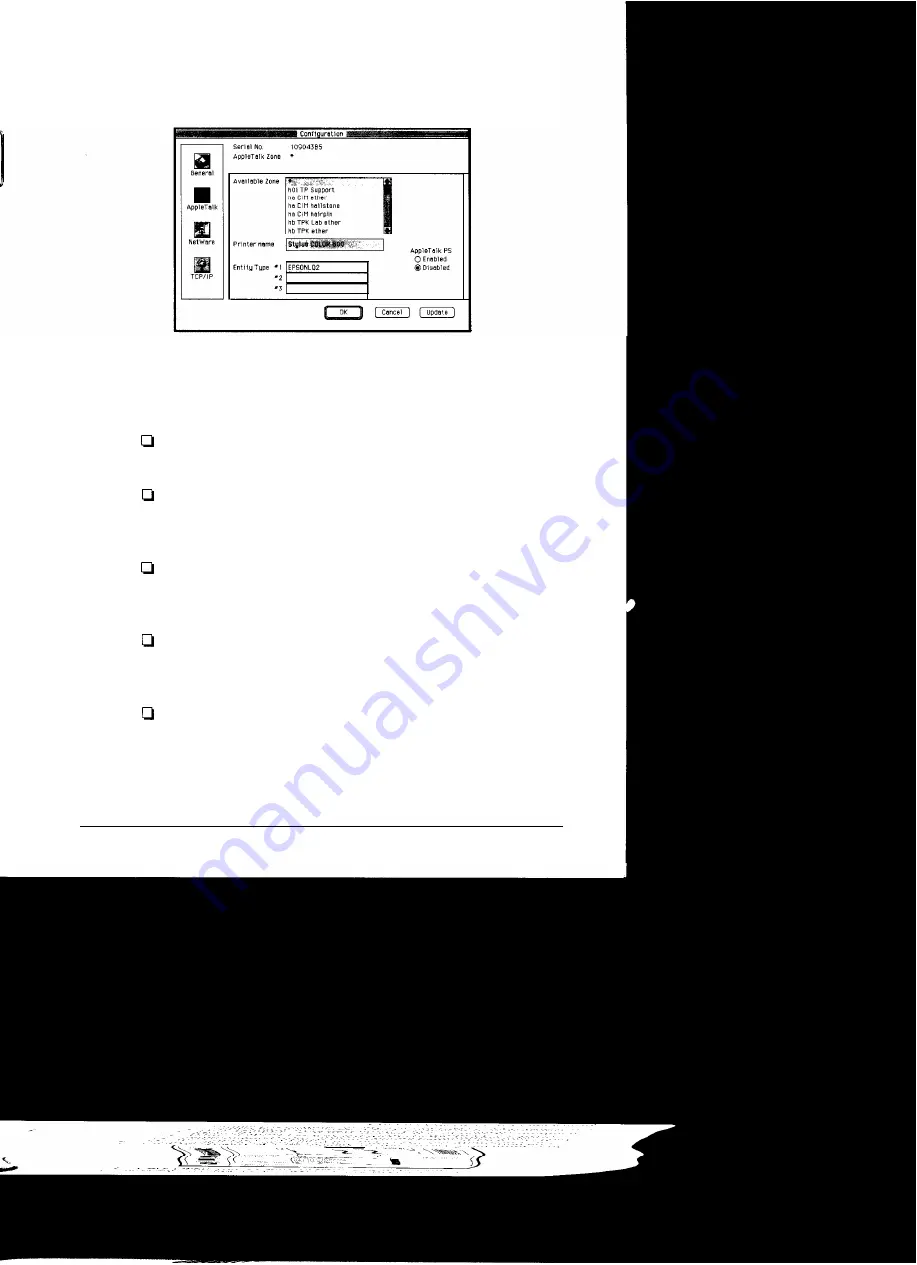
Open. You
see the Configuration dialog box:
4. Click the
AppleTalk
icon. Make sure the correct serial number of
your Ethernet card is displayed.
5. Set the following options in the AppleTalk Configuration box:
Available Zone: Select the network zone
that
you
want
the printer to appear in.
Printer Name: The default printer name appears. You
can rename it. If the same types of printers are connected
to the network, be sure to give them unique names.
Entity Type: EPSON Net! displays the printer’s Entity
type on an AppleTalk network. You don’t have to set
these options.
Network No.: You may not see this option. If you do,
you should keep
Auto
selected. If you
want
to change it,
click
Manual
and enter a number.
AppleTalk I’S: You may not see this option. It is only
available when an EPSON PostScript
®
printer that is
connected to the network cannot make AppleTalk active
or inactive automatically.
EPSON Ethernet Card Supplement 7