


247
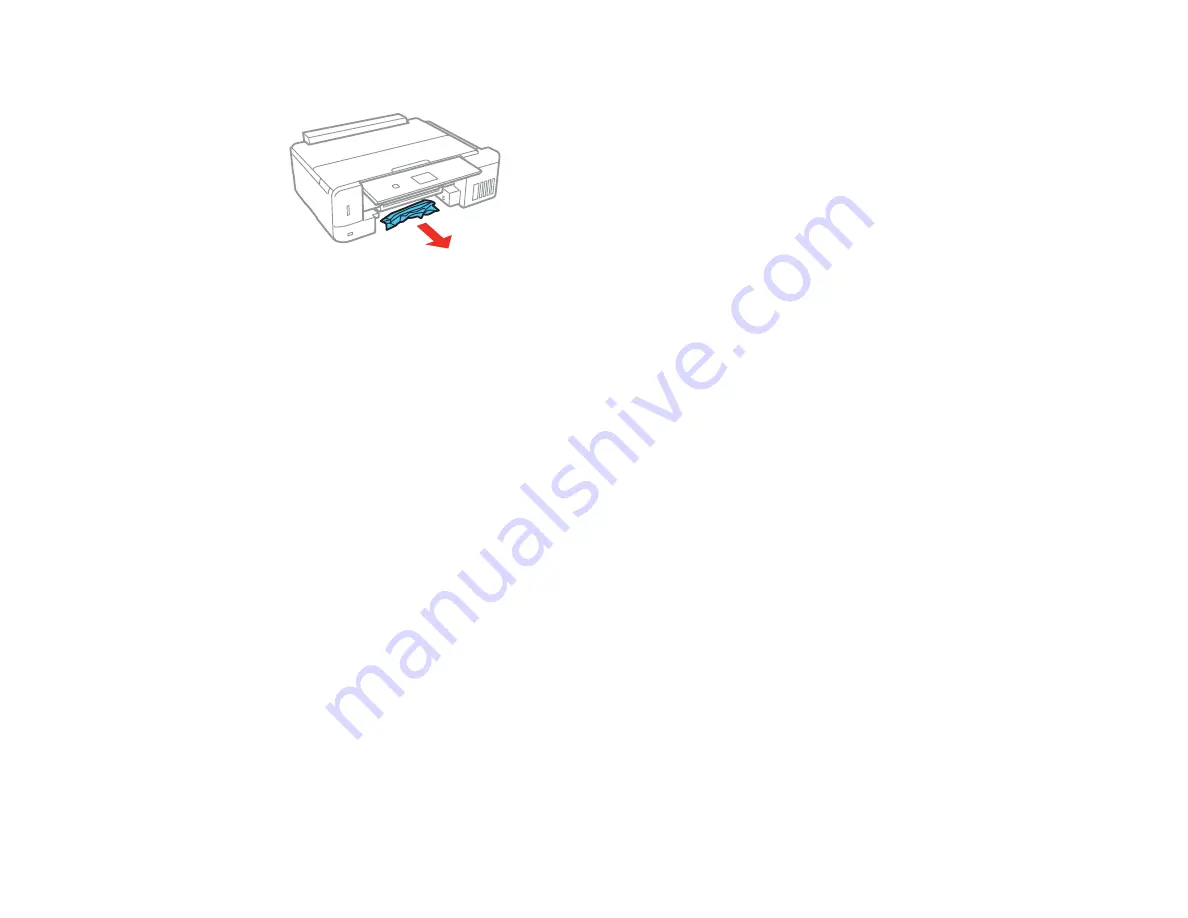
4. Remove the jammed paper.
5. Make sure the paper you load is under the edge guides.
6. Keep the cassette flat as you insert it. Insert Cassette 1 (upper cassette) it until the arrows on the right
side line up.
7. Follow the prompts on the LCD screen to clear any error messages. If you still see a paper jam
message, check the other paper jam solutions.
Parent topic:
Related references
Paper Jam Problems Inside the Product
Paper Jam Problems in the Rear Cover
Related tasks
Cancelling Printing Using a Product Button
Paper Jam Problems in the Rear Cover
If you see a message that paper has jammed in the rear cover, follow the steps here or on the LCD
screen to clear the jam.
1. Cancel the print job, if necessary.
Содержание ET-7750
Страница 1: ...ET 7750 User s Guide ...
Страница 2: ......
Страница 13: ...13 ET 7750 User s Guide Welcome to the ET 7750 User s Guide For a printable PDF copy of this guide click here ...
Страница 20: ...20 Product Parts Front 1 Control panel 2 Front cover 3 CD DVD tray ...
Страница 60: ...60 1 Raise the control panel 2 Open the front cover 3 Pull out the output tray and lower the control panel ...
Страница 61: ...61 4 Open the rear paper feed slot cover 5 Extend the rear paper feed support and then tilt it backwards ...
Страница 108: ...108 10 Select the Layout tab 11 Select the orientation of your document as the Orientation setting ...
Страница 130: ...130 You see an Epson Scan 2 window like this ...
Страница 132: ...132 You see an Epson Scan 2 window like this ...
Страница 134: ...134 You see this window ...
Страница 155: ...155 Related tasks Inserting a Memory Card ...
Страница 202: ...202 Related references Ink Bottle and Maintenance Box Part Numbers ...
Страница 207: ...207 You see a window like this 5 Click Print ...
Страница 229: ...229 Parent topic Cleaning and Transporting Your Product Related concepts Print Head Cleaning Print Head Alignment ...


