6. Adjust the paper guides to fit the width of the paper.
The scanner automatically feeds the first page of your
document to the scanning position.
Note:
If e
•
Paper is not currently running, first make sure that the
scanner’s
Ready
light is on. Then open the e
•
Paper folder and
double-click the
e
•
Paper
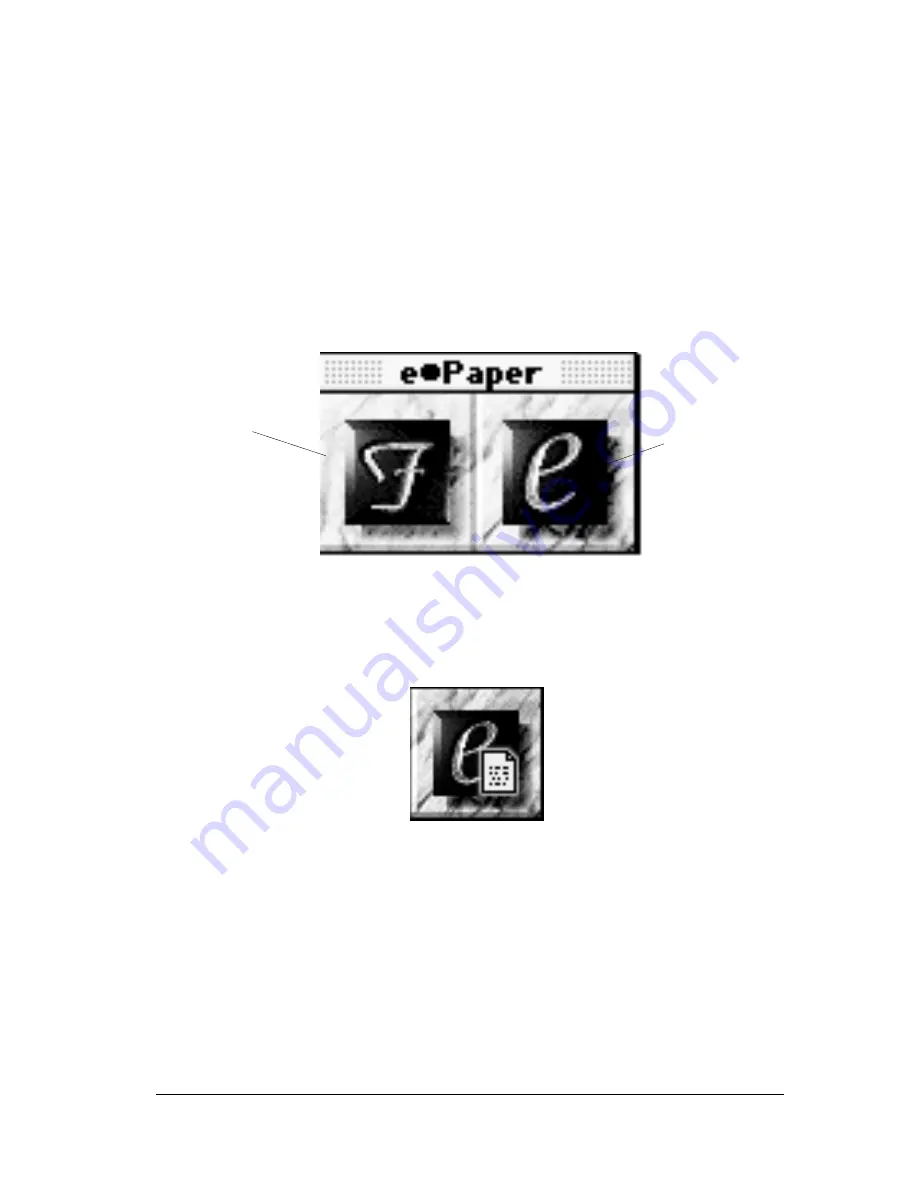
program icon. The following floating
window appears.
7. After you load a document in the scanner, e
•
Paper scans it
automatically. While the document is being processed the
Control/Status
icon changes to the following:
8. The scanner displays the scanned image in the e
•
Scan
window. As the scan progresses, you may enter text in the
File Name or Keyword fields.
From this window, you can also straighten, rotate, or crop
unneeded portions of the document before processing it
further.
Control/Status
Icon:
Shows the
condition of
your scanner.
e
••
Find:
Click here to
search for an
archived e
•
Paper
document.
Getting Started
10


