Details of Updated Projector Menus (Version 4.00)
15
Refer to these sections for details about projector menu changes.
g
g
Related Links
Simple Stacking
The
Simple Stacking
setting is added to the
Extended
menu >
Multi-
Projection
.
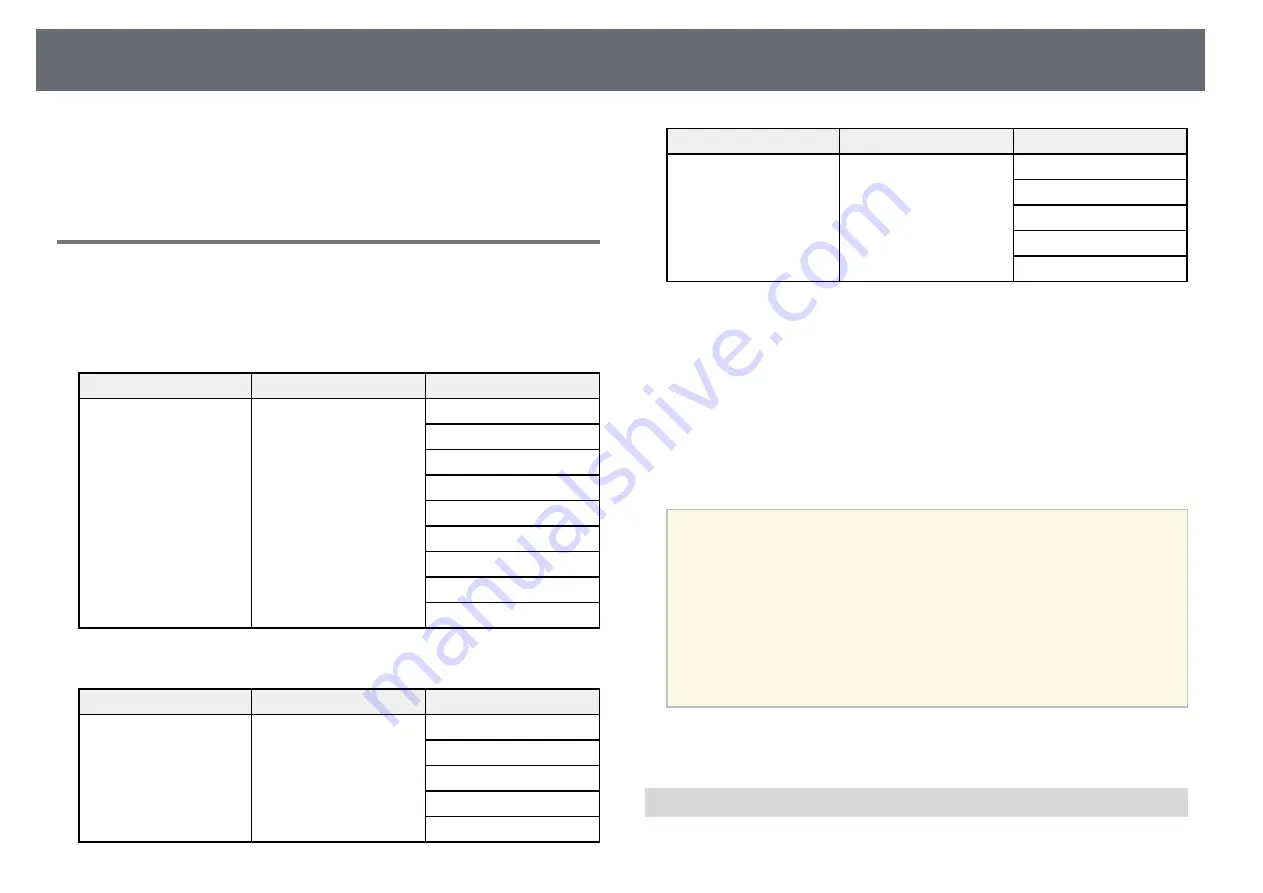
Previous Extended Menu (Version 3.00)
Top menu
Sub menu
Items or setting values
Extended
Multi-Projection
Projector ID
Projector Grouping
Tiling
Geometry Correction
Edge Blending
Black Level
Scale
Reset
Screen Matching
New Extended Menu (Version 4.00)
Top menu
Sub menu
Items or setting values
Extended
Multi-Projection
Projector ID
Projector Grouping
Tiling
Geometry Correction
Edge Blending
Top menu
Sub menu
Items or setting values
Black Level
Scale
Reset
Screen Matching
Simple Stacking
You can easily and quickly create a bright projected image by overlapping the
images of multiple projectors using
Simple Stacking
.
•
Point Correction
: Divides the projected image into a grid and corrects the
distortion in 0.5 pixel increments by moving the selected point of
intersection in any direction.
•
Start Auto Adjustment
: You can automatically adjust the projected image
using the camera assist functions. The projector for which you perform this
feature becomes a master projector, and the adjustment is performed based
on the projector's image position and shape.
a
• Connect two projectors using a LAN cable.
• Make sure you do the following before adjusting:
• Set the
DHCP
setting to
On
in the projector's
Network
menu for
two projectors.
• Adjust the image position, shape, and focus on the master
projector. If you adjust the image shape of the master projector,
select
Point Correction
and select
Quick Corner
to correct the
shape.
• The required time for simple stacking varies depending on the
projector layout. It takes up to approximately 4 minutes.
g
g
Related Links
• "Conditions for Simple Stacking"
Conditions for Simple Stacking
You can use the simple stacking feature under the following conditions:


