


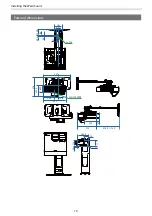
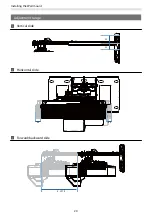


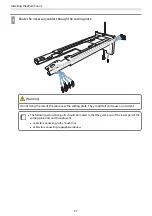


Installing the Wall mount
23
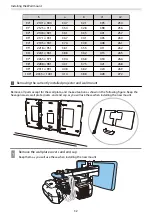
Installing the Bracket
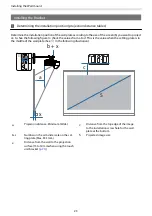
Determining the installation position (projection distance tables)
Determine the installation position of the wall plate according to the size of the screen (S) you want to project
on to. See the following figure to check the values from a to d. This is the value when the setting plate is in
the middle of the wall plate (See
in the following illustration).
S
a
c
x
b + x
a:
Projection distance: Minimum (Wide)
c:
Distance from the top edge of the image
to the installation screw hole for the wall
plate at the bottom
b + x:
Number on the arm slide scale on the set‐
ting plate (Max. 533 mm)
S:
Projected image size
x:
Distance from the wall to the projection
surface (15 to 50 mm when using the touch
unit bracket (
))
Содержание EB-1480Fi
Страница 1: ...Installation Guide ...
Страница 53: ...Installing the Wall mount 52 b Select Geometry Correction from the Installation menu c Select Arc Correction ...
Страница 55: ...Installing the Wall mount 54 b Select Geometry Correction from the Installation menu c Select Quick Corner ...
Страница 65: ...Installing the pen stand 64 b Attach the cover c Store the interactive pens ...
Страница 75: ...Installing the Touch Unit 74 Wavelength 932 to 952 nm ...
Страница 78: ...Installing the Touch Unit 77 Adjustment range 79 5 140 5 15 76 ...


