
RENTAL EQUIPMENT
SETUP GUIDE
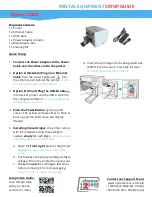
Setup Video Guide:
Scan this QR code
with your phone
camera for video.
Contact our Support Team:
www.choose2rent.com/help
+1 (800) 622-6484 Ext. 3 (USA)
+49 40 226 360 - 590 (Europe)
Epson C3500
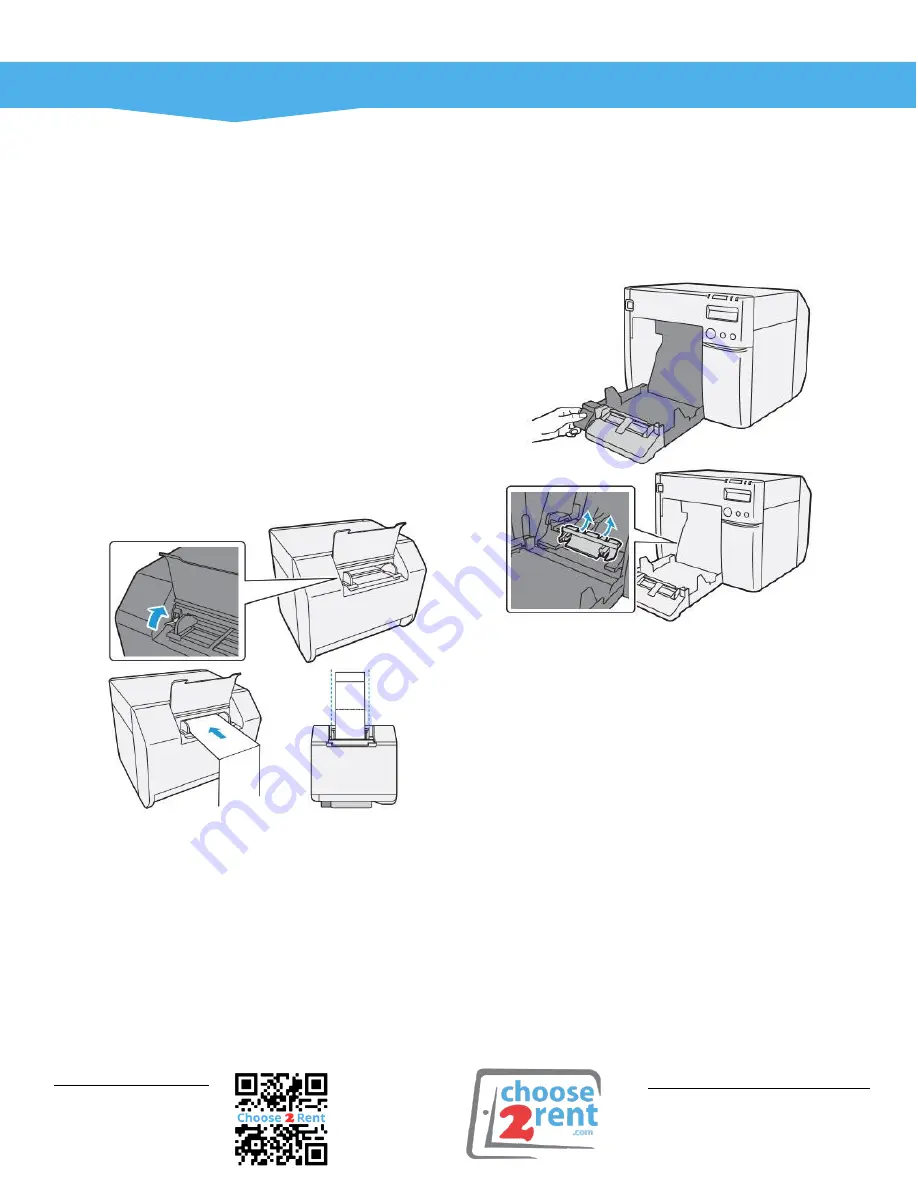
6.
Installing Media
You must set the PC printer driver
settings to your
badge specifications before the next steps.
a.
For Fanfold Badge Stock,
lift the back lid of
the printer (and if needed lift the blue lever to
adjust for the media with.)
See next
page.
b.
Making sure the orientation is correct.
e.g., Black
timing mark facing down, leading first with arrows
facing towards the printer.
Carefully feed
the
badge stock into the back of the printer until it
comes to a stop and then printer pulls it
through.
Do Not push the badge stock too hard.
a.
For Roll Badge Stock,
open the front
door by pulling the dark grey latch.
Now remove the “Paper Feed Guide”
a
shown below. (
clear grey plastic piece
)
b.
Lift the blue latch on the inside
of
the printer (left side) and adjust the
width of the Roll Guide.
c.
Insert the Roll to have it feed paper over
its top, not the bottom.
Pull some badge
stock out and
push the blue latch down to
lock it in place.
d.
Close the front panel leaving a bit of paper
sticking out to begin auto calibration.


